Bearly Made
  • Home
  • About
    • About Me
    • Contact Me
    • Privacy
  • Home Decor
    • Year Round
    • Christmas
    • Halloween
  • Home Care
    • Cleaning
  • Fashion
    • Tips
  • Crochet
    • Amigurumi

Fighting Kitchen Grease with Goo Gone

11/25/2014

0 Comments


Hi folks!

This post is about using Goo Gone to clean grease splatter off kitchen counter appliances. I used it to clean off our kettle. 
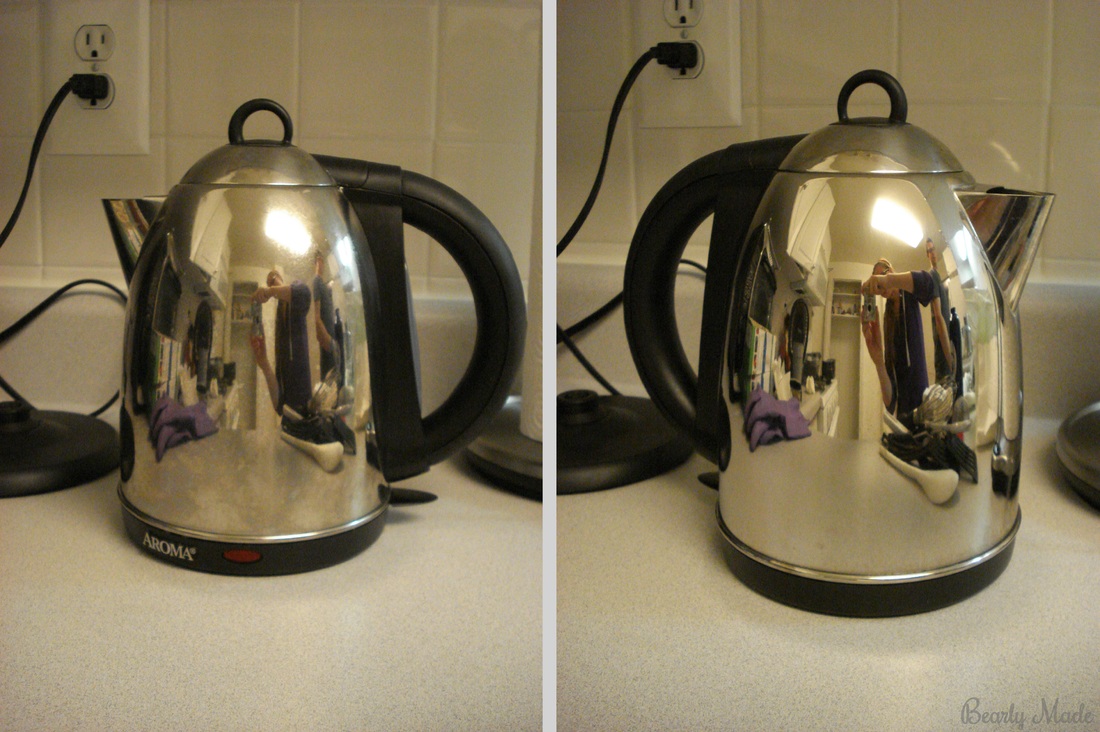
Fighting Kitchen Grease with Goo Gone
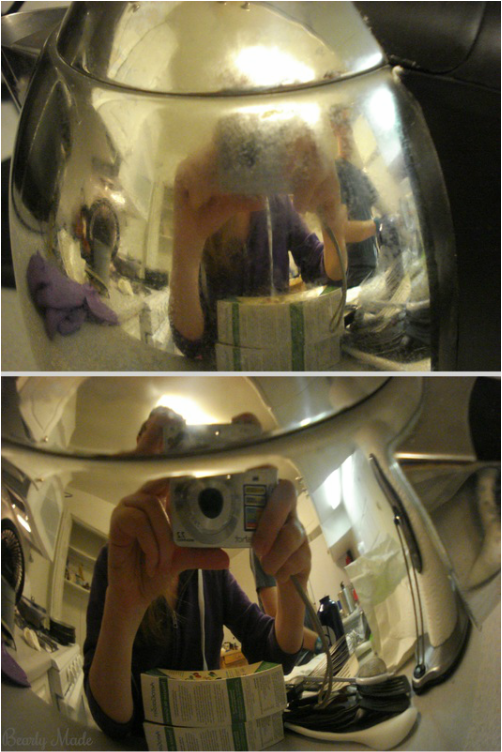
When we moved to DC a year ago, I noticed that our kettle was caked with grease splatter. At our previous apartment, we kept the kettle by the stove, so it got really dirty!

I tried using dish soap to clean it off, but the grease was thick and sticky and wouldn’t come off easily. I didn’t want to soak it, because I wasn’t sure whether it was okay to soak the heating element on the bottom of the kettle. Then I tried multipurpose cleaner, but it hardly made a dent.

Here’s what worked. I put some Goo Gone on a paper towel and wiped off most of the grease, reapplying Goo Gone to the paper towel occasionally. Then I put a little dish soap on a paper towel with a little water and wiped the kettle down to remove the oily Goo Gone. Finally, I took a damp paper towel and cleaned off the last of the residue from the Goo Gone and the soap. Not the greenest method, I know, but it worked! I was very careful near the mouth of the kettle not to get any Goo Gone inside.

I've only cleaned the kettle this thoroughly once. Since we don't keep it near the stove anymore, it just needs to be wiped down occasionally.
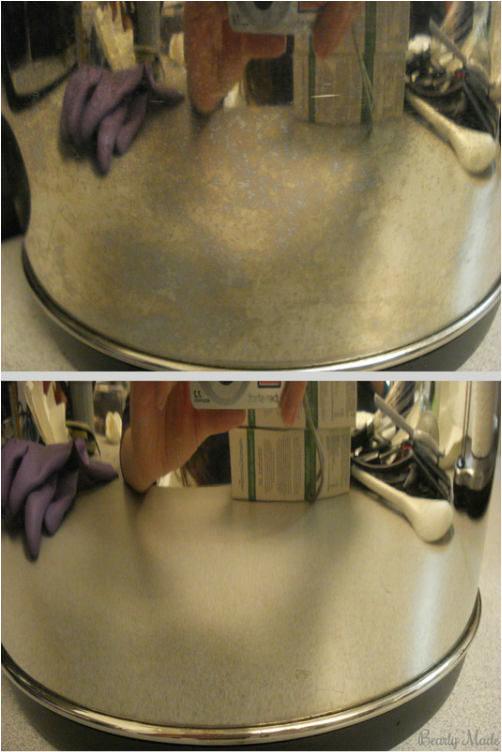
Fighting Kitchen Grease with Goo Gone

Thanks for reading!

I love Goo Gone. It cuts through everything with hardly any hassle. Do you have a method for cutting through grease that you swear by? Share it in the comments below!

Warm wishes,

Alex
0 Comments

Halloween Window Silhouettes

11/24/2014

0 Comments


Hi folks!

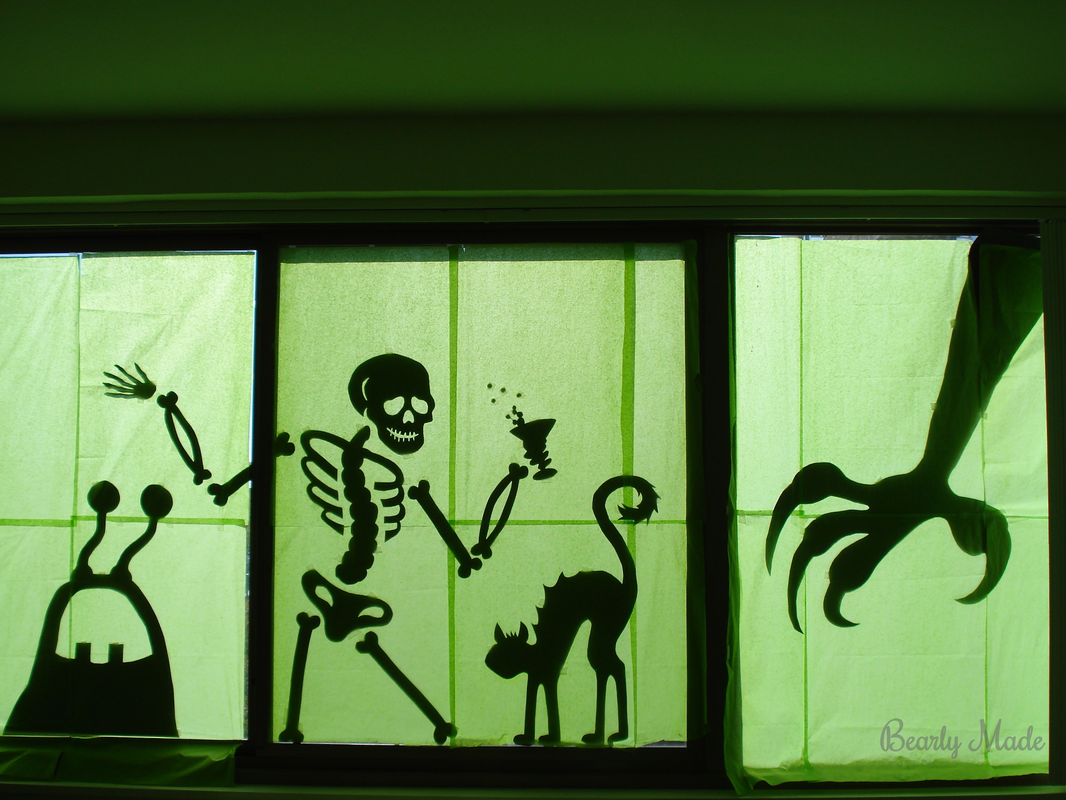
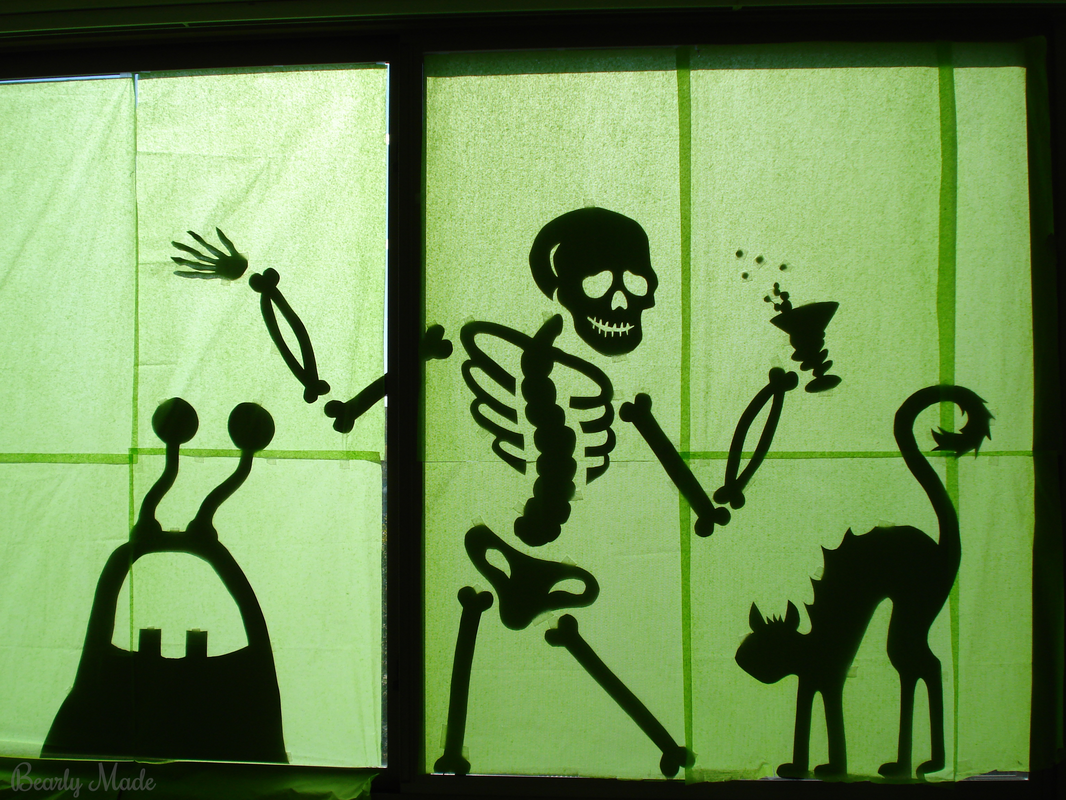
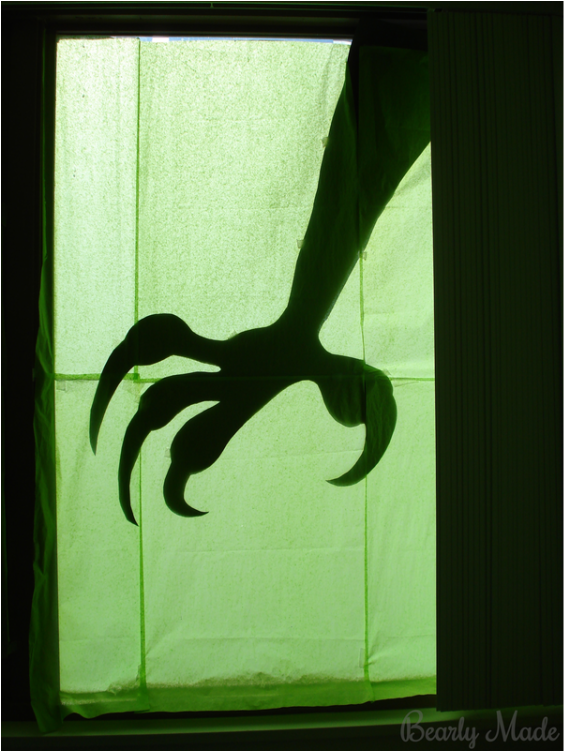
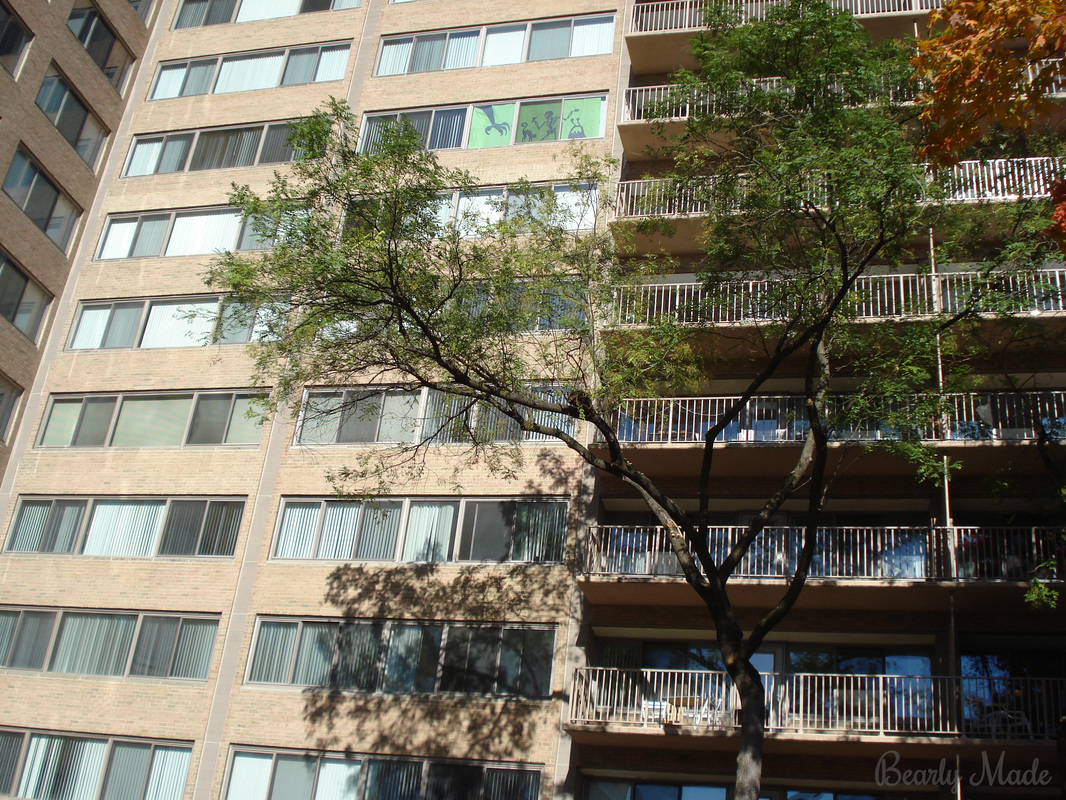
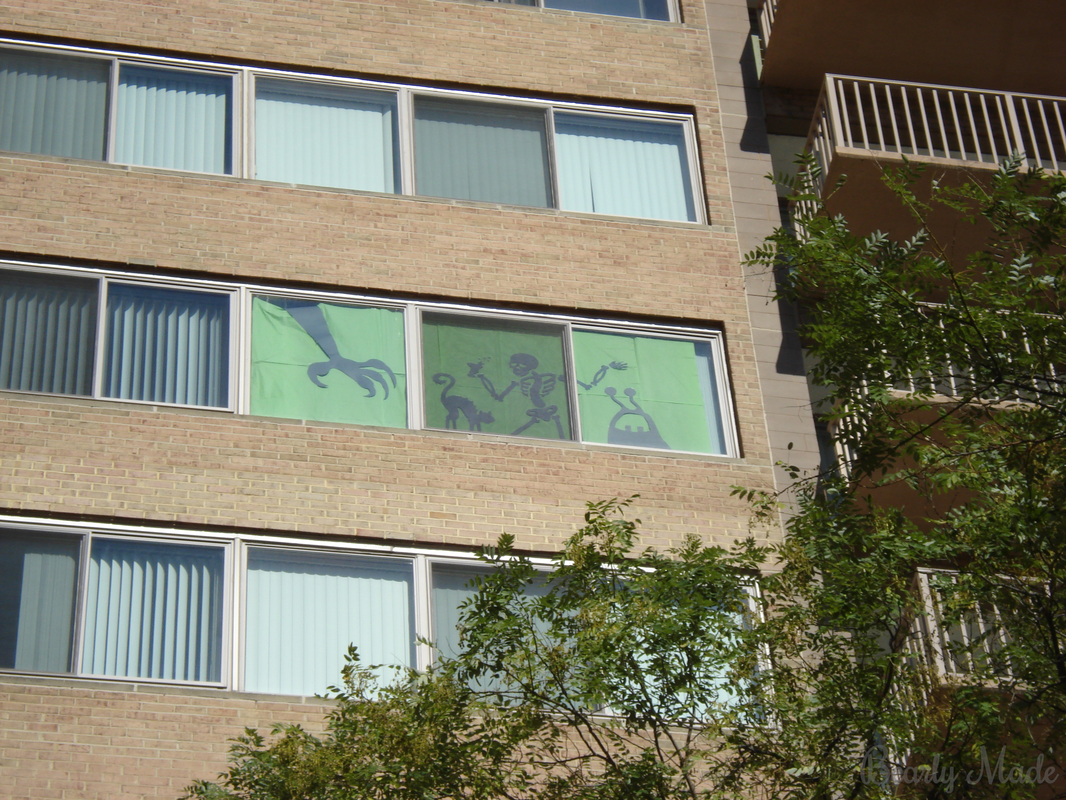
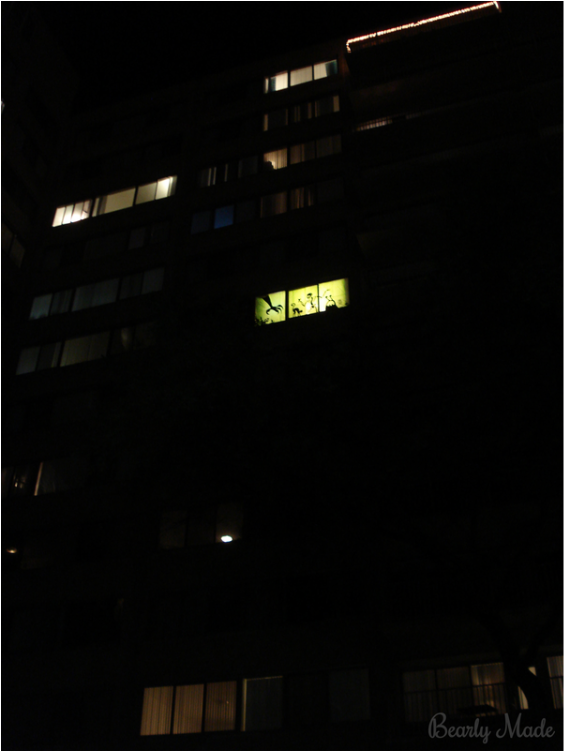
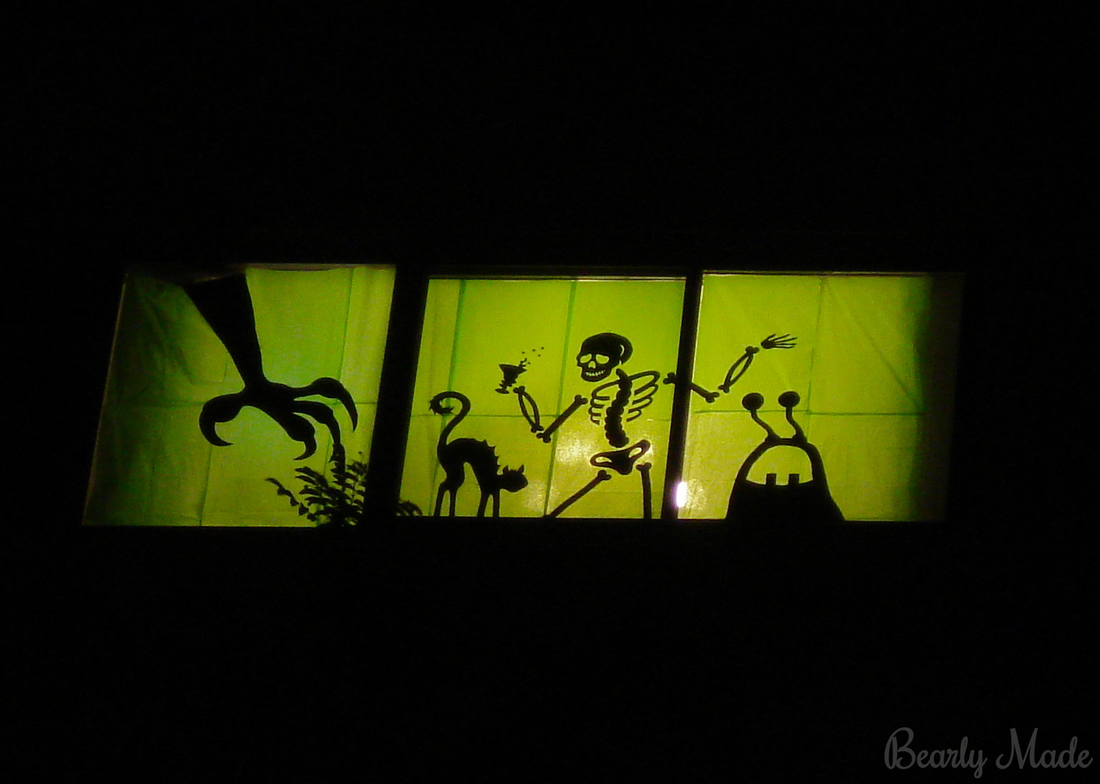
This post is about some awesome window silhouettes my partner and I made for Halloween in 2013! They are really eye-catching outside! 

The Project

First, here is what the finished product looks like.
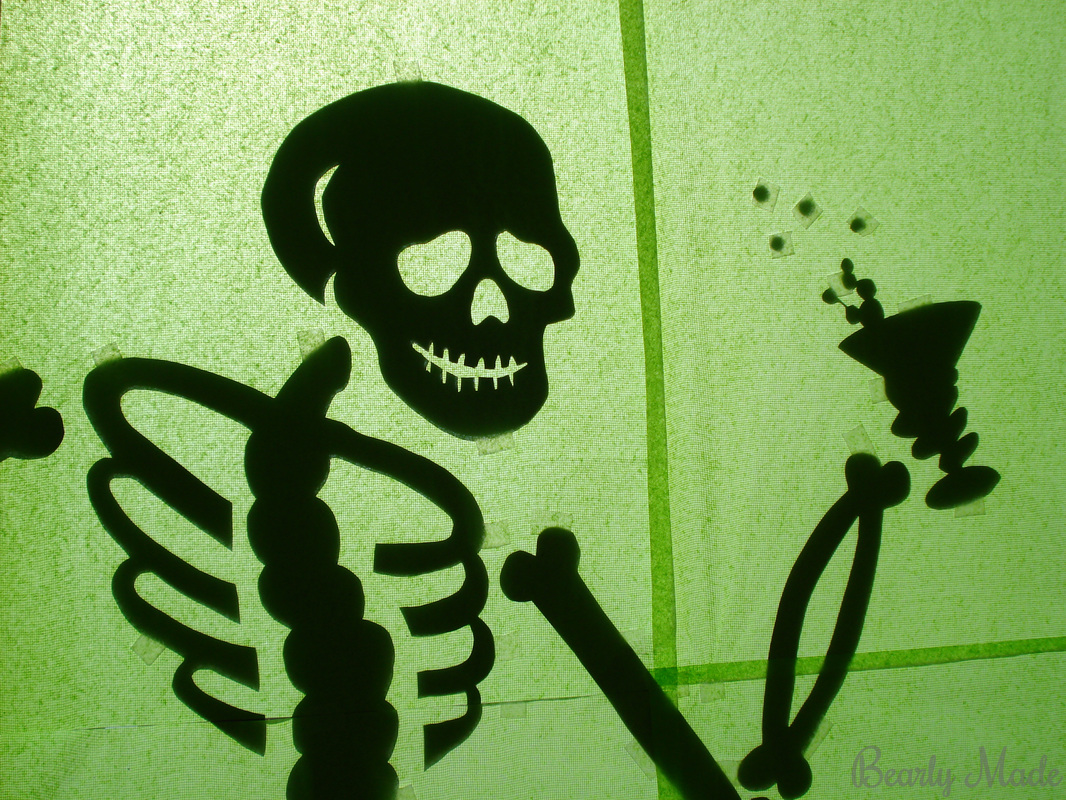
Halloween Window Silhouettes

Materials

Black poster board  (I got mine at Staples.)   
Green tissue paper  (I used bright lime green tissue paper 20” x 30”, which I got here.)
Paper
Pencil
Eraser
Ruler
Scissors
Scotch tape

For the poster board, I believe I got size 20” x 28”. I used the poster board that is similar to very thick cardstock, not the poster board that is super-duper thick and made of foam. 

Note that a lot of poster board at Staples is one color on the front and a different color on the back. Be sure to get poster board that is black on both sides so you can enjoy the silhouette effect both inside and outside your home.

Drawing Your Characters

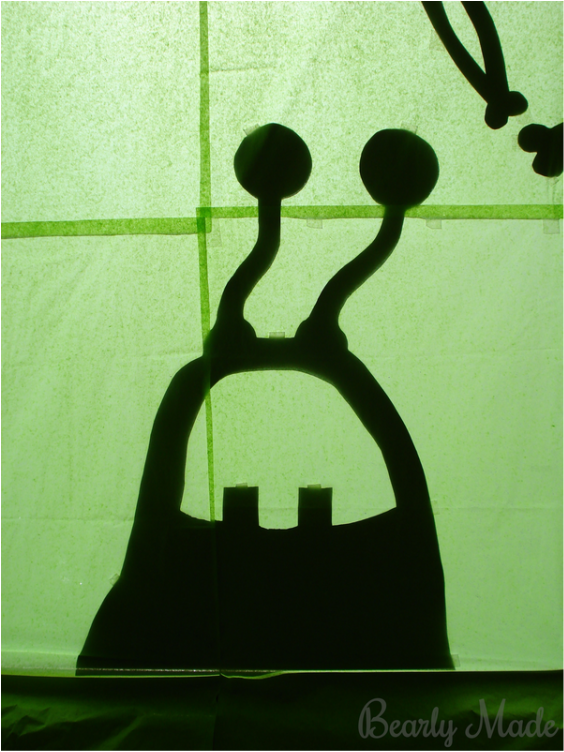
1. First, you should figure out what characters you want to make. I thought of cute characters and how I wanted them to interact. I loosely sketched out the features I wanted them to have. My partner has a knack for sketching, so he redrew the characters and cleaned them up. 

2. We looked at our poster board and our windows to figure out how big we wanted to make our silhouettes.

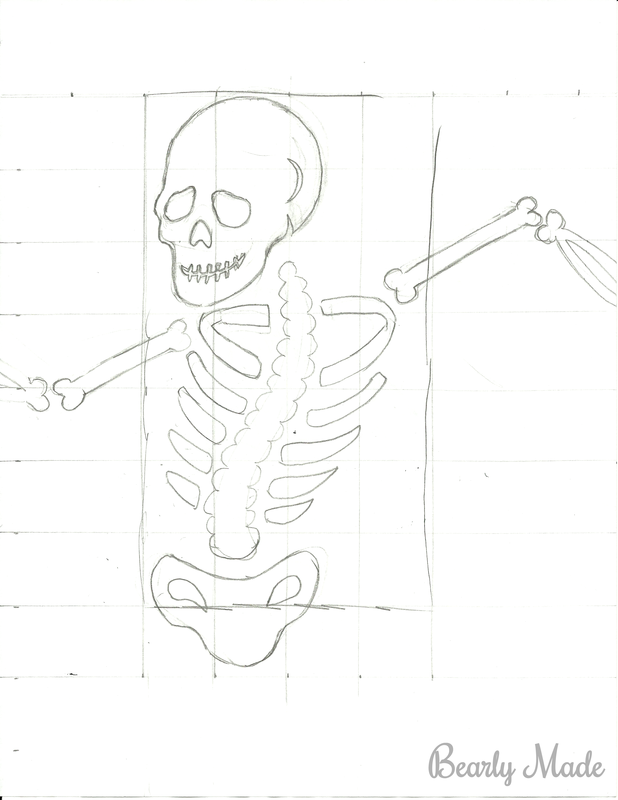
3. We drew grids on the sketches and our poster board, and then we drew the characters onto the poster board. If you aren’t familiar with scale drawing using a grid, you can find a how-to article here and an example here.

Scale drawing is a process that can take a couple of minutes. When I was working on this project, I ended up using a different scale for each character. 

I didn't know I would be writing a post when I did this project, so I am trying to remember some details. I am going to give you an example, but my numbers are only approximations. For example, I looked at my window (about 58 inches tall) and decided I wanted my skeleton to be about 38 inches tall (about 25 inches from the top of the head to the bottom of the spine). I decided that based on the size of my sketch (a little more than 7 inches tall) and the size I wanted the silhouette to be, that 1:4 would be a good ratio. So, I drew a 1-inch grid on my sketch, and a 4-inch grid on my poster board. Then I copied what was in each square of the sketch into each square on the poster board.

Don't worry about getting gridlines on your silhouettes. They don't stand out on the black poster board.

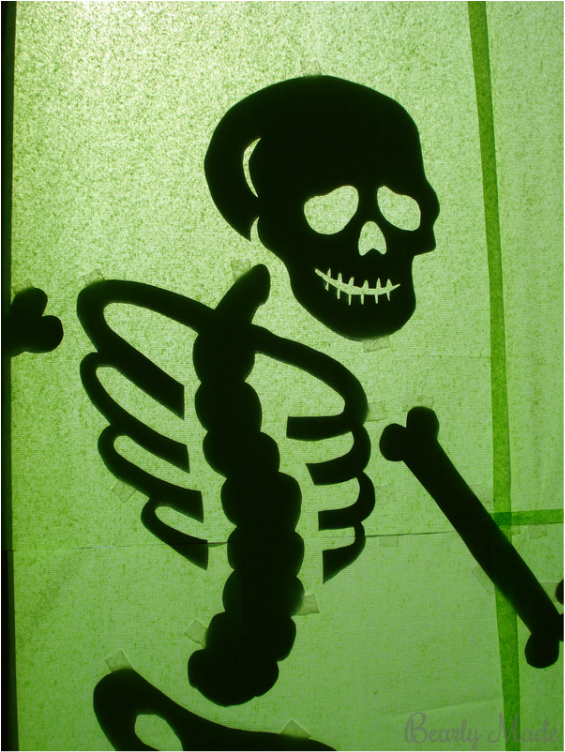
If you compare the sketch of the skeleton to the silhouette of the skeleton, you can probably tell that we made additional edits. My talented partner made some adjustments as he was transferring the sketches to the poster board, and he made some edits to my poster board drawings as well. I will add that my partner is not a trained artist, he just has a little bit more practice than I do, because he used to sketch for fun back in the day. This is totally a project you could do well with no real artistic experience!
Halloween Window Silhouettes

Final Steps

4. We cut out our silhouettes.

5. We used scotch tape to affix the pieces to the inside of the window. (It all came off pretty easily after Halloween, even though the sun often heated the tape. I did go over the windows with Method glass cleaner and a rag to get some of the sticky off.)

6. We neatly taped a layer of green tissue paper over the silhouettes, trying not to overlap too much.

7. On Halloween, we put an extra lamp behind the window to get the silhouettes to stand out. 

That’s it! The tissue paper over the window gave the whole room a creepy green hue leading up to Halloween. It's the kind of thing a kid would probably love to have in their room!

Storage

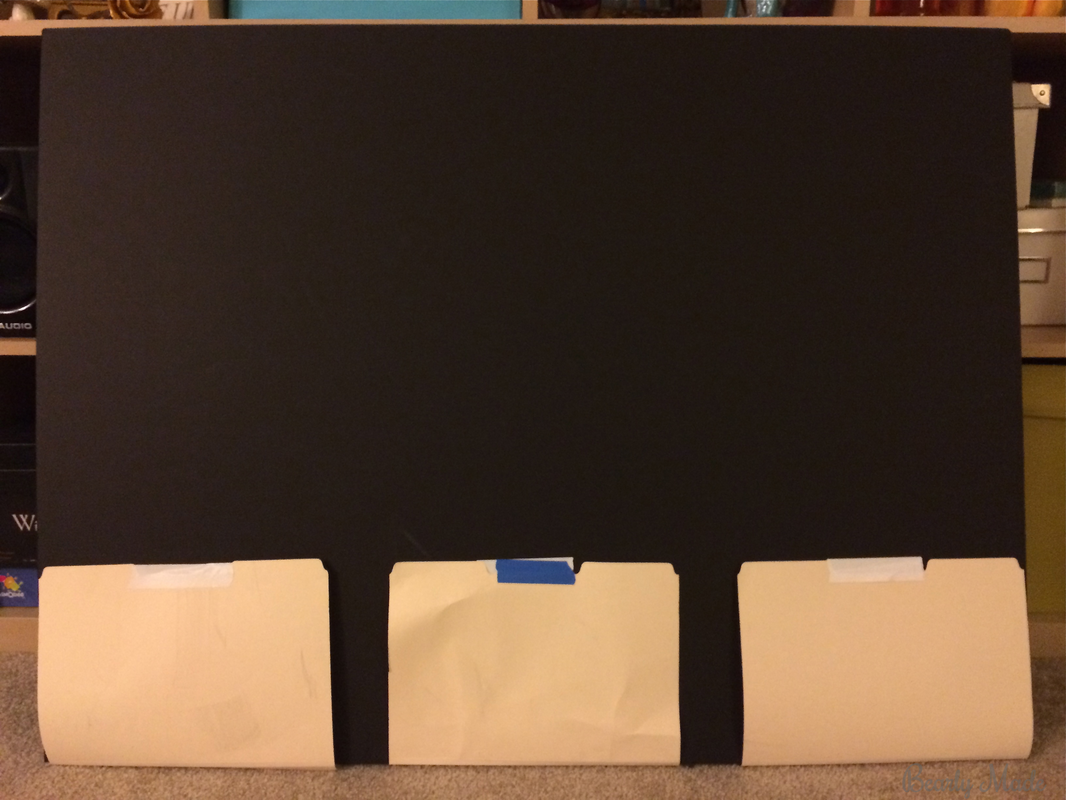
This is a decoration I want to use for years to come! I stored some of the pieces in a manilla file folder, but some of the pieces are too large for that. I made a makeshift portfolio using three manilla file folders, two thick foam poster boards, and tape.  
Halloween Window Silhouettes

Inspiration and Resources

Martha Stewart has made some great silhouettes. It's out of stock now, but you can see her headless woman silhouette here and spooky bird silhouettes here.
You can find my Pinterest board, Halloween Silhouettes, here.
If you aren’t familiar with scale drawing using a grid, you can find a how-to article here and an example here.

Downloads

You can download some of my partner's sketches for free below.
Halloween Sihouette Sketches.pdf
File Size: 4934 kb
File Type: pdf
Download File

Gallery

Halloween Window Silhouettes

Thanks for reading!

Try making Halloween window silhouettes of your own and share your results in the comments below!

Warm wishes,

Alex
0 Comments

Dried Flower Terrarium

11/23/2014

0 Comments


Hey folks!

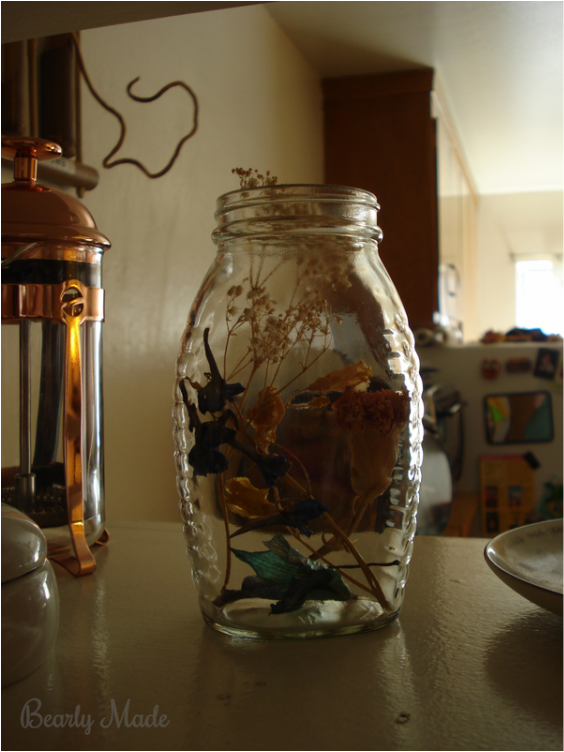
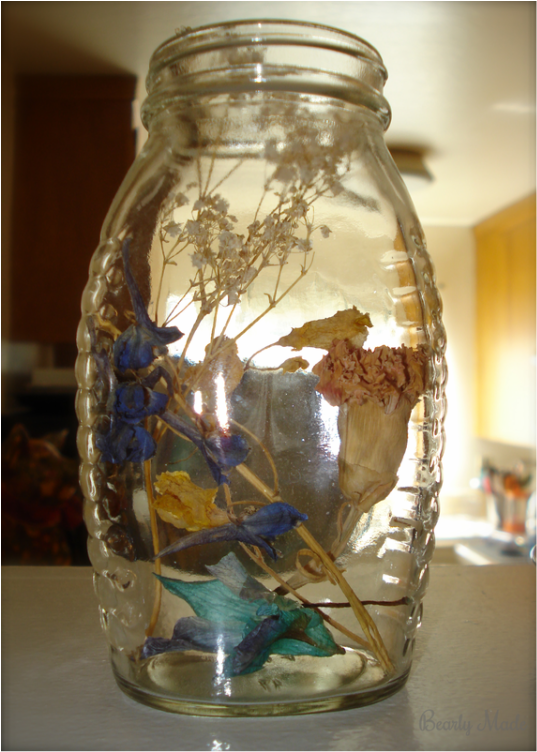
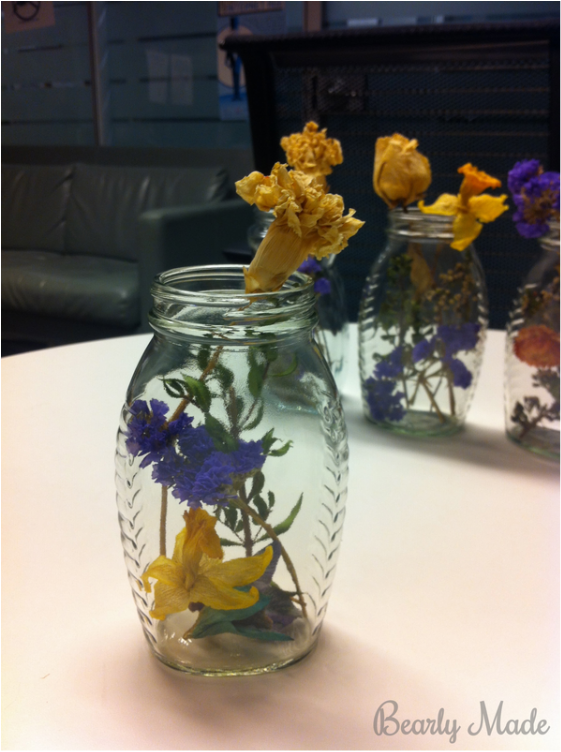
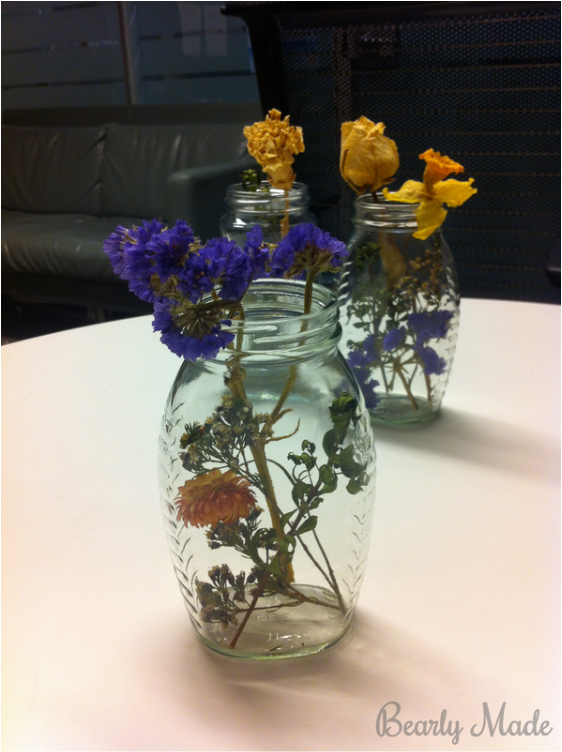
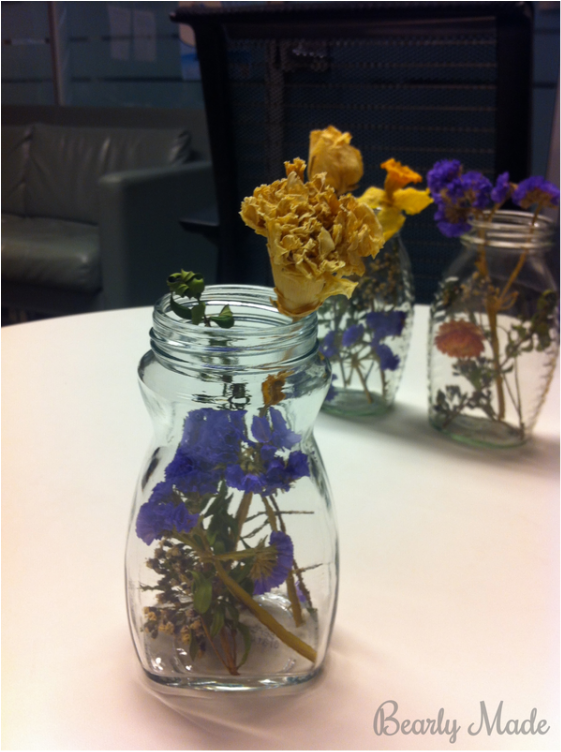
A dried flower terrarium is a quick and easy way to save beautiful flowers from special occasions without decorating like Morticia Addams. They make great gifts too!

The Project

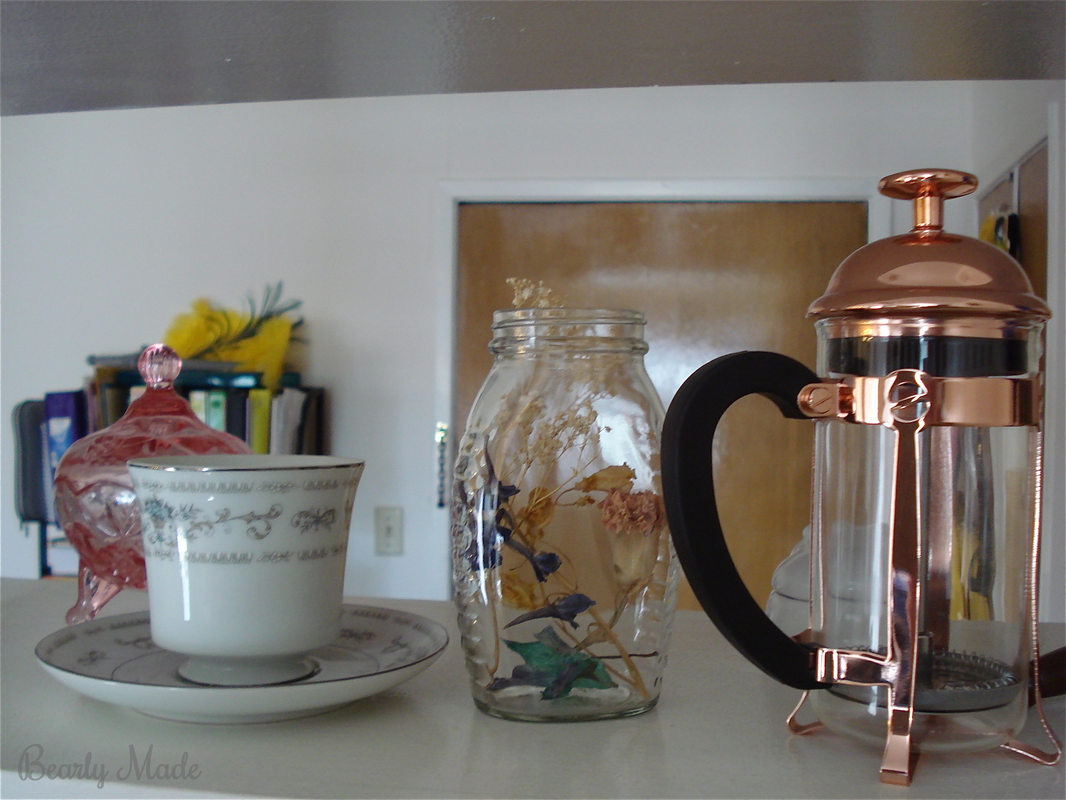
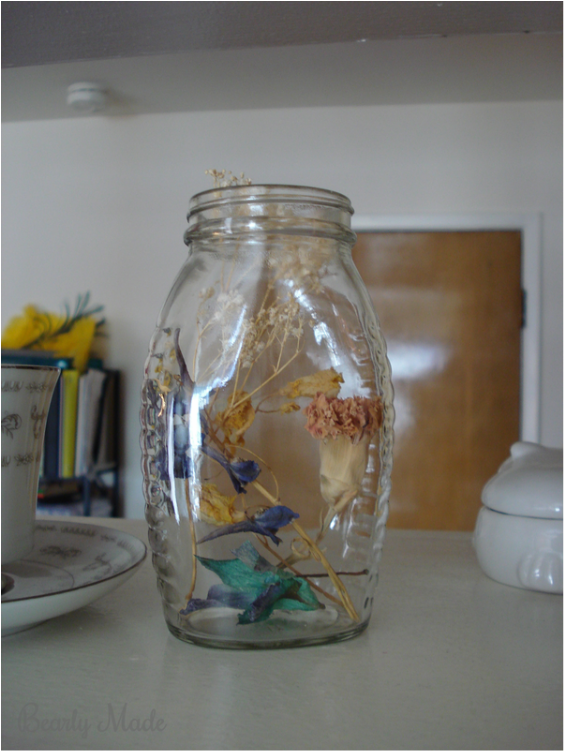
First, here is what the finished product looks like. 
Dried Flower Terrarium

Materials

  • Flowers
  • Jar
  • Scissors or shears

Picking Your Flowers

Every once in a while I get flowers for a special occasion. When the flowers are beautiful and when the occasion is particularly important, I like to save the flowers. A few months after graduating from law school, I moved from Berkeley, California to Washington, DC. Before I moved, I made these dried flower terrariums for some special people I built an organization with during law school. 

The flowers came from bouquets these people and my family gave to me for my law school graduation, and I let my giftees know that’s where the flowers came from! 
Dried Flower Terrarium

Drying Flowers

This is easy. You might have already done it. I dry flowers in a few different ways, and it only takes a few days.

I often hang flowers, especially roses, upside down by taping them to the wall with blue painter’s tape. One purpose of hanging the flowers upside down is to keep them pointing straight up instead of drooping over.

Another option is to put the flowers upright in a vase or cup. Especially for roses, the flowers may droop over the side of the container. I like this look as well, because I can more easily get a view of the pretty top of the flower in the arrangement. 

Finally, I sometimes put the flowers in a shoebox without a lid and set the box on top of an open shelf or a piece of furniture. This is definitely my partner’s favorite method, since I have a tendency to tape flowers to the wall in our kitchen and leave them up for a few weeks.

Picking Your Jar

Any jar would probably be cute for this project. I mostly used jars that I had leftover from beekind honey we bought at the Ferry Building Marketplace in San Francisco. On a side note, I highly recommend the Meadowfoam Honey. It tastes deliciously sweet, a little like marshmallows. You can find it here. I’ve also used empty Nescafe jars.

I removed the jar labels using Goo Gone and cleaned the jars using dish soap. 

Arranging the Flowers

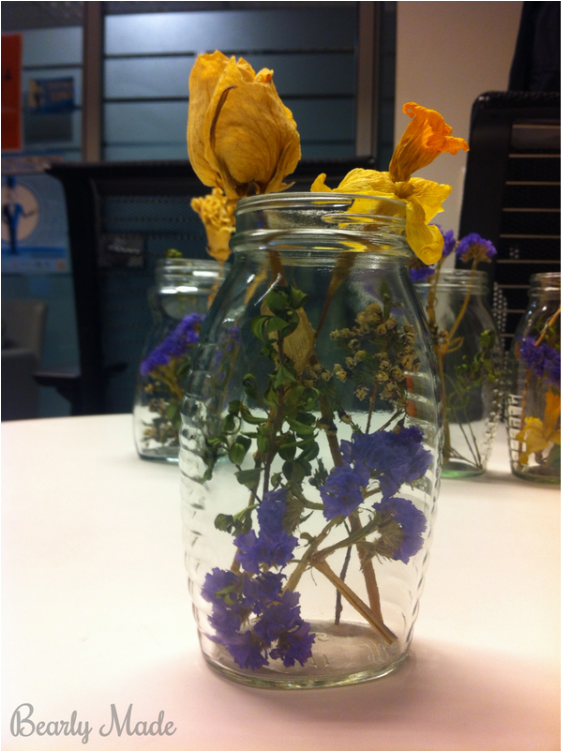
This part is pretty easy! I usually hold my flowers up to the jar to get an idea of where to cut them. I try to cut them at various lengths. I also like to have some of the flowers poking out of the top of the jar. But if you aren’t a fan of that idea, you could use burlap and string to give the jar a cute covering. 

For some of the arrangements, I used chopsticks to position the short flowers the way I wanted. I considered using glue to get some of the finicky flowers to stay at their prettiest angle, but I ended up not having to do that.

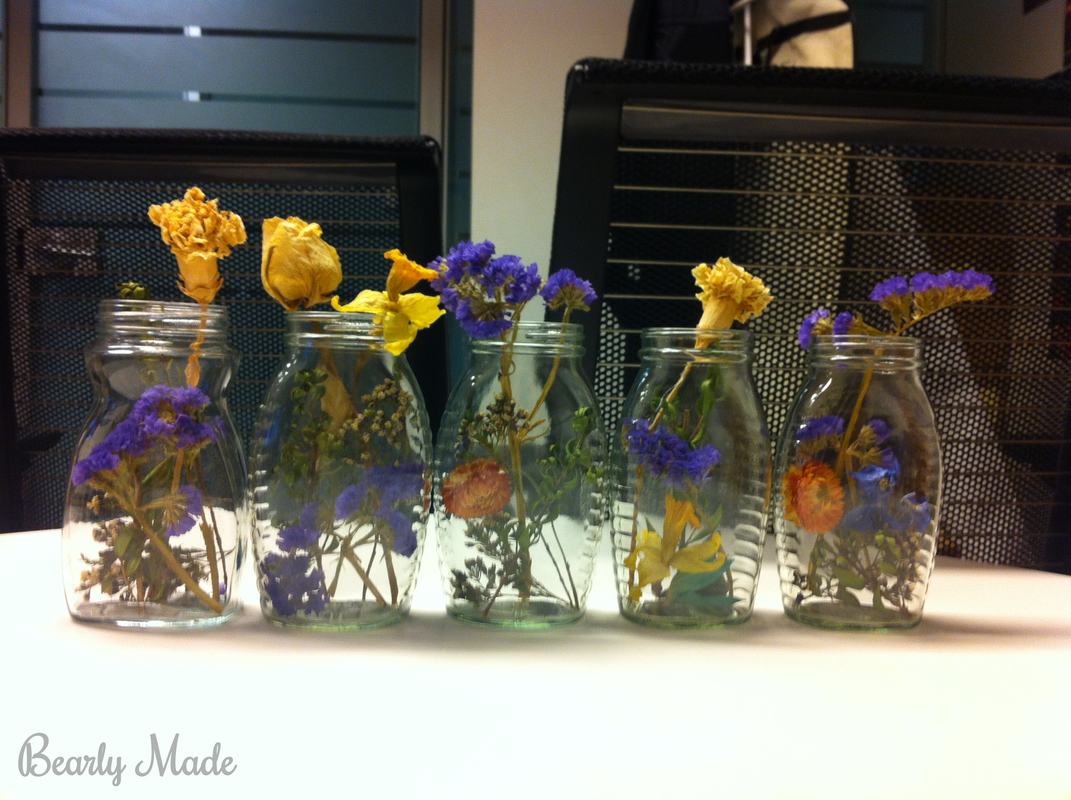
Gallery

Dried Flower Terrarium

Thanks for reading!

Try making a dried flower terrarium of your own and share your results in the comments below!

Warm wishes,

Alex
0 Comments
<<Previous
Forward>>

    I'm Alex!

    I'm a lawyer and a feminist in my early 30's. I love dancing, dabbling in amateur graphic design projects, sharing tips, and trying new crafts.

    Sponsors

    Archives

    November 2016
    August 2015
    June 2015
    December 2014
    November 2014

    Categories

    All
    Amigurumi
    Christmas
    Cleaning Tips
    Costumes
    Crafts
    Crochet
    Fashion
    Fashion Tips
    Free Downloads
    Graphic Design
    Halloween
    Home Care
    Home Decor
    Humor
    Year Round

    Follow me on:

    RSS Feed

    Follow
Powered by Create your own unique website with customizable templates.