
Hi folks!
I have found the perfect shirt for wearing underneath a v-neck cashmere sweater.
On the one hand cashmere is soft, warm, and looks great! On the other hand, who am I kidding? Cashmere is itchy, even when it’s decent quality, especially in a warm room. (At least in my experience.)
My solution is wearing a long-sleeve undershirt with my sweater. But there is another problem. I own a few v-neck sweaters, and it is hard to find a t-shirt with a v-neck deep enough that it doesn’t peek out from under my sweater.
Here’s what I want out of an undershirt:
My solution is wearing a long-sleeve undershirt with my sweater. But there is another problem. I own a few v-neck sweaters, and it is hard to find a t-shirt with a v-neck deep enough that it doesn’t peek out from under my sweater.
Here’s what I want out of an undershirt:
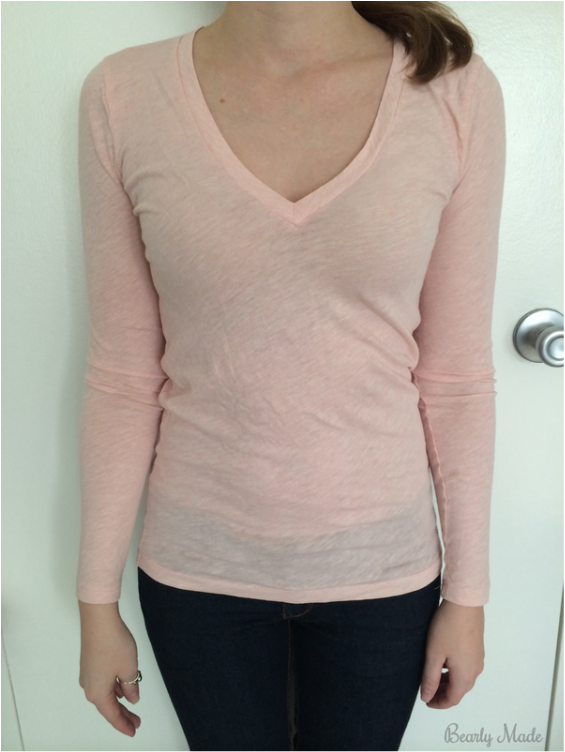
- A deep v-neck. Why? I don’t want it peeking out from underneath my sweater.
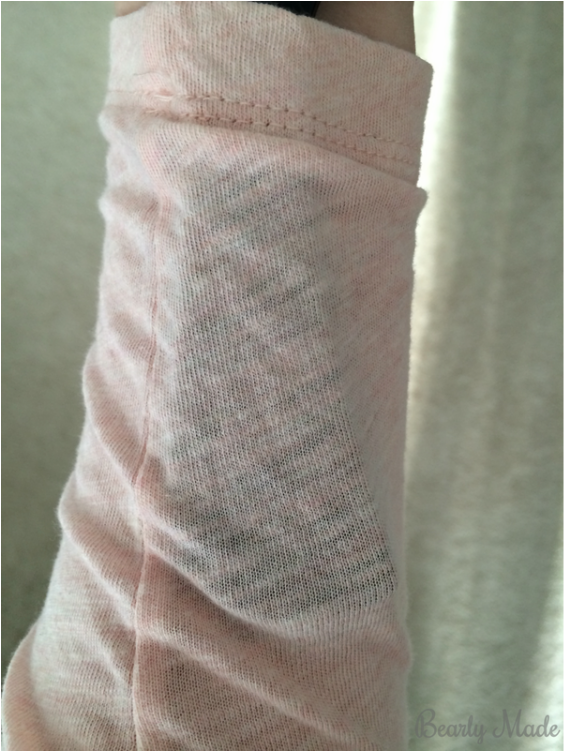
- Thin, light-weight fabric. Why? I don’t want it to add additional warmth. I don’t want it to make my sweater look bunched up or bulky. I want it to be flexible, because I don’t want it to feel binding, especially in the underarm area.
- Cotton fabric. Why? I want it to wick away sweat to protect my sweater, but I also want it to breath so I don’t get overly warm.
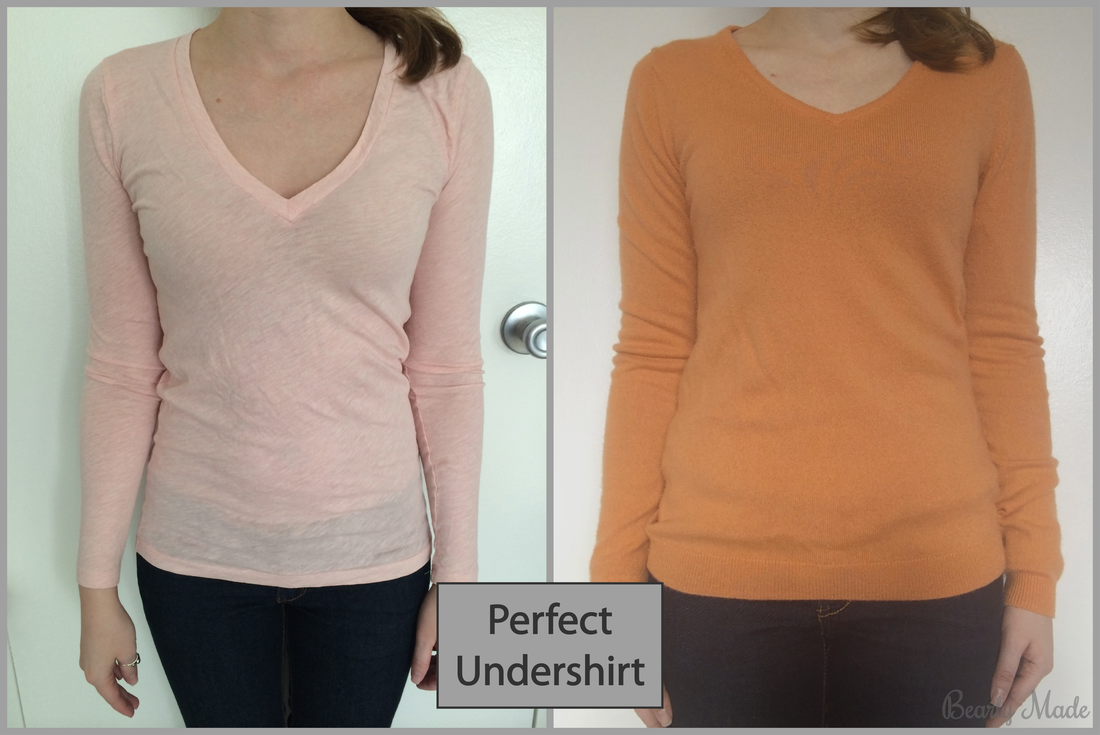
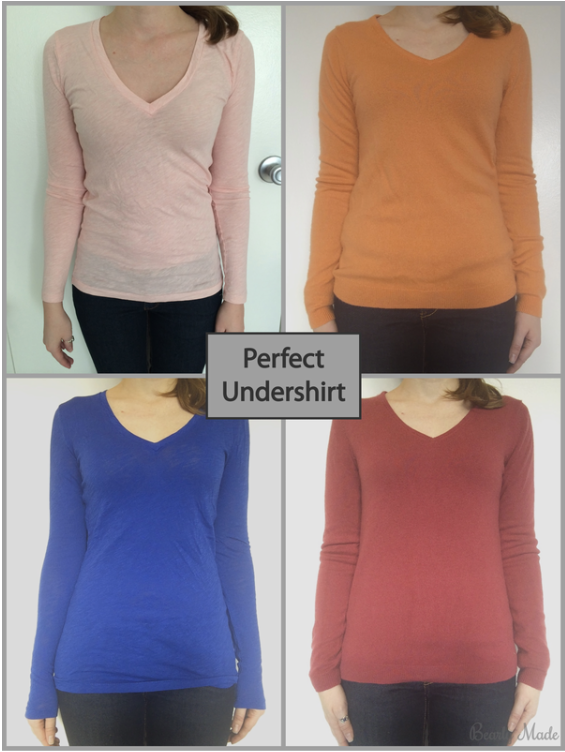
The Perfect Undershirt
Well, after much searching, I’ve found the perfect undershirt… the Vintage Cotton Long-Sleeve V-Neck Tee by J. Crew. When I put on my sweater, I do have to fuss with it a bit. But when I go out, the t-shirt very rarely peeks out from under my sweater!
Where To Find It
I’m petite. To give you a sense of how the sizes fit, my dimensions are: 5’ 0”, 100 lbs., chest 34A.
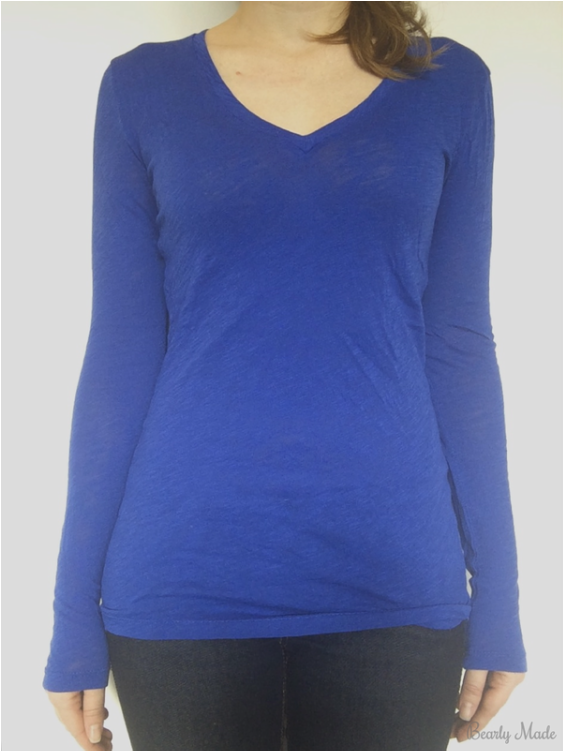
Vintage Cotton Long-Sleeve V-Neck Tee by J. Crew
Find it here. I own two of these shirts in XXS in the blue and pink. I bought mine a while back, some time in 2012 or 2013. They no longer have the blue color in stock online, but they do currently have the pink in stock. The color is Heather Blush. Don’t confuse this shirt with the Tissue Long-Sleeve V-Neck Tee by J. Crew. I tried that shirt on in the store. I thought it might be more light-weight than the vintage tee, because tissues are pretty thin, right. But, the tissue tee was much thicker than the vintage tee and felt a little binding.
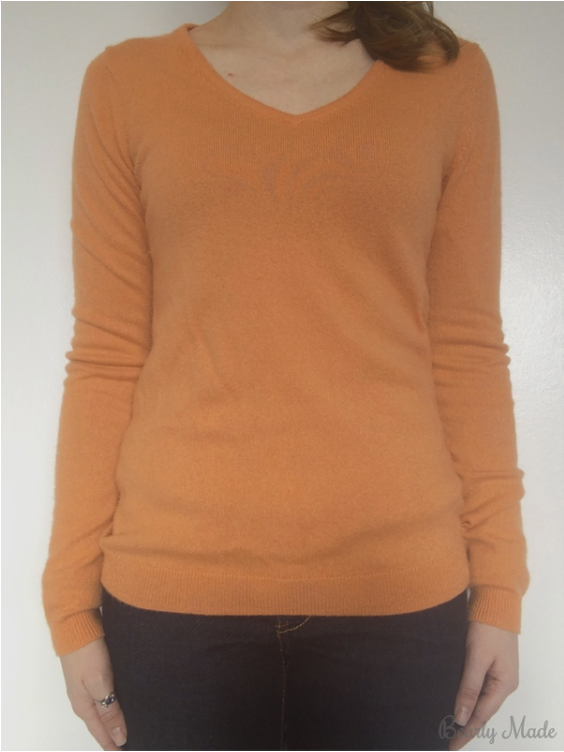
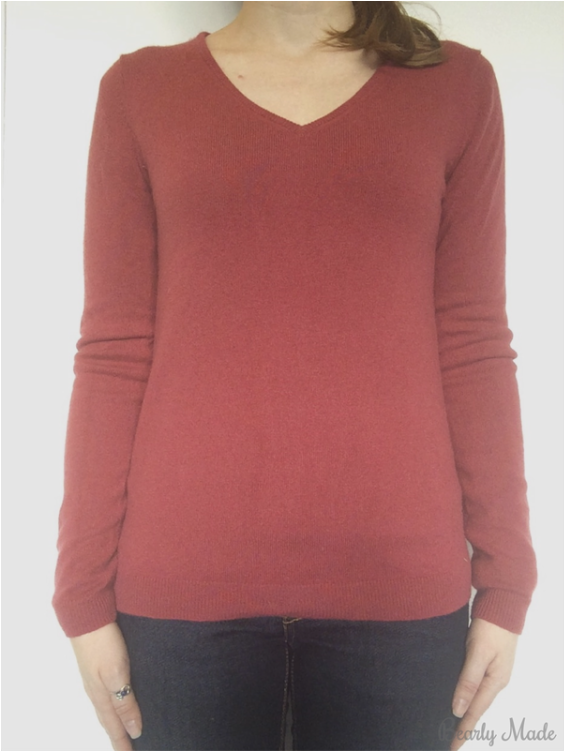
Women Cashmere V-Neck Sweater by Uniqlo
Find it here. I bought mine in October 2012. I own two of these sweaters in XS in the orange and magenta. They no longer have the orange or magenta in stock online, but they have a ton of other colors. One great thing about Uniqlo is that they always have a ton of colors to choose from.
Vintage Cotton Long-Sleeve V-Neck Tee by J. Crew
Find it here. I own two of these shirts in XXS in the blue and pink. I bought mine a while back, some time in 2012 or 2013. They no longer have the blue color in stock online, but they do currently have the pink in stock. The color is Heather Blush. Don’t confuse this shirt with the Tissue Long-Sleeve V-Neck Tee by J. Crew. I tried that shirt on in the store. I thought it might be more light-weight than the vintage tee, because tissues are pretty thin, right. But, the tissue tee was much thicker than the vintage tee and felt a little binding.
Women Cashmere V-Neck Sweater by Uniqlo
Find it here. I bought mine in October 2012. I own two of these sweaters in XS in the orange and magenta. They no longer have the orange or magenta in stock online, but they have a ton of other colors. One great thing about Uniqlo is that they always have a ton of colors to choose from.
Care Tips
V-Neck Tee
I love this tee, and I want it to last a long time. Reviews have warned that it can get warped in the washer and dryer, so I wash mine along with my delicates.
Cashmere Sweater
Lately I've been machine washing a lot of my "hand wash only" garments on the delicate cycle, but I still adhere to hand washing my cashmere.
I love this tee, and I want it to last a long time. Reviews have warned that it can get warped in the washer and dryer, so I wash mine along with my delicates.
- Use a delicates bag. I use the bags made by Real Simple.
- Machine wash cold.
- Air dry. I use the Room Essentials Heavy-Duty Metal Drying Rack by Target.
Cashmere Sweater
Lately I've been machine washing a lot of my "hand wash only" garments on the delicate cycle, but I still adhere to hand washing my cashmere.
- Hand wash cold. I wash my cashmere sweaters in the kitchen sink using the Progressive Collapsible Dish Tub. And I use a gentle laundry soap, Soapberry, which can be found on the Kleinert’s website.
- Air dry. I gently squeeze my sweaters over the sink so they are not sopping wet. I do not wring my sweaters! Then I gently roll my sweaters in a towel to remove a lot of the moisture. Finally, I use OXO Good Grips Folding Sweater Dryer to air dry my sweaters.
Gallery

Thanks for reading!
You should totally pick up one of these shirts the next time J. Crew has a sale. Have you found the perfect undershirt somewhere else? Share your find in the comments below!
Warm wishes,
Alex
Warm wishes,
Alex


 RSS Feed
