
Hi folks!
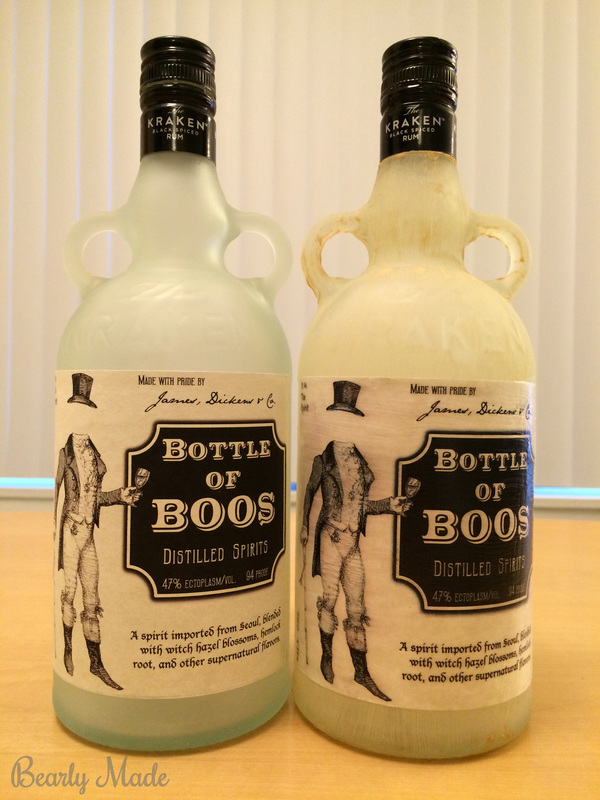
This post is about a “Bottle of Boos” I created for Halloween. This post covers how to drill the hole, frost the glass, and install the lights. To see how I created and affixed the label, see my next post! This project is a part of my larger plan to create a set of potions to display at Halloween. I made two Bottle of Boos. The first bottle was a bit of a failed experiment. I’ll show you both.
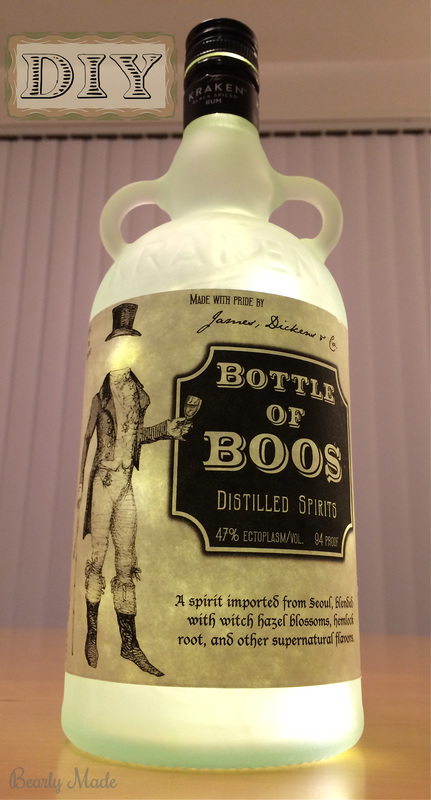
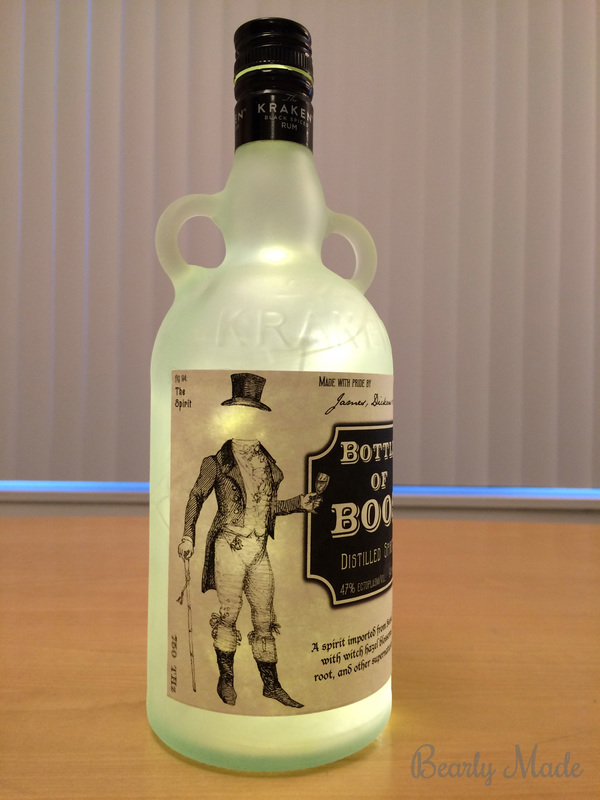
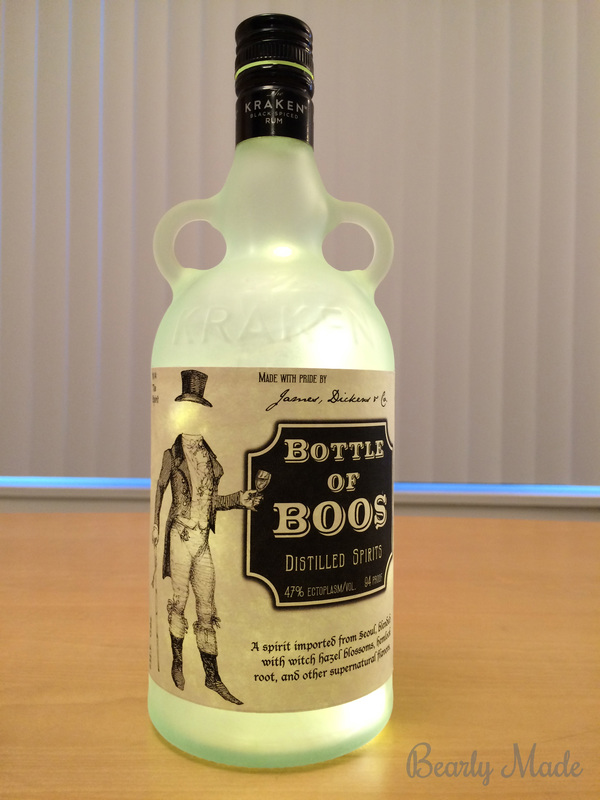
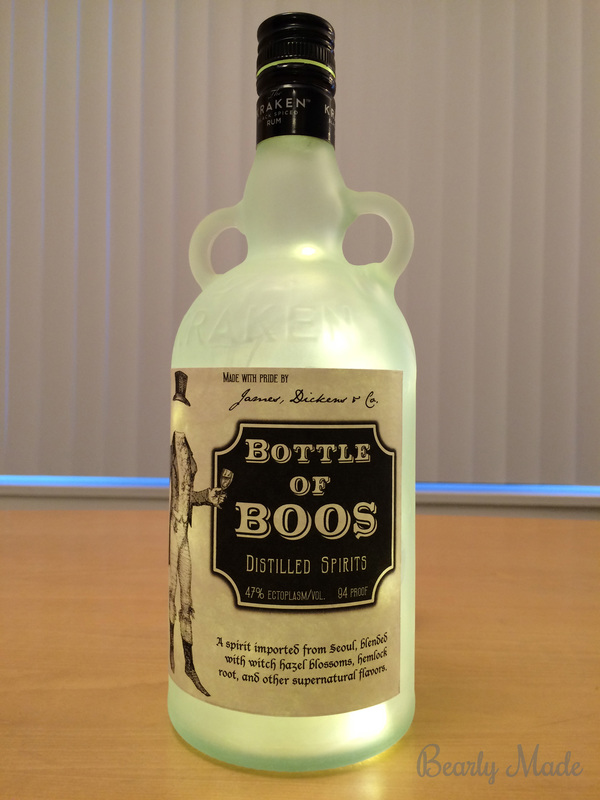
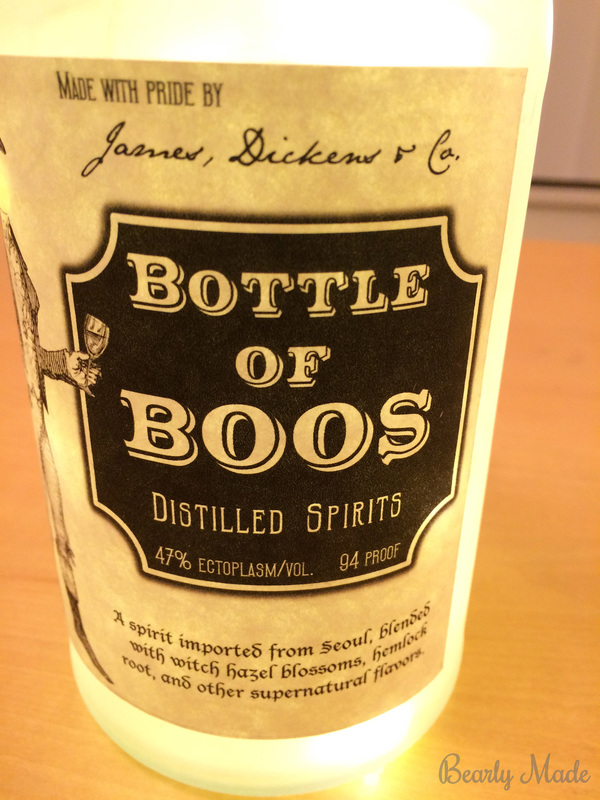
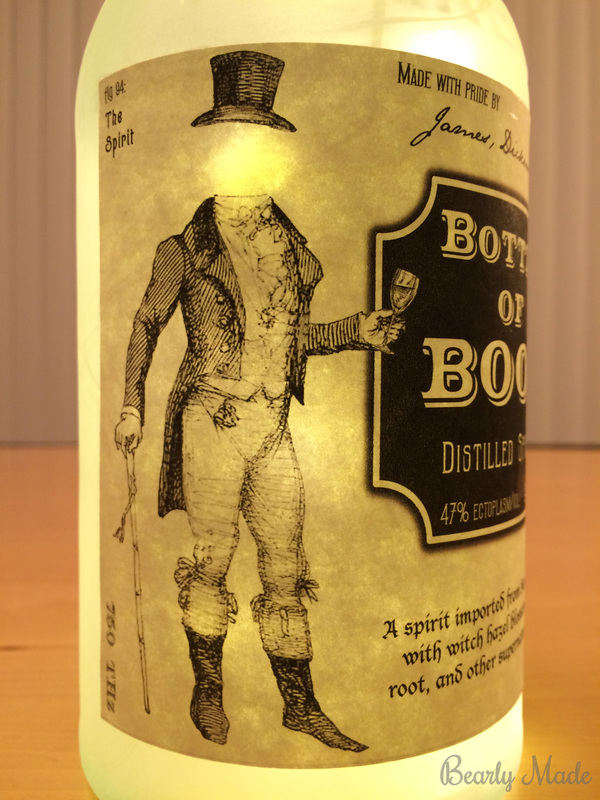
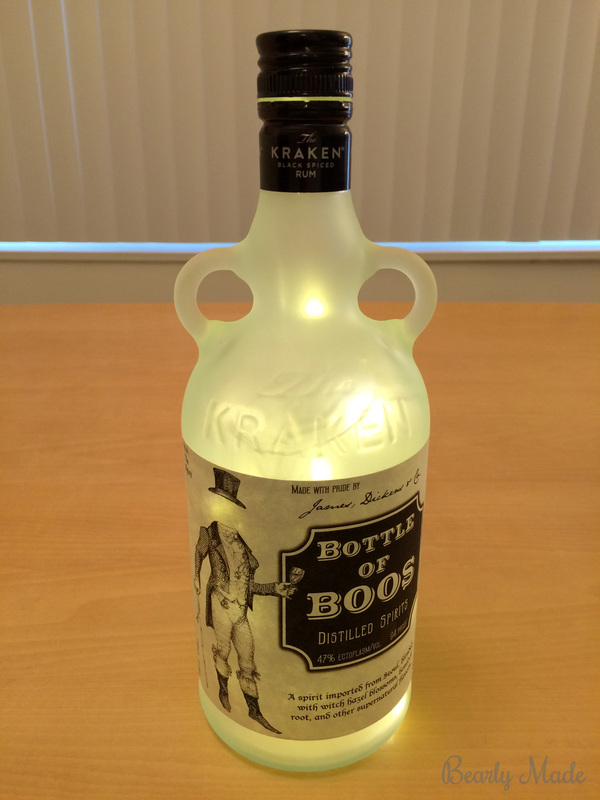
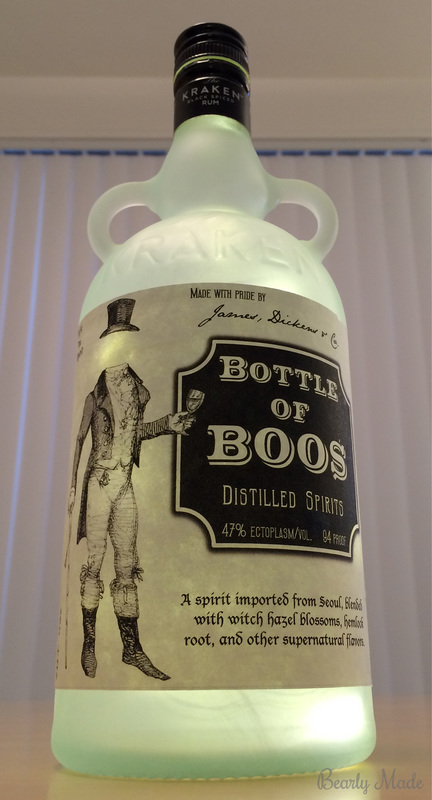
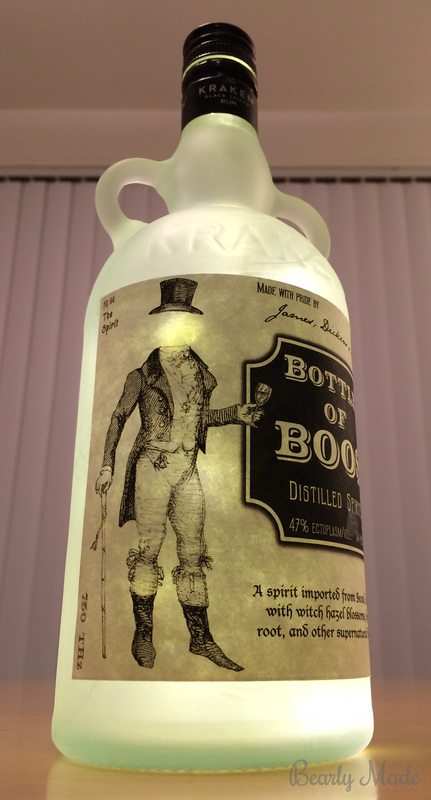
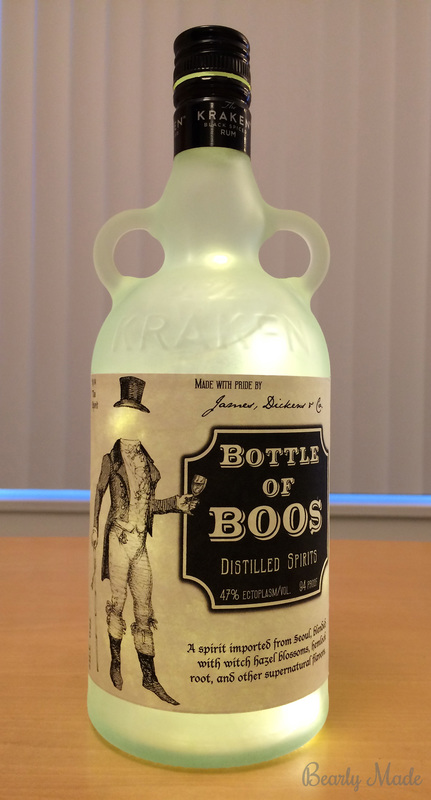
First, here is what the finished product looks like.
First, here is what the finished product looks like.
Materials
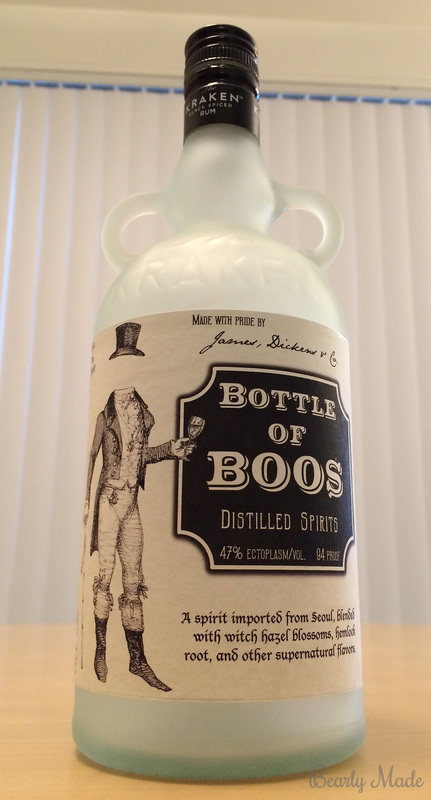
- Bottle (I used a Kraken Black Spiced Rum bottle, find one here.)
- Lights (I purchased mine at CVS around Christmas time in 2014, find similar here.)
- Drill (I used my Black and Decker cordless drill.)
- Drill bit (I used a Bosch glass and tile bit, 1/4” or 5/16”, I don’t remember. I got mine here.)
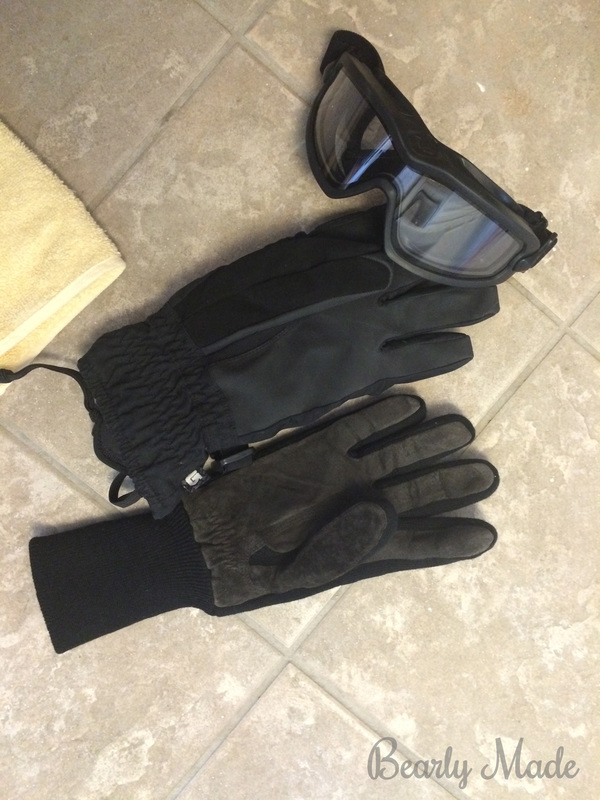
- Gloves
- Protective eyewear (I got mine here.)
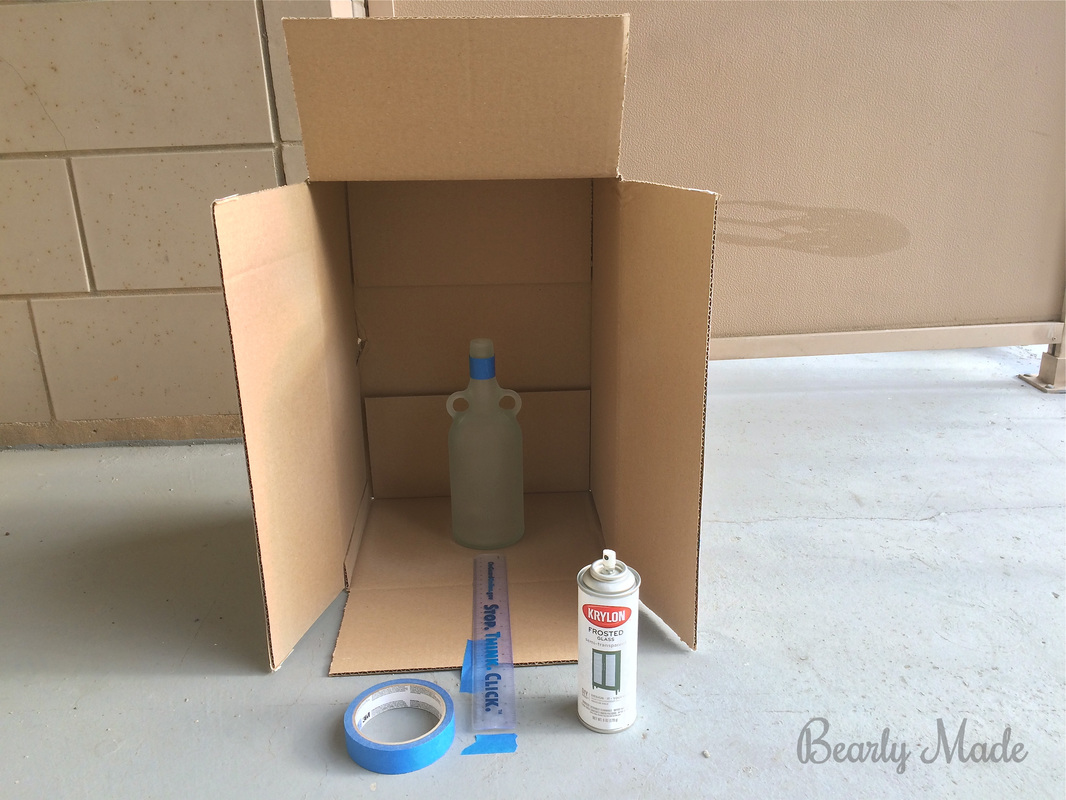
- Box
- Tape
- Paint (I used Krylon brand Frosted Glass Finish spray paint in white, which I got here.)
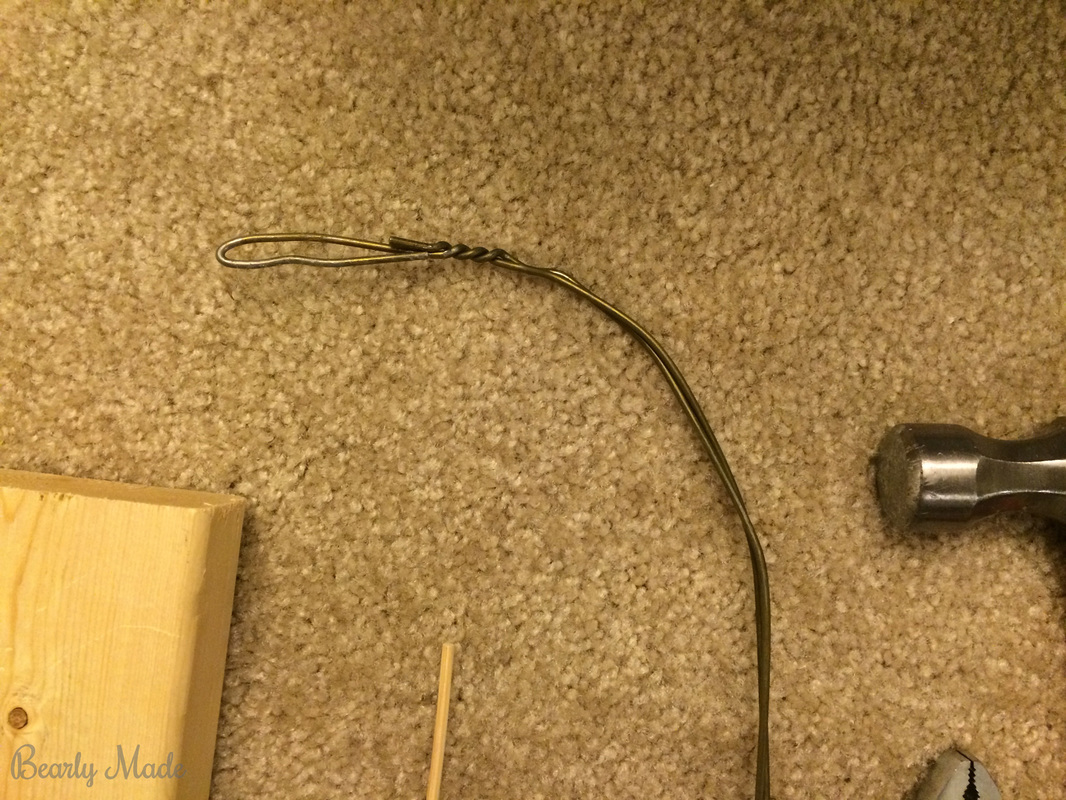
- Bent coat hanger, skewer, chopsticks, knitting needle, crochet hook (To push around the lights.)
- Pliers and hammer (To bend the coat hanger.)
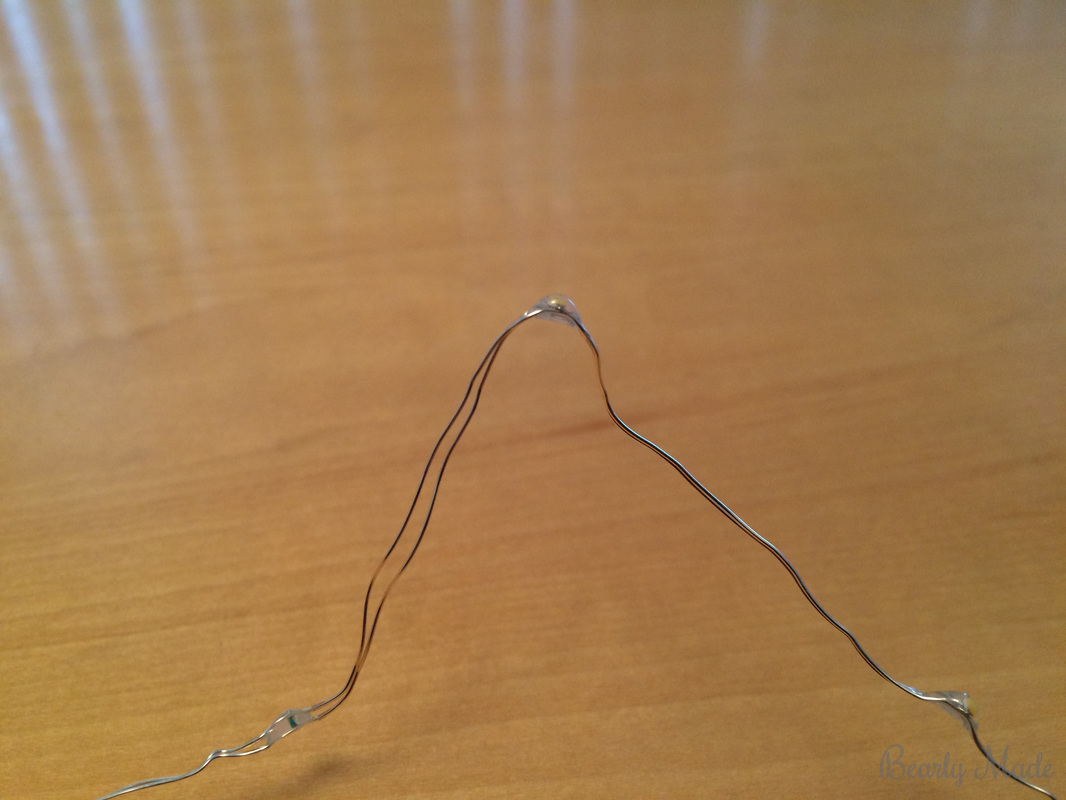
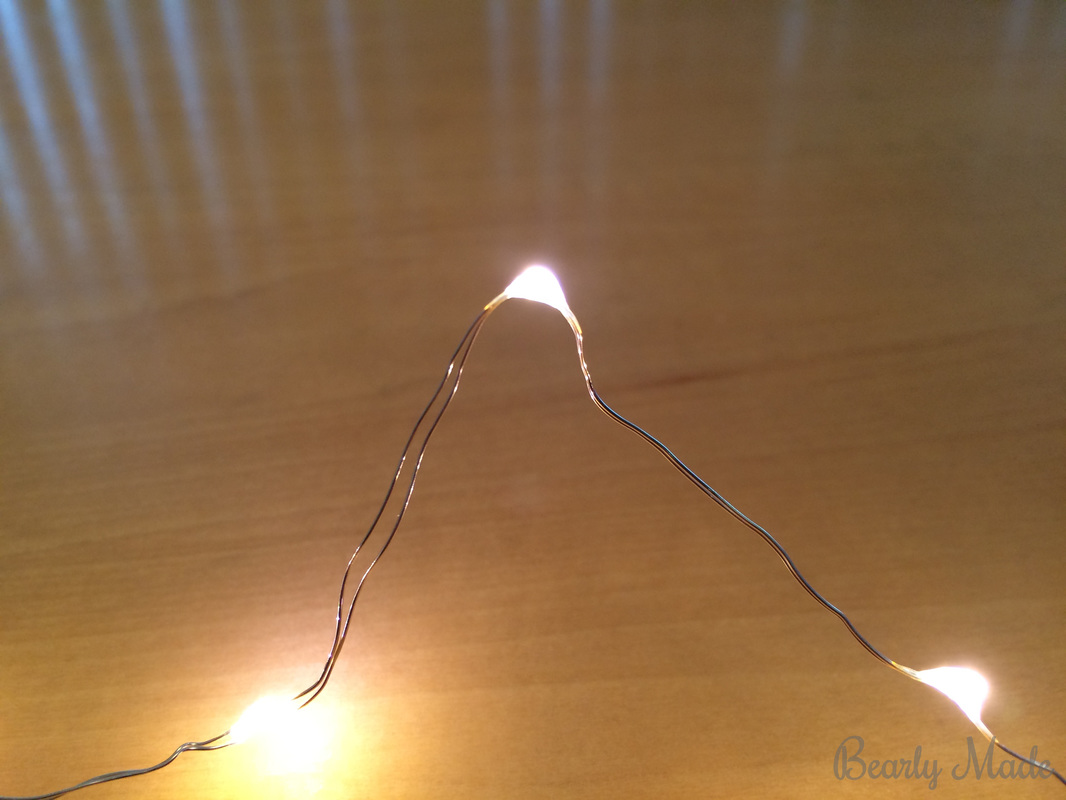
Selecting Your Lights
I used battery operated LED wire lights, which I got at CVS around Christmas time in 2014. I love these particular lights because they have flashing and phasing settings. The phasing setting looks great. The lights pulse, slowly growing brighter, and slowly getting dimmer. I haven’t been able to find any other lights with this setting.
For my first bottle (the quasi-failure) I used battery operated LED wire lights (36 inches, 18 warm white bulbs), which I got at Bed Bath & Beyond. You can find them here.
Before I found lights at Bed Bath and Beyond, I used the Google shopping search engine to search for them. I got good results when I used the following words:
I didn’t use a specific number of bulbs or a specific wire length near the end of my search, because there is a lot of variety between the products, and it makes the search overly narrow.
You can also use the following words to narrow your search:
Features you might be interested in:
Power
Settings
For my first bottle (the quasi-failure) I used battery operated LED wire lights (36 inches, 18 warm white bulbs), which I got at Bed Bath & Beyond. You can find them here.
Before I found lights at Bed Bath and Beyond, I used the Google shopping search engine to search for them. I got good results when I used the following words:
- warm led wire battery
I didn’t use a specific number of bulbs or a specific wire length near the end of my search, because there is a lot of variety between the products, and it makes the search overly narrow.
You can also use the following words to narrow your search:
- 3’, 6.5’, 8’, 20’
- 36”
- 3, 6.5, 8, or 20 ft or feet
- 36 in or inch
- 12, 18, 20, or 25 bulb
- 12, 18, 20, or 25 LED
- Battery
- Battery operated
- Battery powered
- Bridal
- Clear
- Cool
- Copper
- Fairie
- Fairy
- LED
- Light
- Lite
- Micro
- Mini
- Rice
- Silver
- String
- Submersible
- Teardrop
- Vase led string
- Warm
- Waterproof
- Wedding
- White
- Wire
Features you might be interested in:
Power
- Battery-operated. AA or AAA batteries are gonna be a lot cheaper than lights powered by those tiny round batteries. I prefer battery-operated lights because the strings are shorter and I can move the bottle anywhere.
- Plug-in
- Remote controlled
- Solar
Settings
- Fading / Phasing
- Flashing
- Steady off
- Steady on
- Timer
Preparing the bottle
Remove the label.
- Run hot water on it.
- Use a dish scraper to remove most of the label. I got mine here.
- Apply Goo Gone.
- Rub with a paper towel.
- Wash the bottle with dish soap.
Drilling the hole
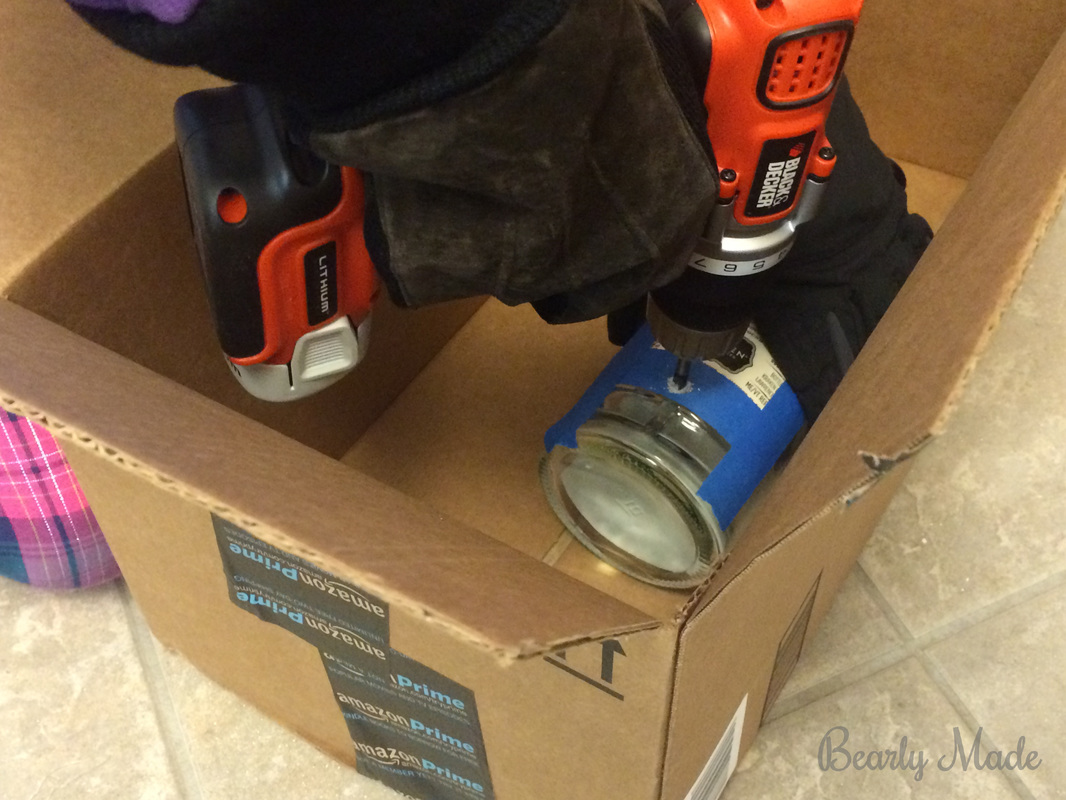
- Place a couple layers of painter’s tape on and around the area you will drill. This will help keep the glass from cracking. On the tape, mark the spot you plan to drill.
- Put your glass and tile drill bit in the drill.
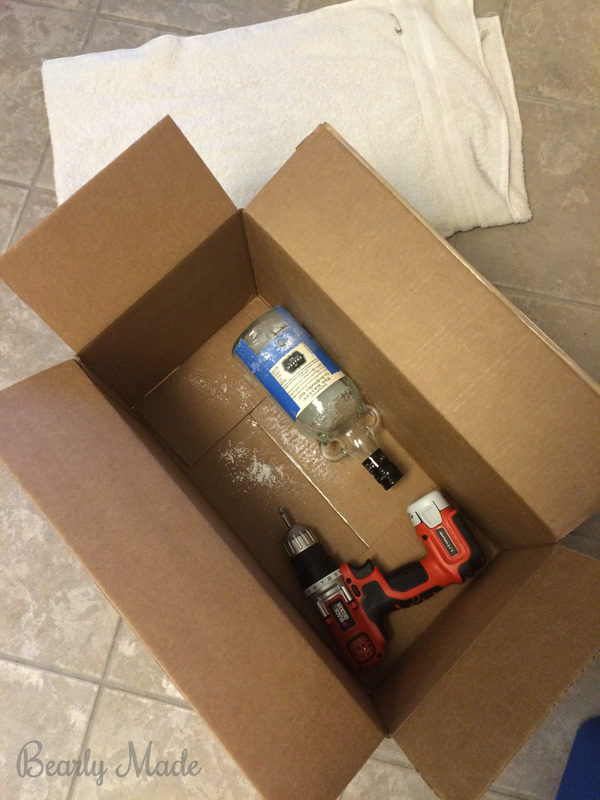
- Put on your gloves and protective eyewear. I didn’t find this process to be extremely dangerous, but it is better to be safe than sorry. I did not want a shard of glass to fly in my eye. Put the bottle in a box during the drilling to collecting the dust and shards of glass.
- Start drilling. Apply light to moderate pressure. If you apply too much pressure, the glass could crack. Every 2 minutes, stop drilling for 20 seconds. This will allow the glass and the drill to cool down. If the glass gets too hot, it could crack. The first time I drilled a hole in a bottle, it took me about 45 minutes. The second time, it took me about 20 minutes, because I was more bold. The second time I drilled, I was happy with my hole, but it was less neat than my first hole. It does have some areas where glass chipped away, which I think I could have avoided by going more slowly.
- You can use a Dremel to smooth the hole, but I don’t own one yet. It’s not really necessary. I don’t think the texture of the hole has hurt the light string or anything.
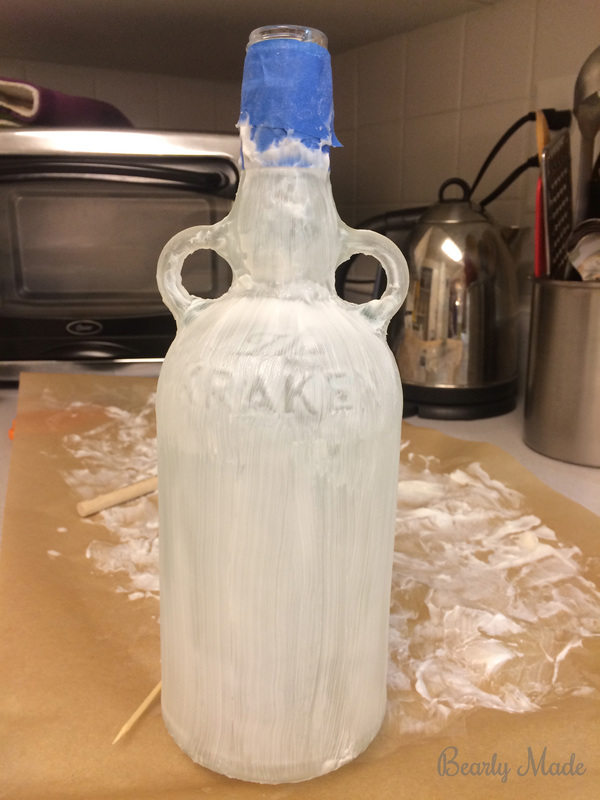
Frosting the glass
- It is important to drill the hole before frosting the glass. On one occasion, I frosted the glass before drilling the hole. I didn’t have any problems, but I don’t think it was a good idea. The paint is flammable, and the drill can get pretty hot.
- Tape up any areas on the bottle where you don’t want paint.
- Wipe down the bottle with Isopropyl Alcohol.
- Set up in a well-ventilated area. I did my painting on my balcony. I did my painting on a sunny winter day. I read that this paint will turn blotchy and yellow if you spray it in weather that is too cold, so be careful. I set up a box to put the bottle in, so that I didn’t get too much paint on my ground and walls. I taped the flaps of the box so that they wouldn’t close while I was working. I used tape to mark the distance between the bottle and where I wanted to hold the can of spray paint.
- My process was this. I faced the front of the bottle towards me. I sprayed back and forth about 6 times, slightly overlapping each row. I held my breath while I was spraying.
- I stepped away for 30 seconds in between each spray to catch my breath and to allow the paint to dry.
- I turned the bottle and repeated these step on the back, and then on each of the sides. Sometimes I tilted the can or sprayed a little extra to make sure I covered the top of the bottle’s curve and the little handles on the bottle.
- I repeated these steps. I think I covered the bottle in about 4 to 6 layers.
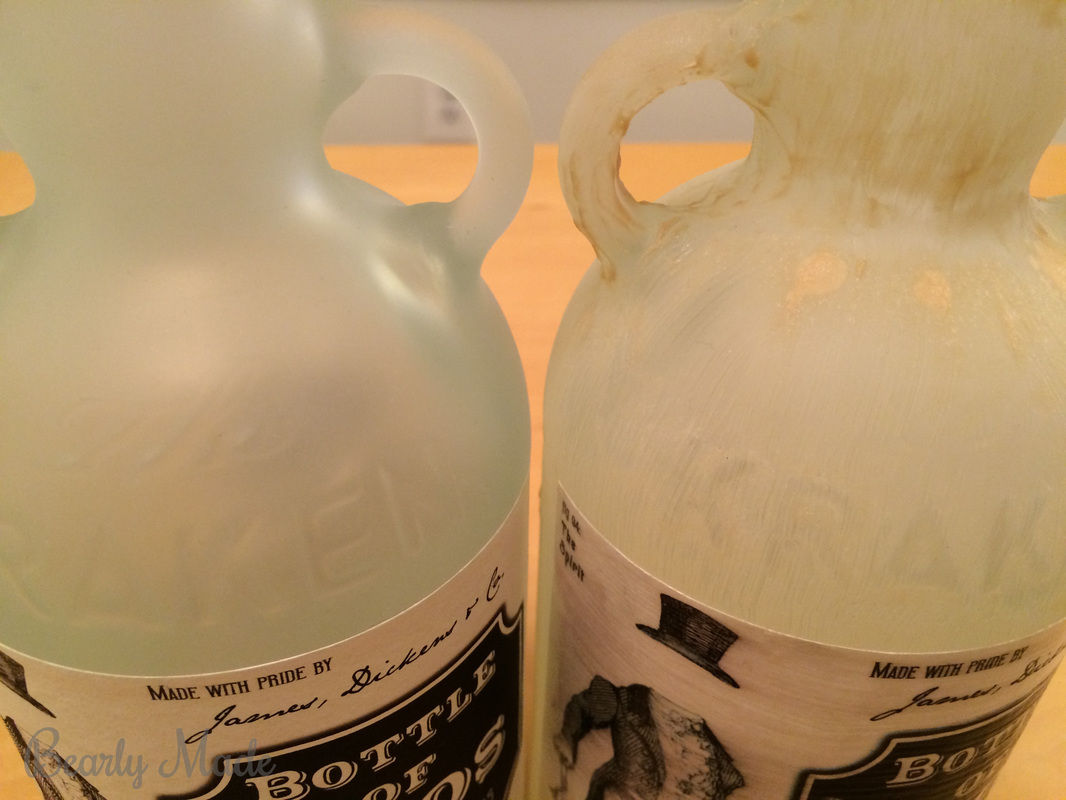
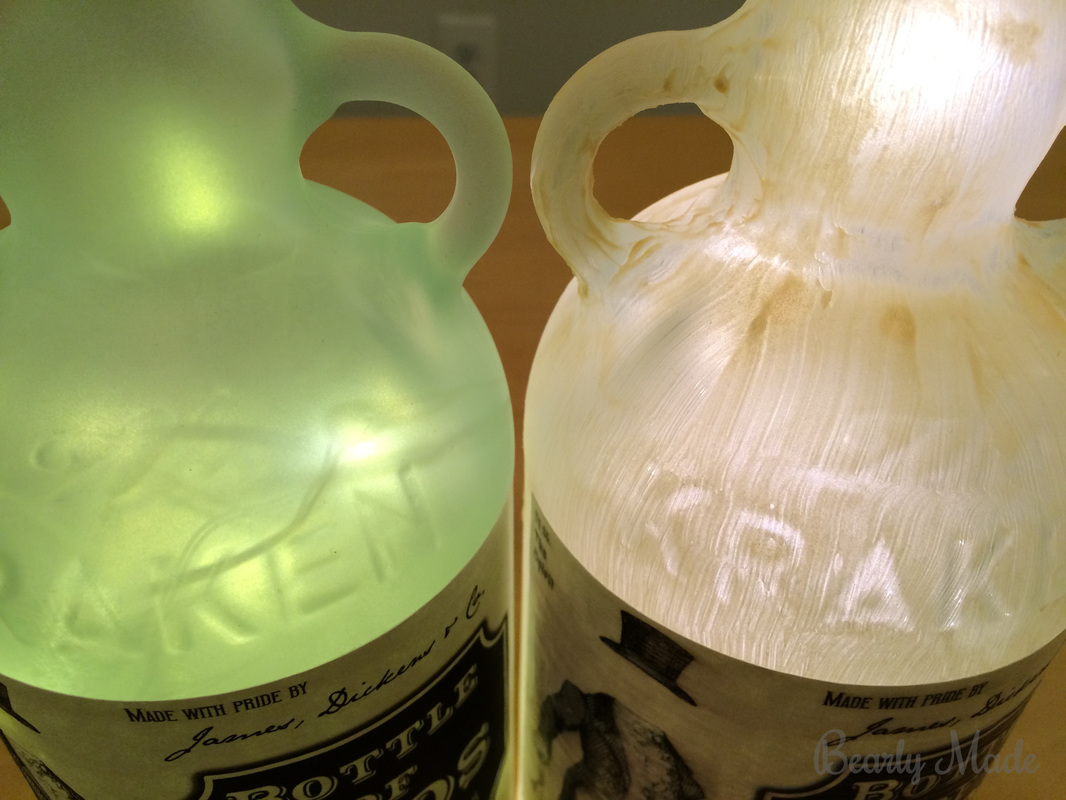
First experiment
On a side note, I experimented with other frosting paint before I was successful with the Krylon spray paint. The other paint I tried was Martha Stewart Crafts brand Glass Paint in Frost Translucent, which I got here. You apply the paint and bake the glass in the oven. You can see the difference below.
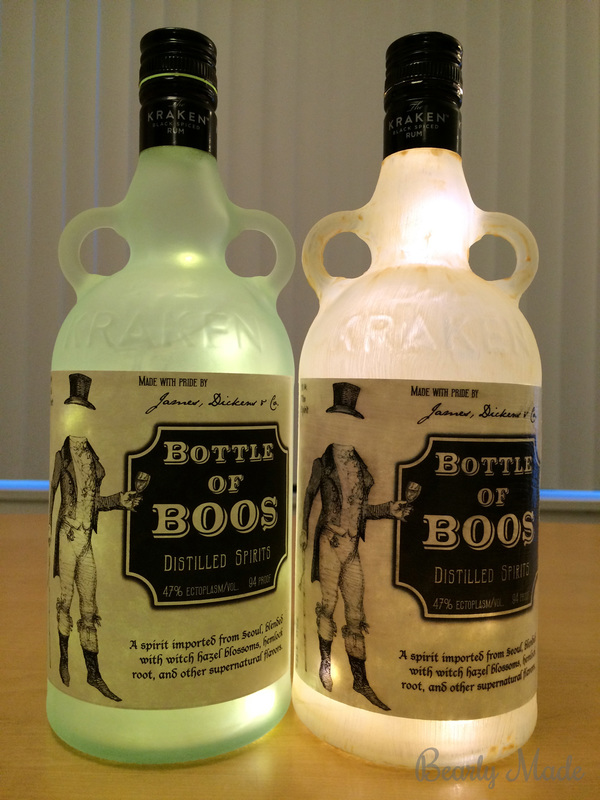
Installing the lights
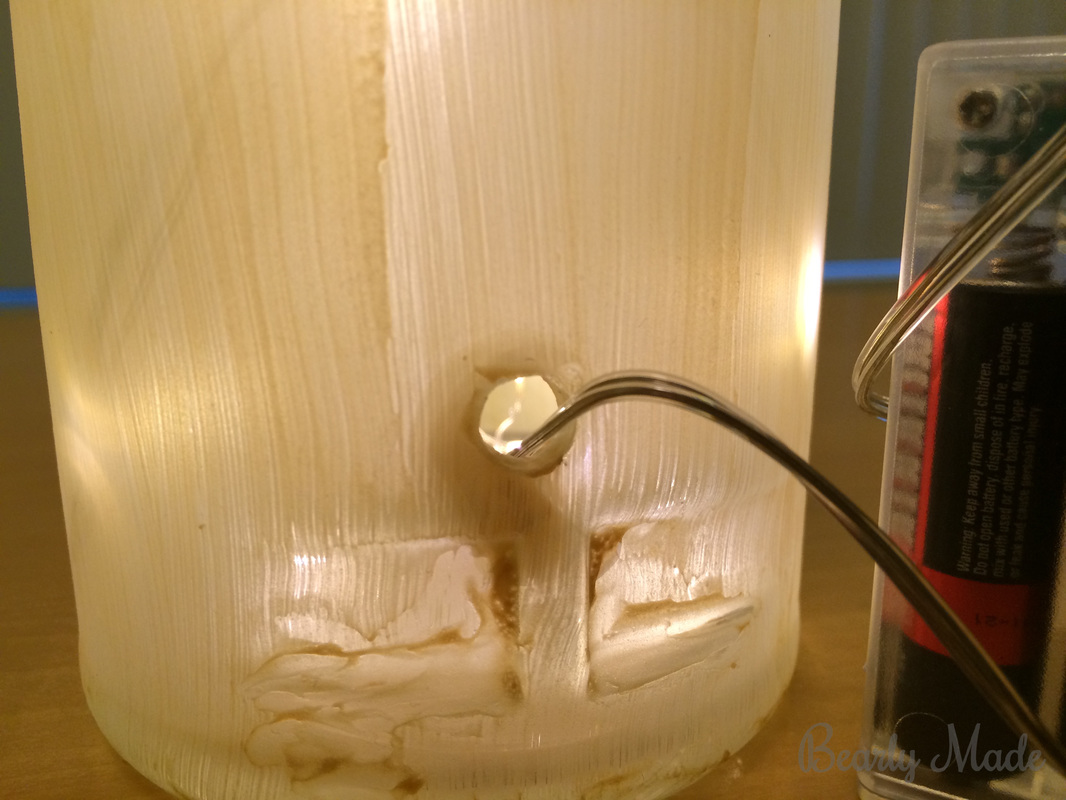
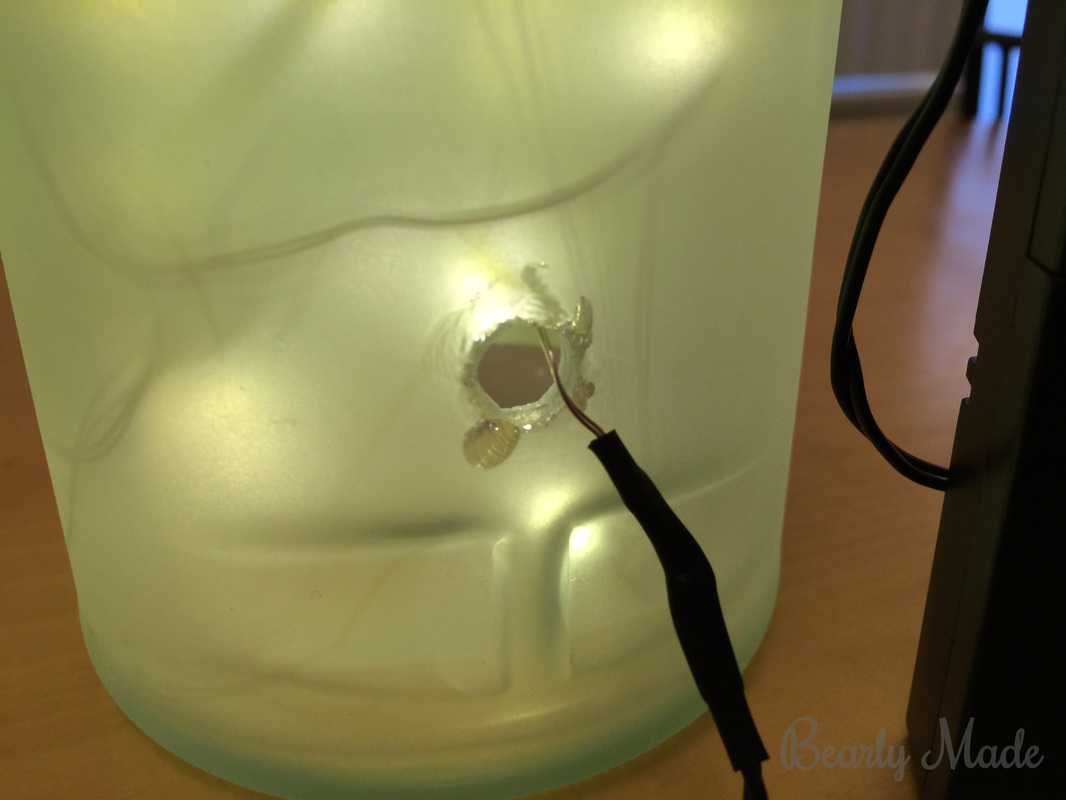
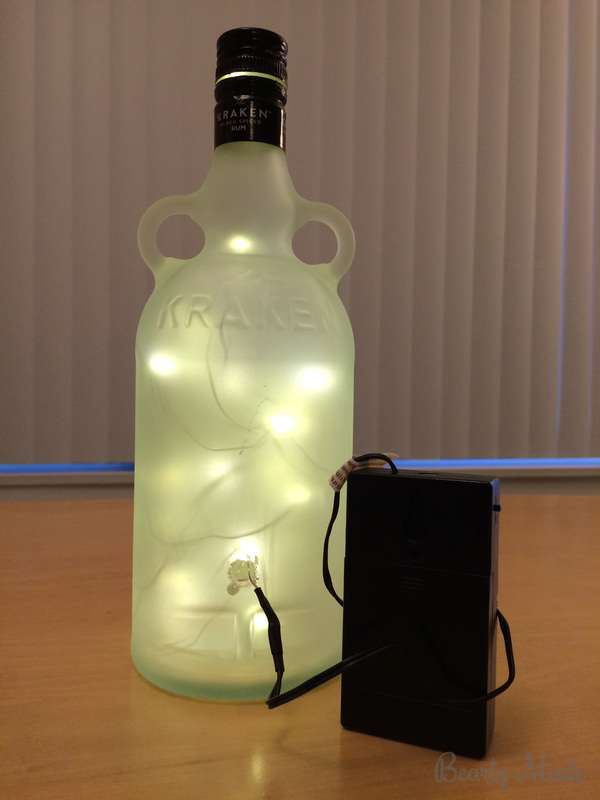
- I installed the lights after affixing the label. To see how I created and affixed the label, see my next post!
- I fed the loose end of the light string (the end not attached to the batteries) through the hole that I drilled. Using gravity and the crochet hook, I got the end of the light string to come up to the opening of the bottle at the top. I gently pulled the lights completely through the top. Then I gently pushed the lights back into the bottle. I tried to get the lights to be evenly dispersed throughout the bottle.
- I used my skewer and coat hanger to push around the lights and get them where I wanted. I had to use a bent coat hanger at some points. The skewer was too straight, and the bottleneck was too narrow to achieve some of what I wanted. Once I got the lights where I wanted, they stayed in place, because the string is made of wire.

Variations
If this project seems too daunting or you don’t have all the tools, there are less intense variations! For example, instead of drilling a hole in your bottle, you can insert the lights through the neck of the bottle.
Inspiration
I was inspired by pictures I saw on Pinterest. There are a lot of Bottles of Boos lights out there. I have seen some on Etsy, like this one here.
I also looked up tutorials on how to drill through glass, like this one here.
I also looked up tutorials on how to drill through glass, like this one here.
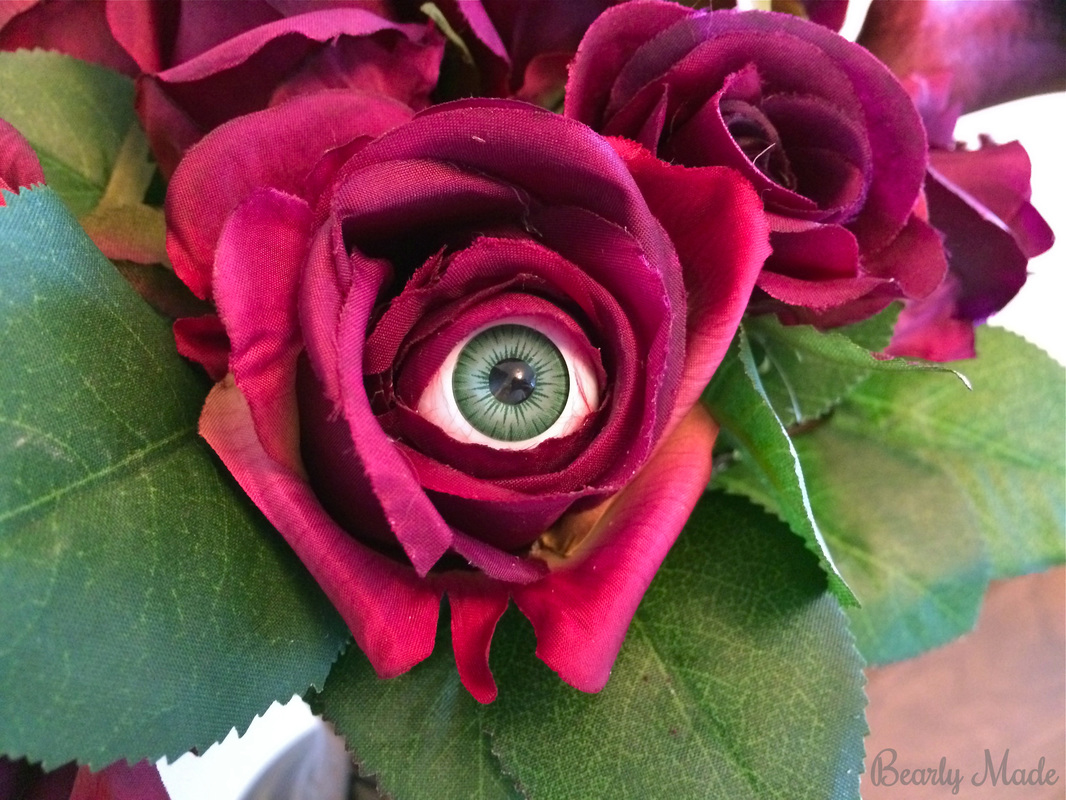
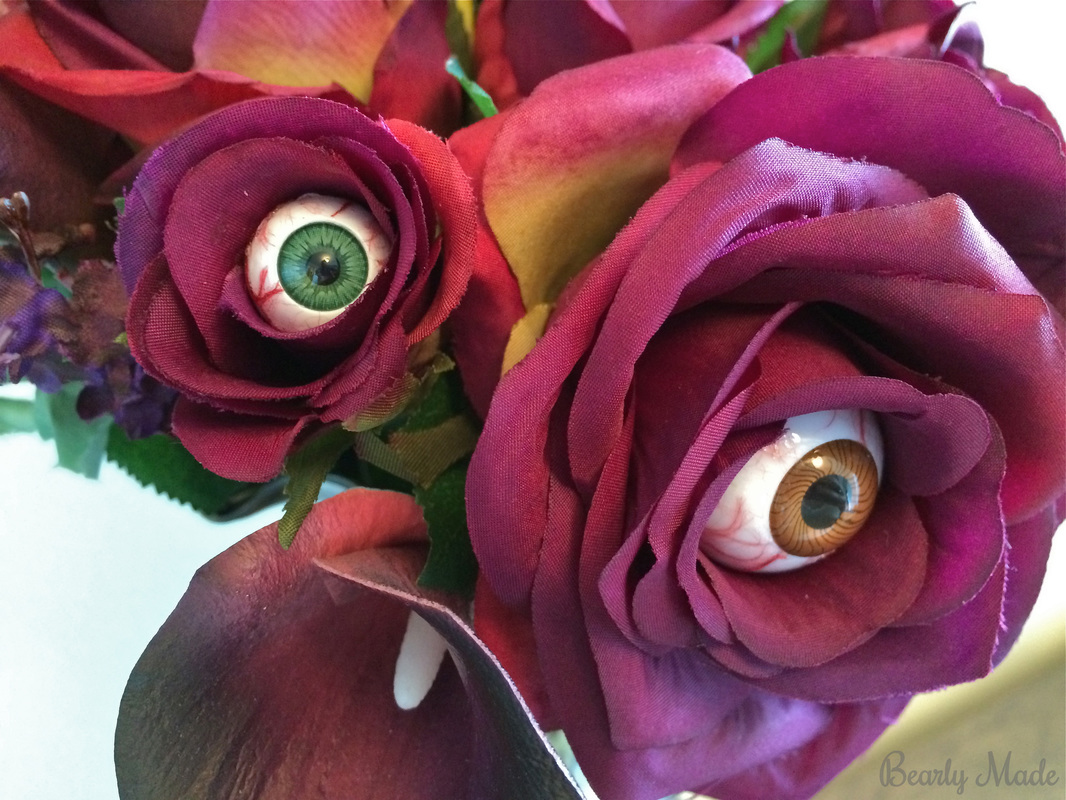
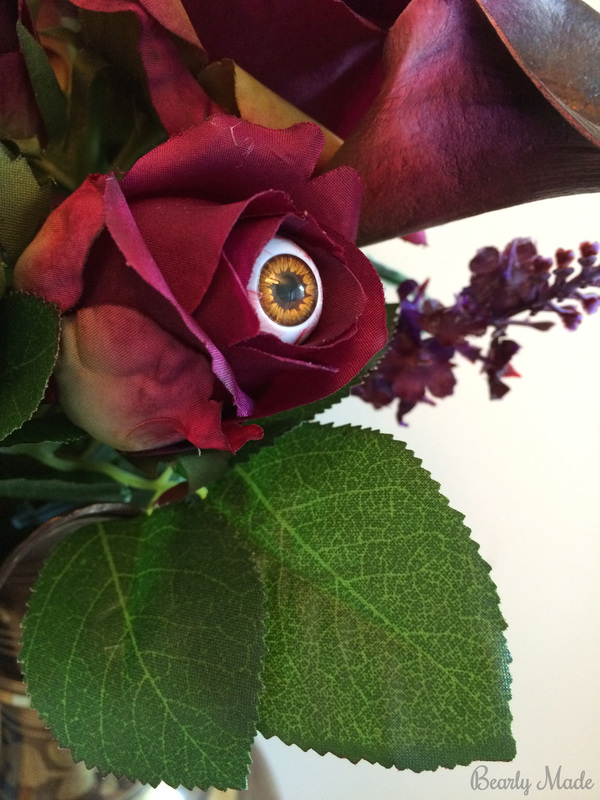
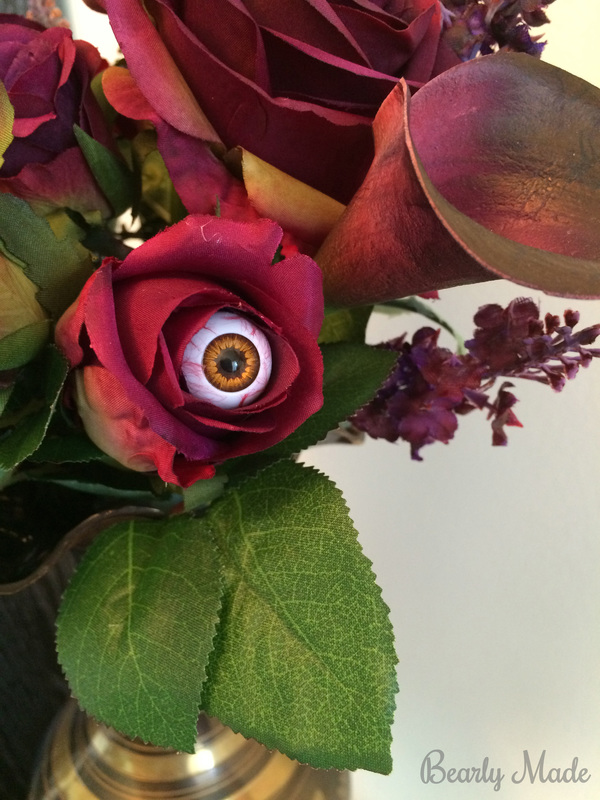
Gallery
Thanks for reading!
Try making your own Bottle of Boos and share your results in the comments below!
Warm wishes,
Alex
<a href="http://www.bloglovin.com/blog/13243307/?claim=kxhdhu2jhqa">Follow my blog with Bloglovin</a>
Warm wishes,
Alex
<a href="http://www.bloglovin.com/blog/13243307/?claim=kxhdhu2jhqa">Follow my blog with Bloglovin</a>
 RSS Feed
