Bearly Made
  • Home
  • About
    • About Me
    • Contact Me
    • Privacy
  • Home Decor
    • Year Round
    • Christmas
    • Halloween
  • Home Care
    • Cleaning
  • Fashion
    • Tips
  • Crochet
    • Amigurumi

Eye Bouquet

6/19/2015

4 Comments


Hi folks!

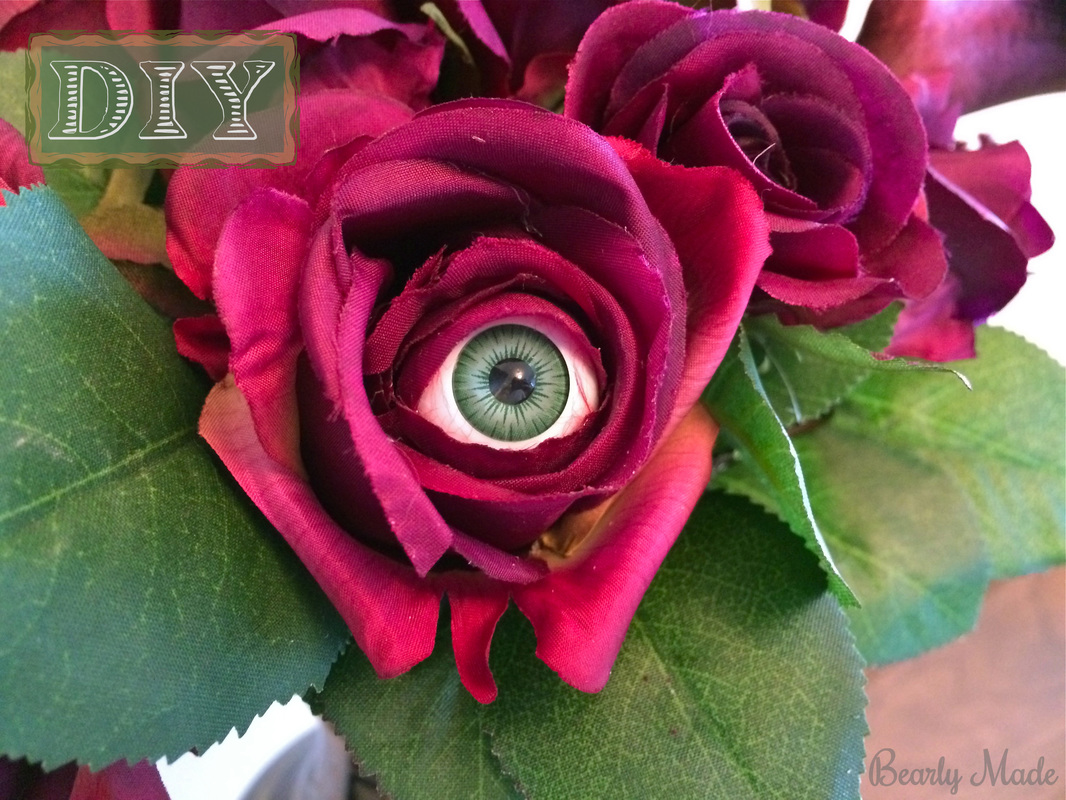
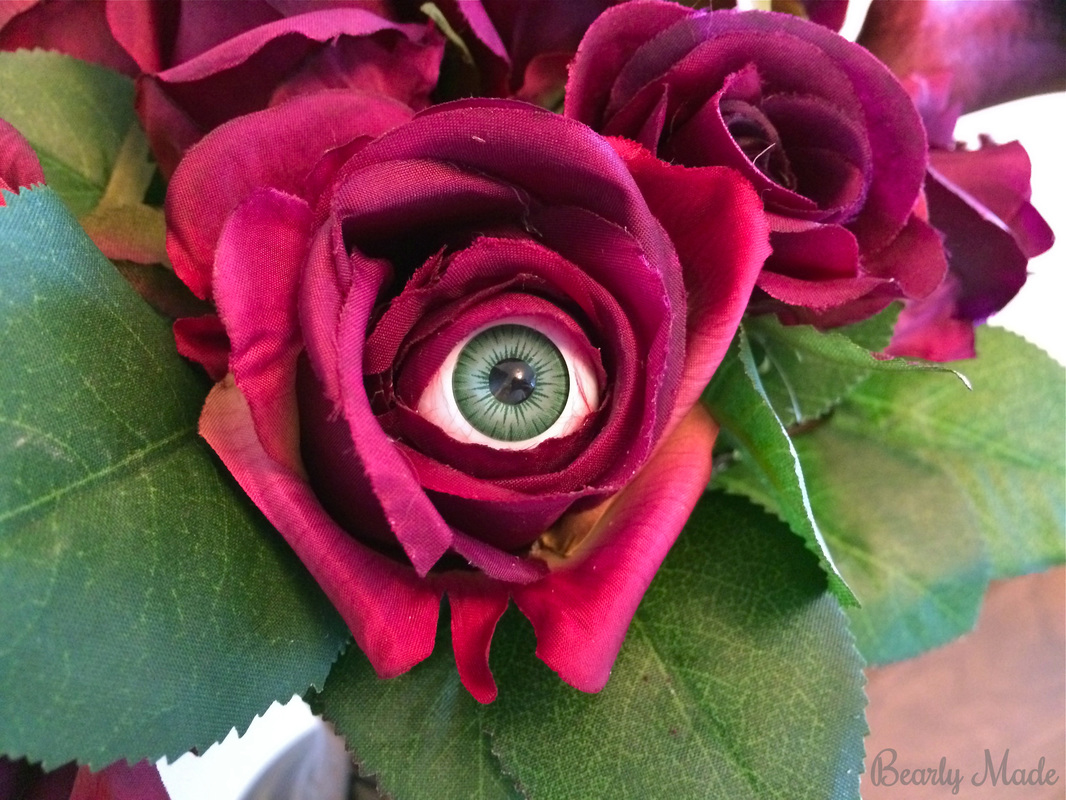
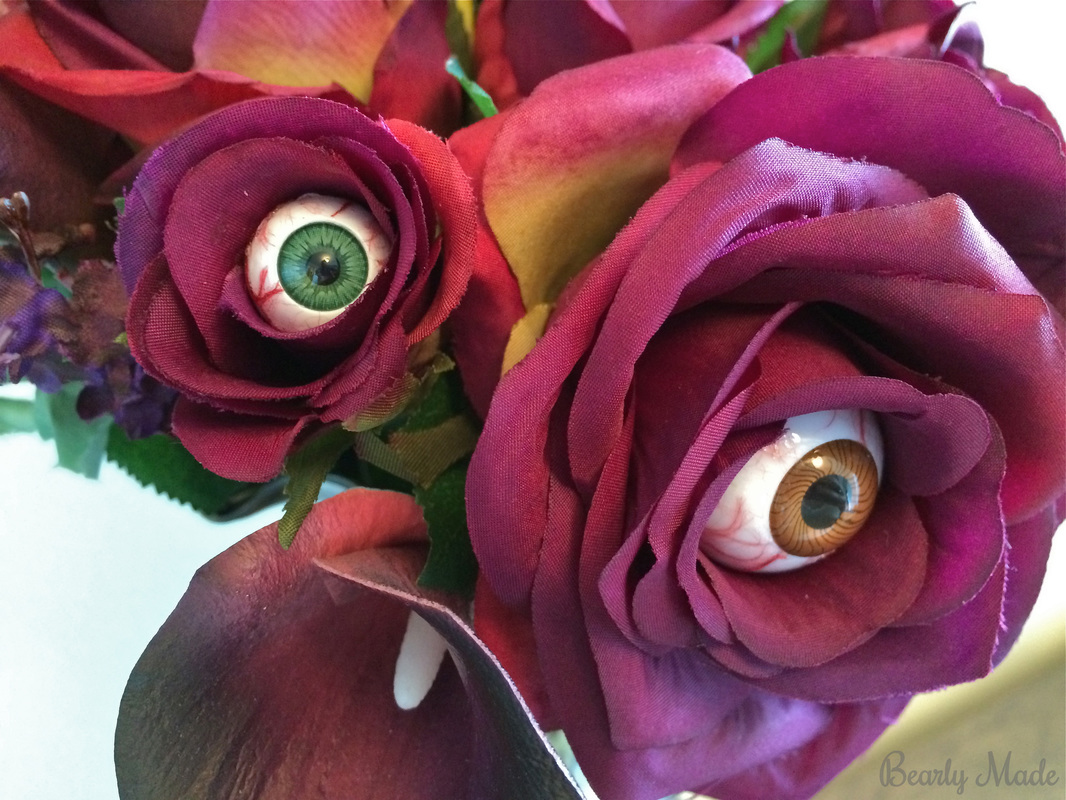
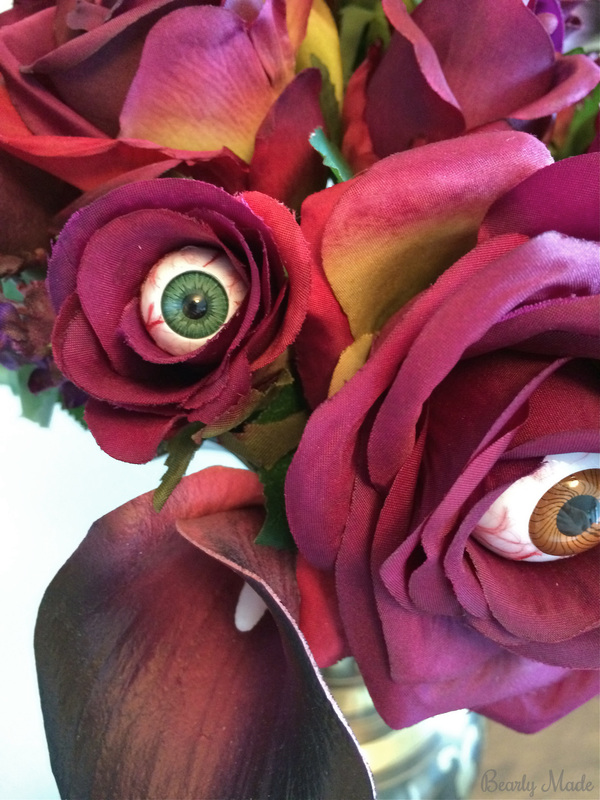
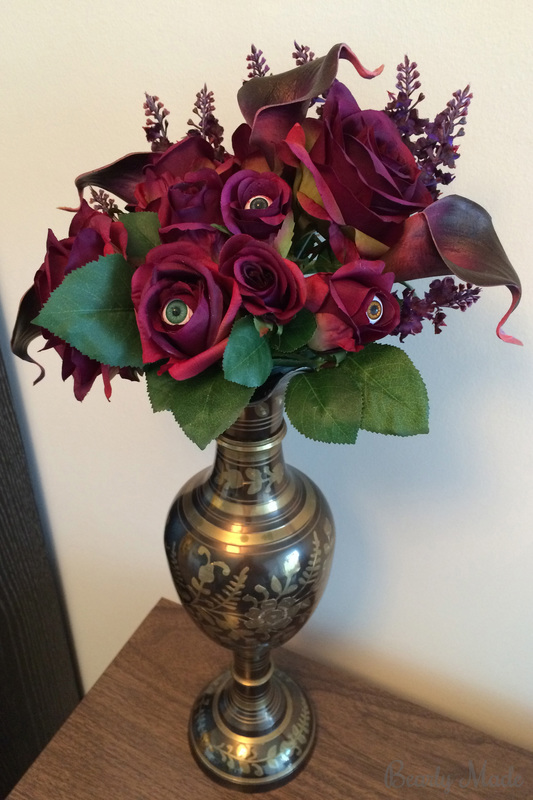
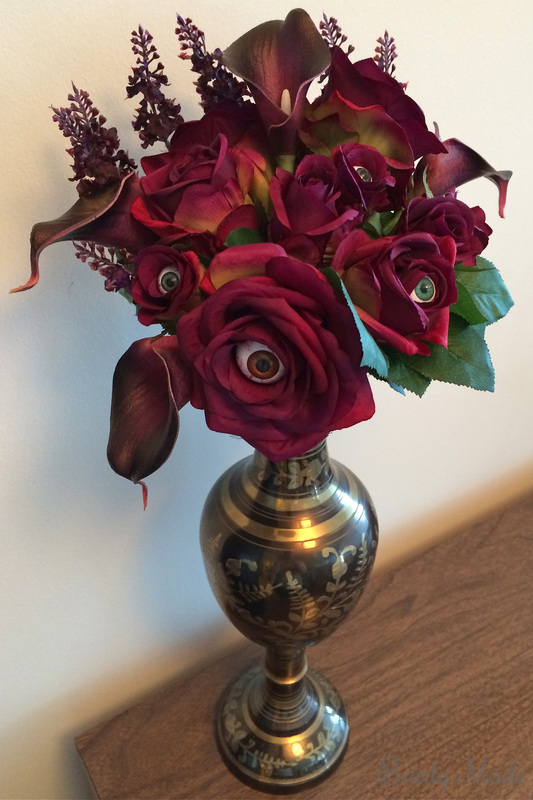
This post is about an awesome eye bouquet I made for Halloween!
Eye bouquet #eye #eyes #eyeball #bouquet #flowers #Halloween #crafts #DIY

The Project

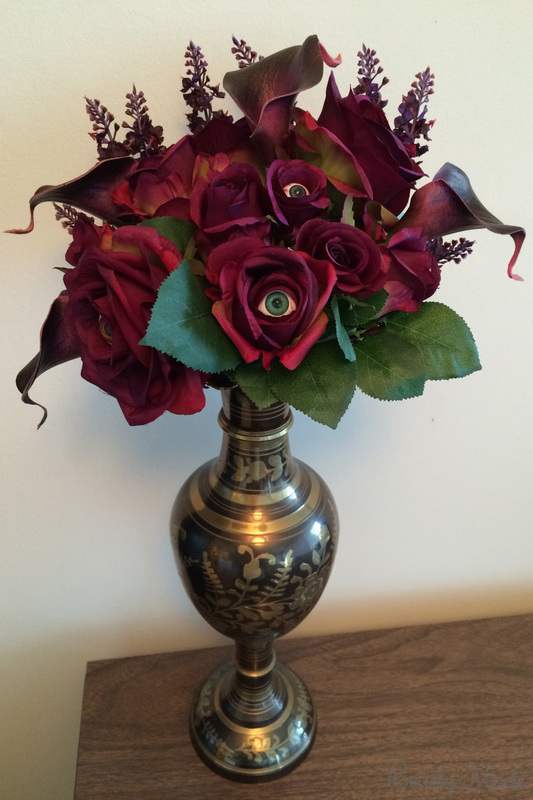
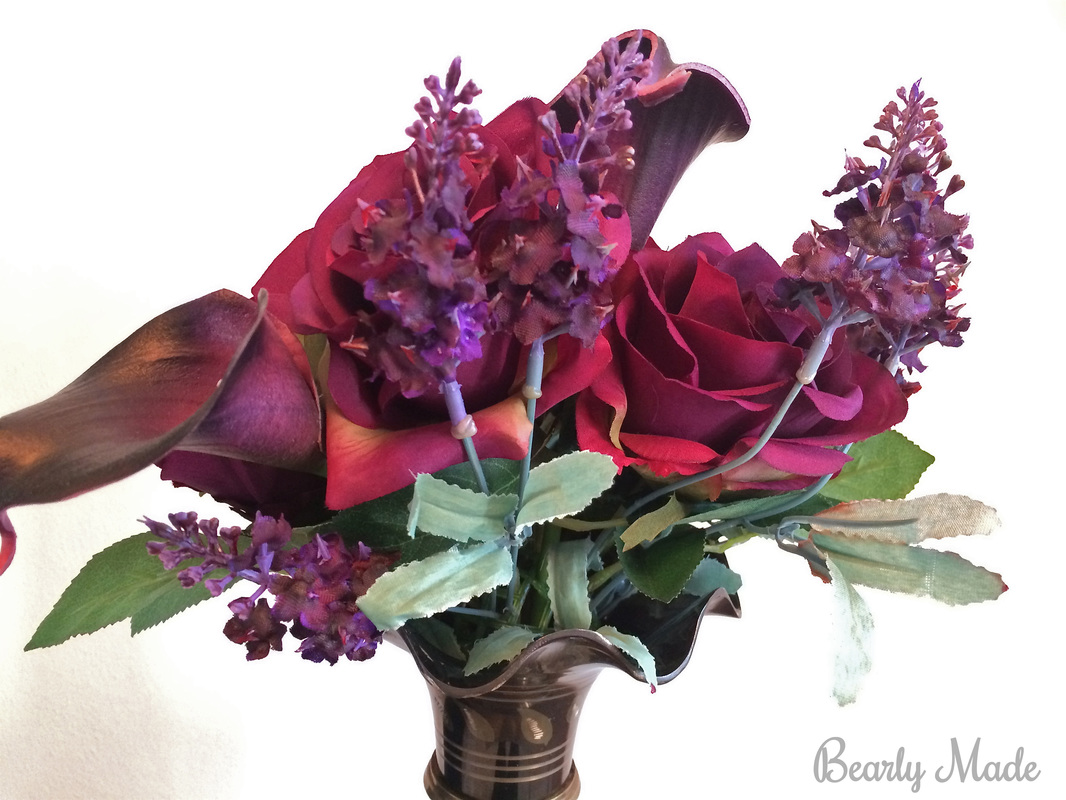
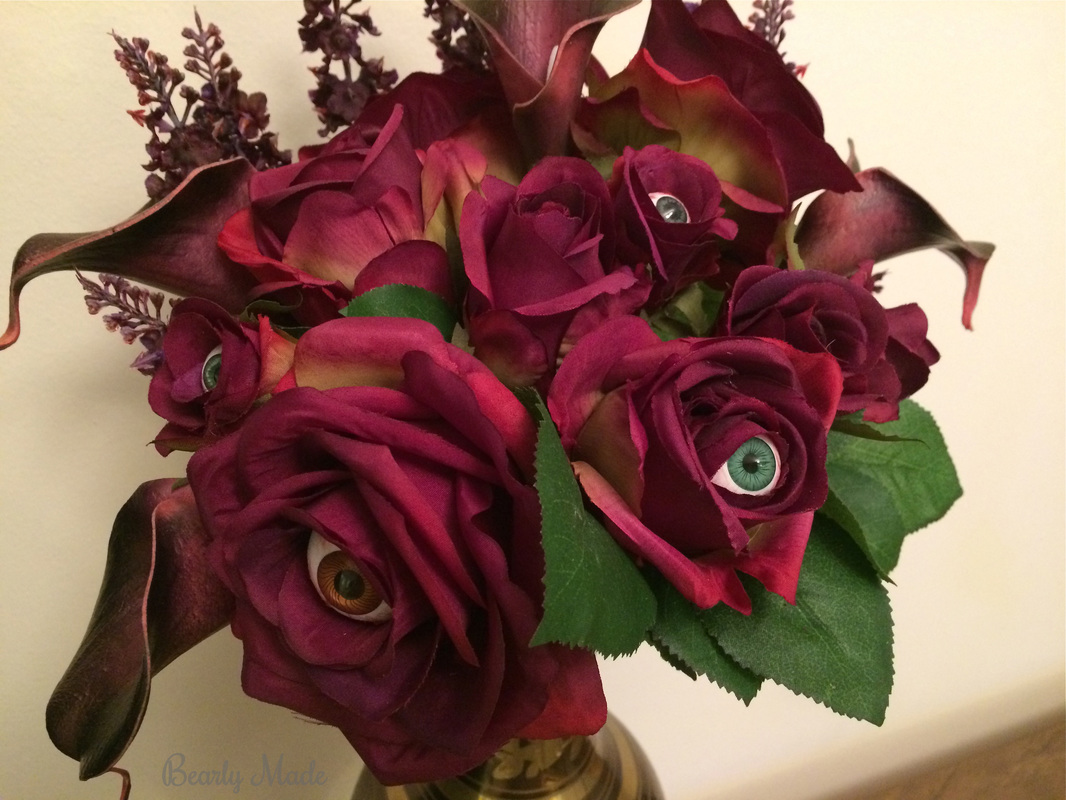
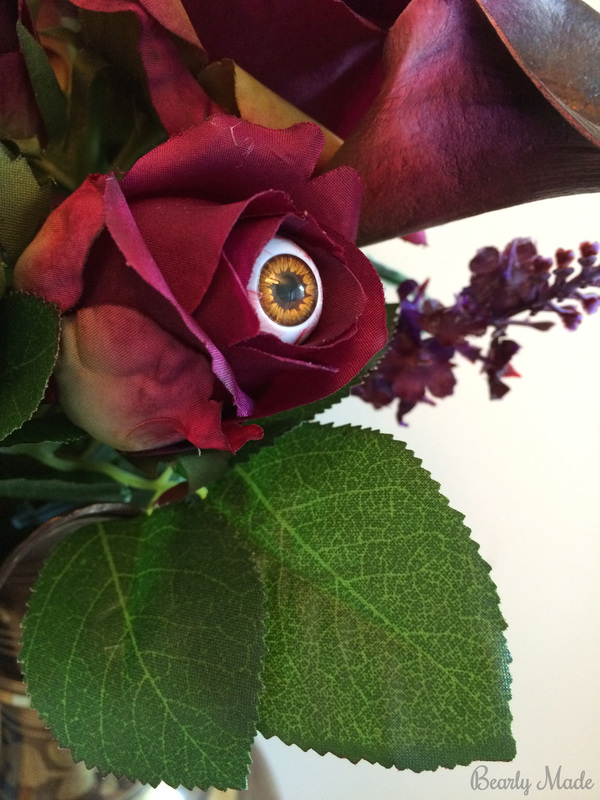
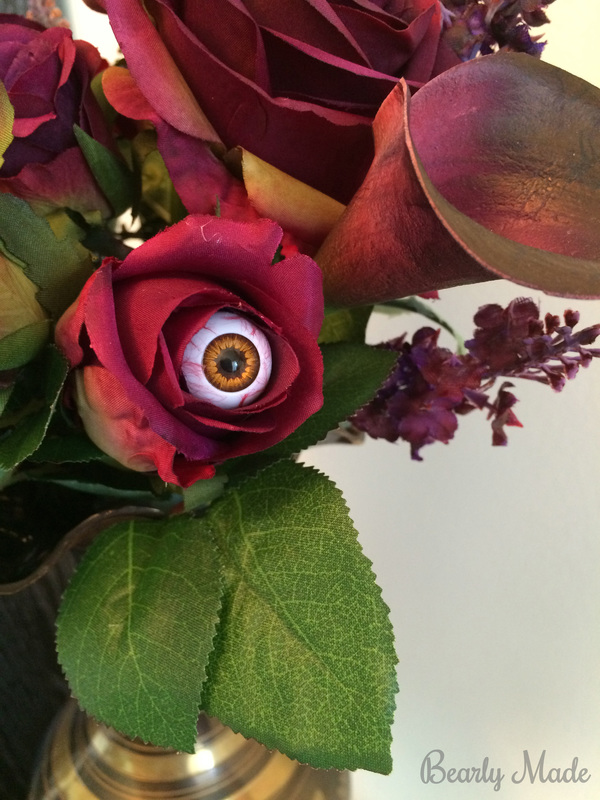
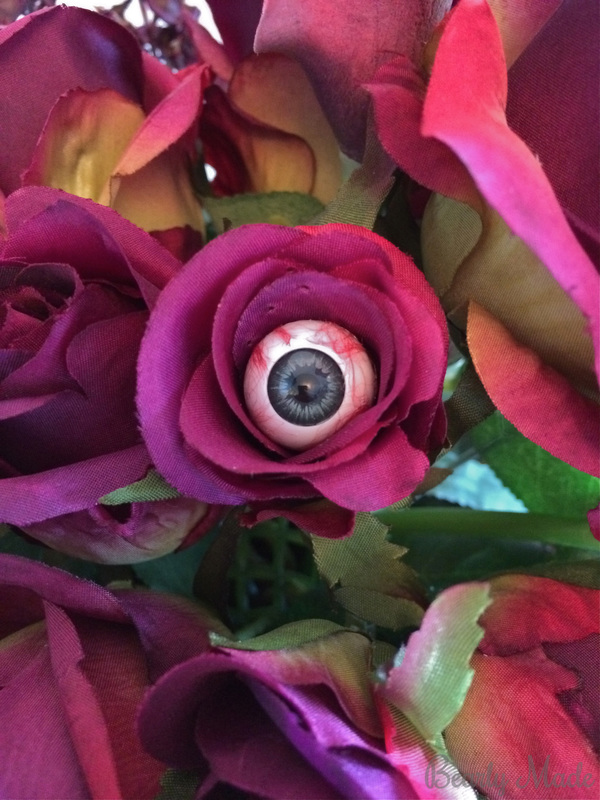
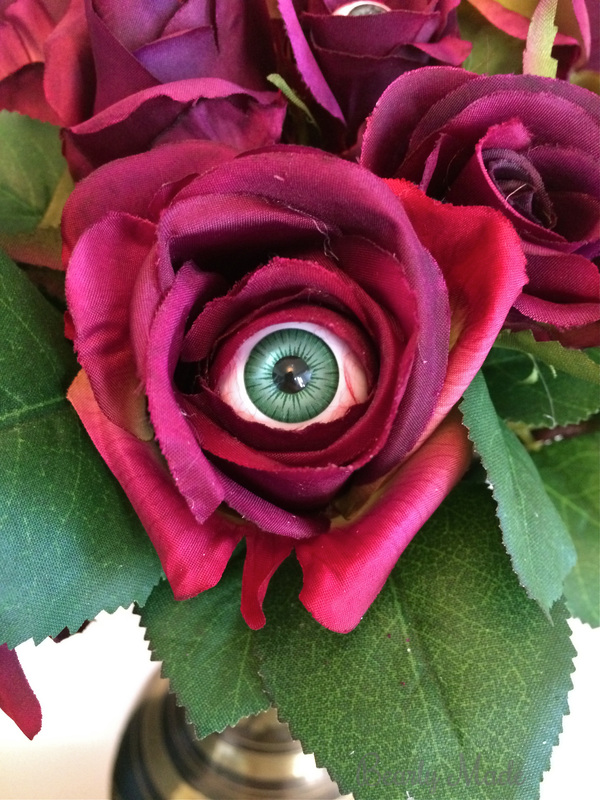
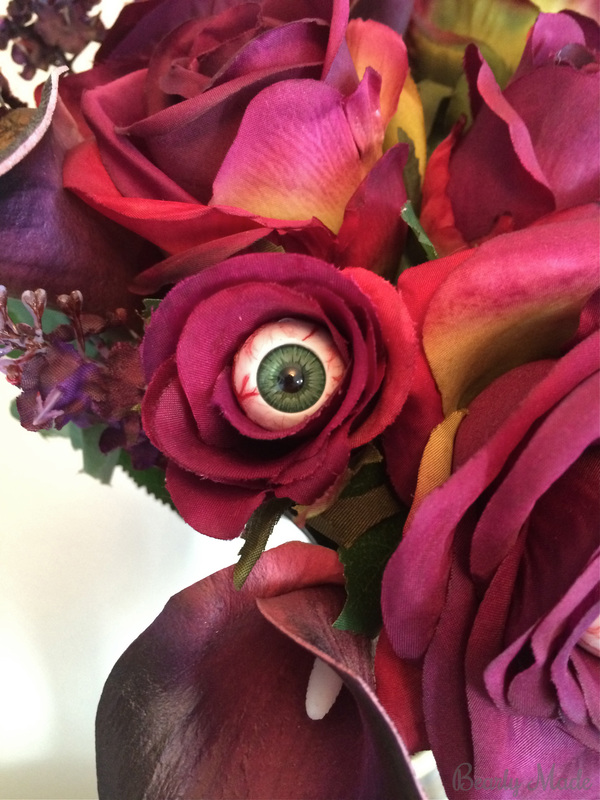
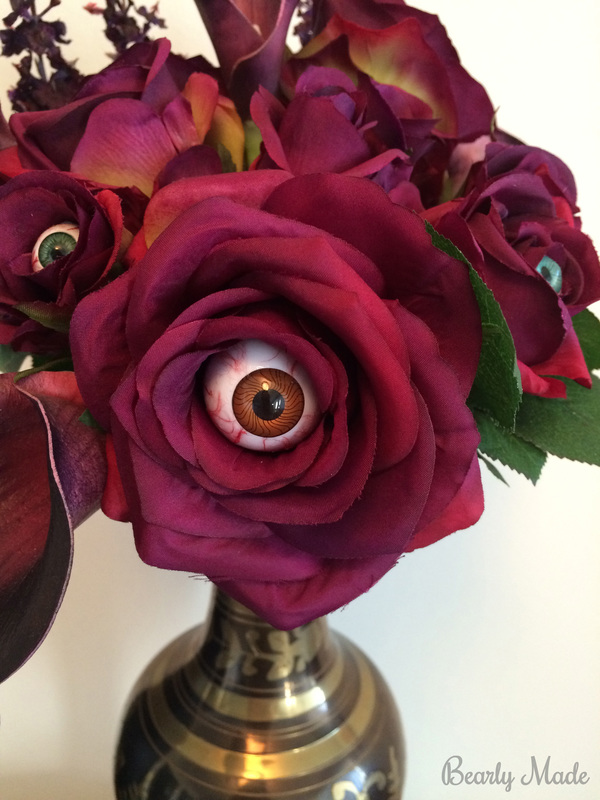
First, here is what the finished product looks like.
Eye bouquet #eye #eyes #eyeball #bouquet #flowers #Halloween #crafts #DIY

Materials

  • Artificial roses (I got mine here.)
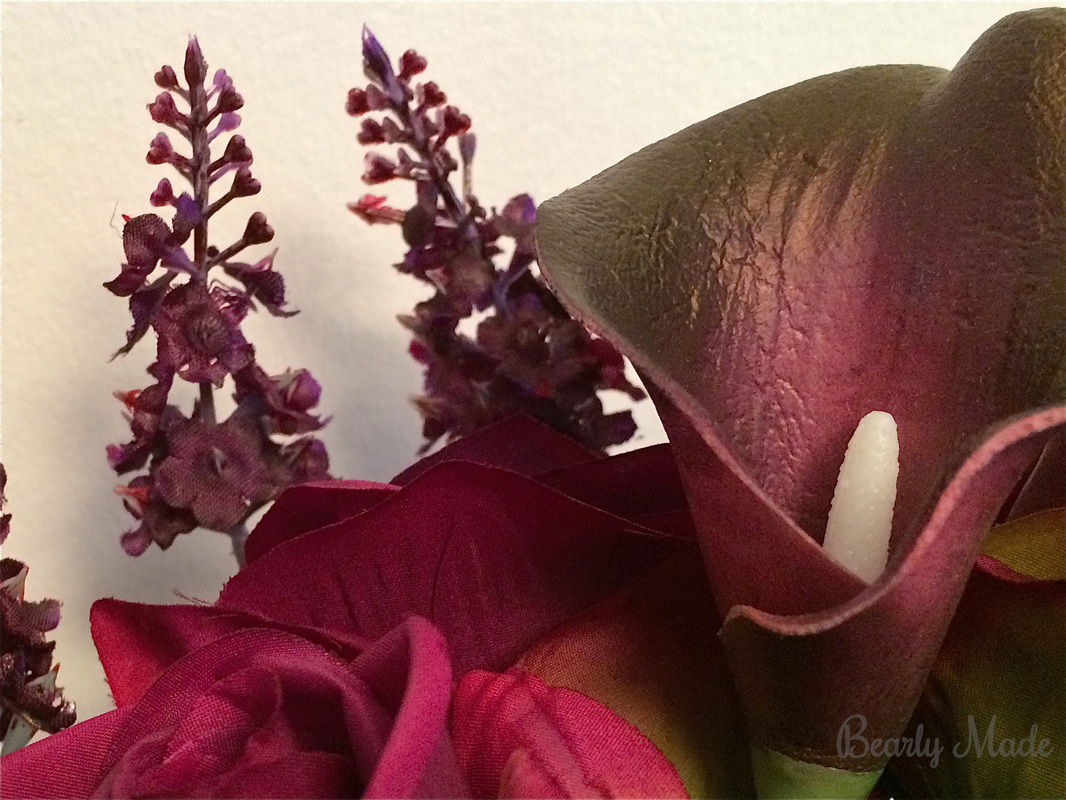
  • Artificial calla lilies (I got mine here, find similar here.)
  • Artificial lavender (I got mine on Amazon, find similar here.)
  • Red permanent marker
  • Brown permanent marker 
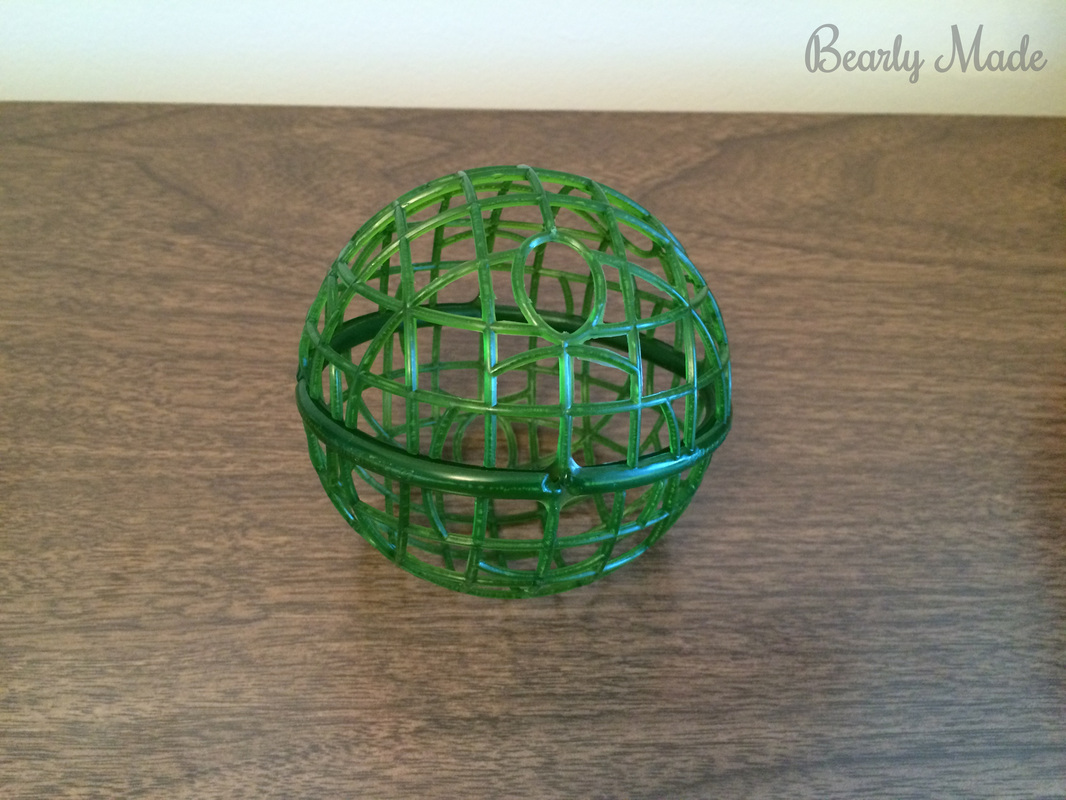
  • EZ Bouquet Floral Arranger (I got mine here.)
  • Vase (I got mine at a little convenience-type store in a Metro station.)
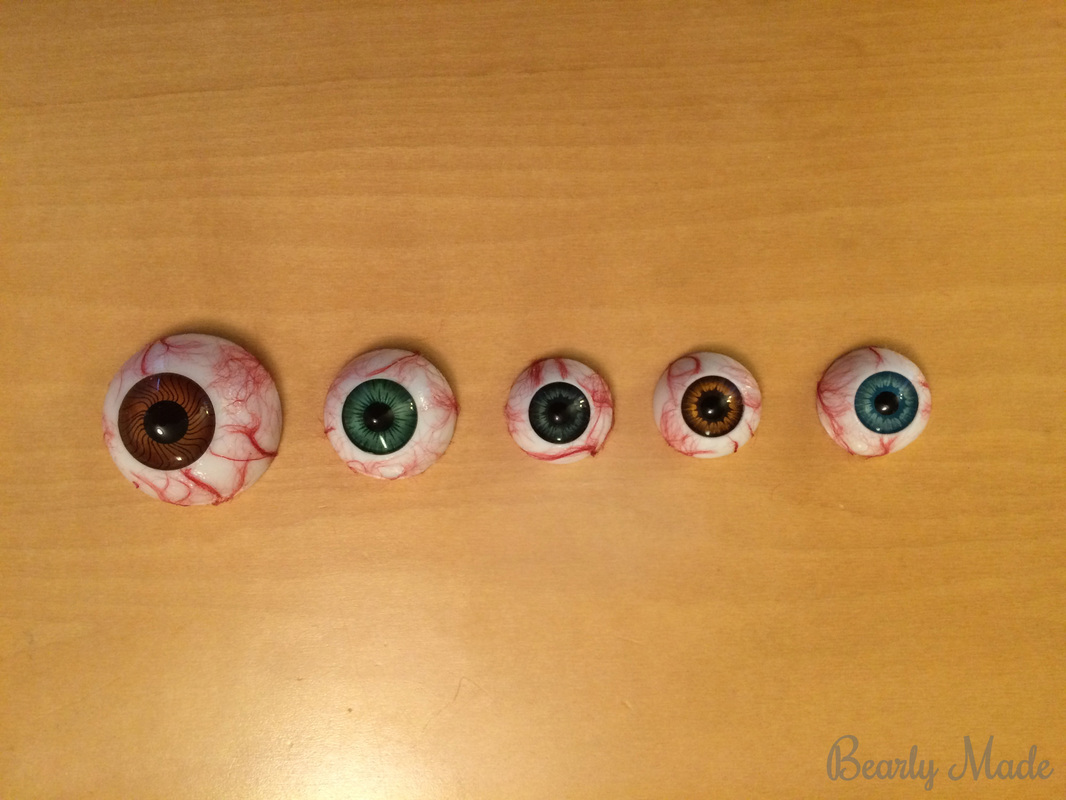
  • Plastic eyes (26 mm) (I got mine here.)
  • Plastic eyes (20 mm) (I got mine here.)
  • Plastic eyes (16 mm) (I got mine here.)
  • Red yarn
  • Clear nail polish
  • Elmer’s glue
  • Scissors
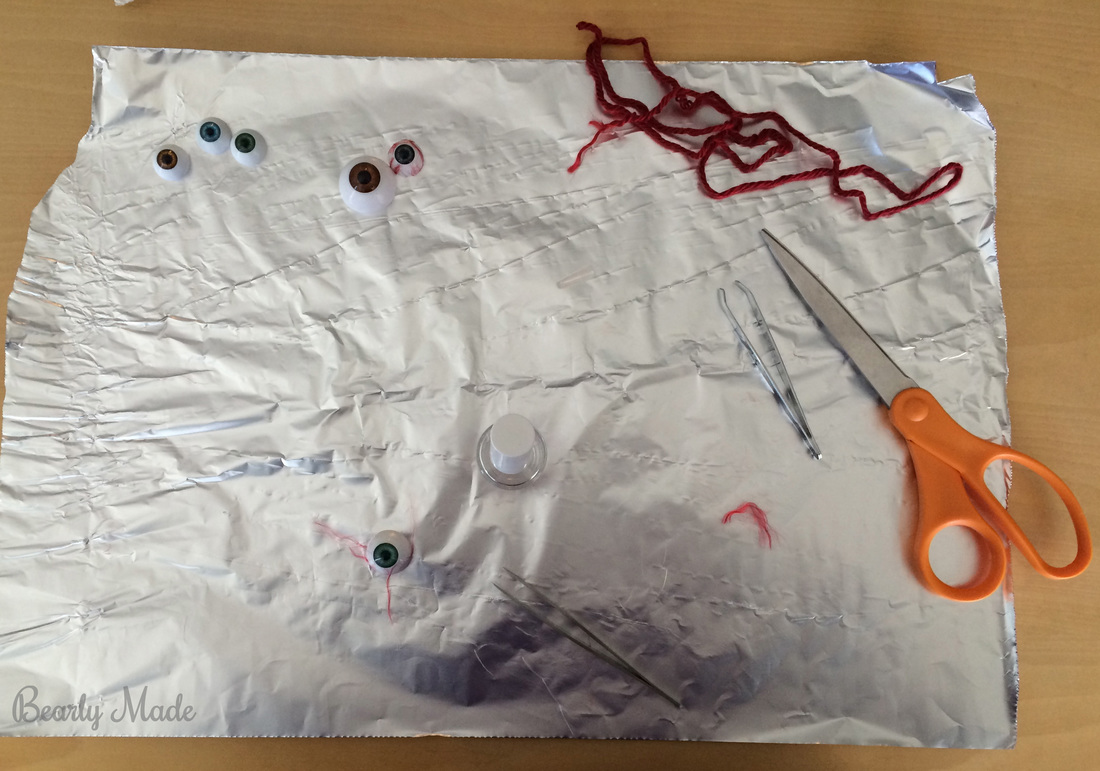
  • Craft tweezers (You probably don’t want to use the same tweezers you use for grooming, because they will get nail polish on them.)
  • Plastic (to protect your table)

Flowers

1. Obviously one of my first steps was purchasing my artificial flowers. I used search terms like purple, burgundy, and eggplant to find the colors I wanted.

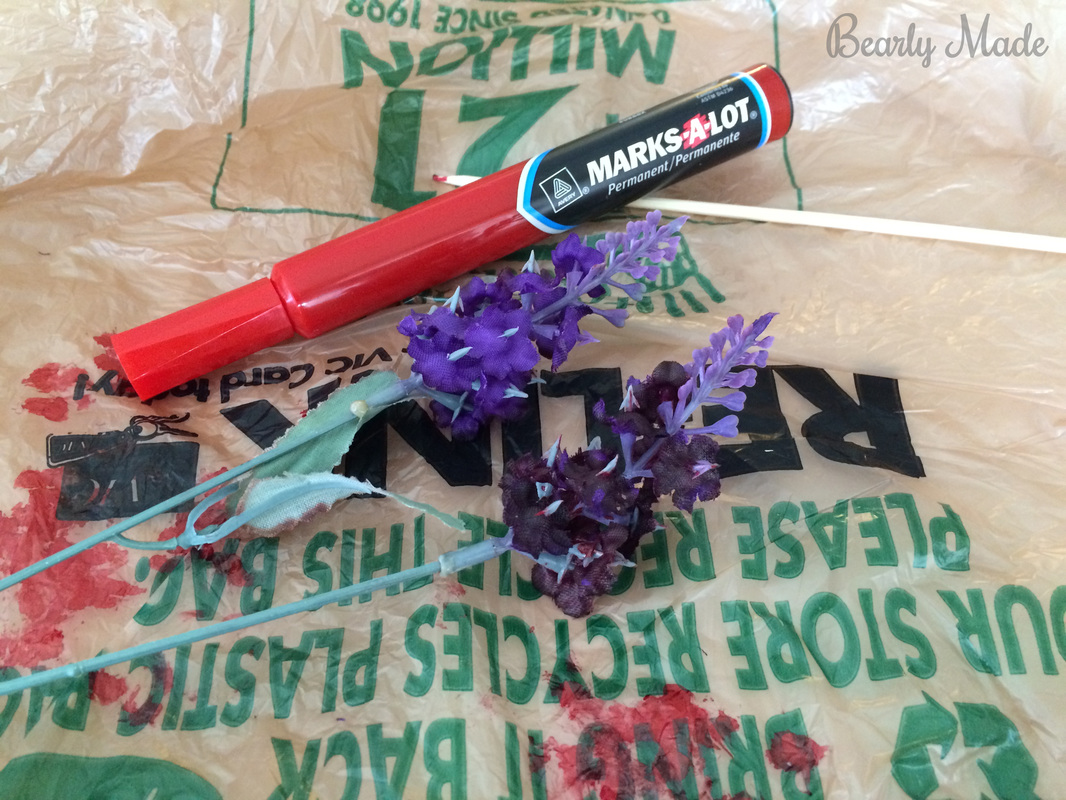
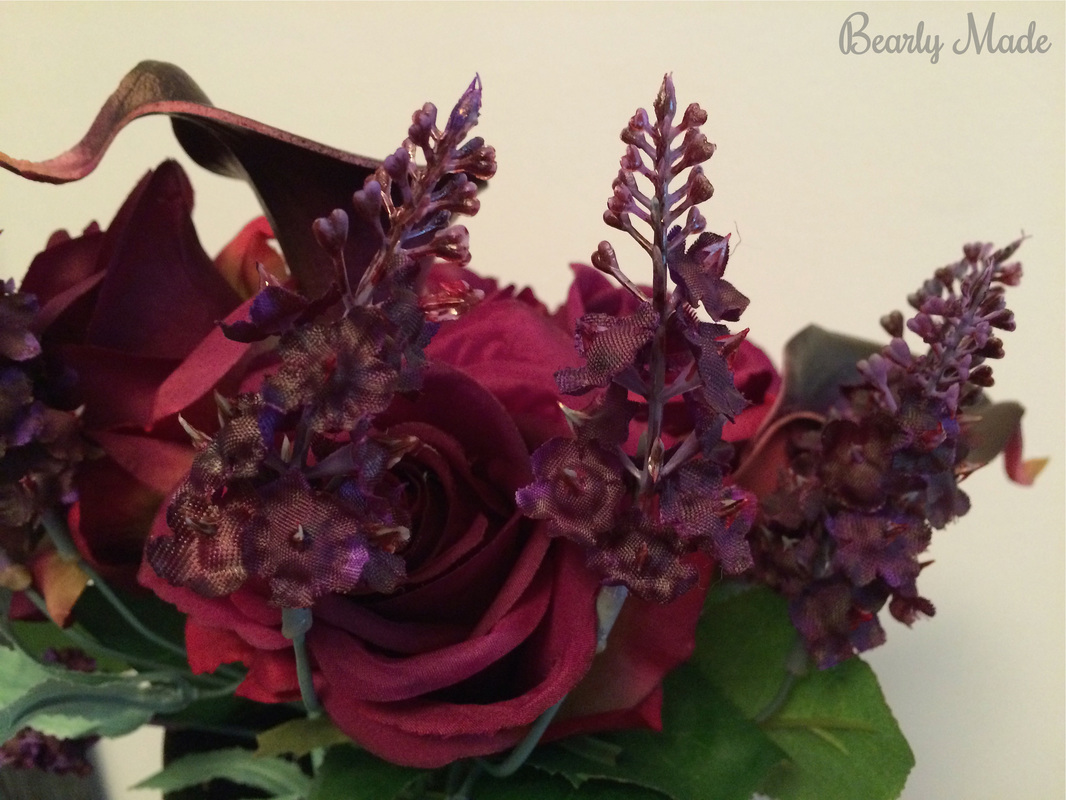
2. The next step was coloring the lavender. It just wasn’t spooky enough for me! I spread out a plastic grocery bag to protect my table. Using a red permanent marker, I firmly pressed the dark purple petal between the felt tip and the table. I pressed the felt tip into the petal for a few seconds until the ink stopped spreading through the fabric. Next, I used a brown permanent marker to color the light purple plastic tips of the lavender.

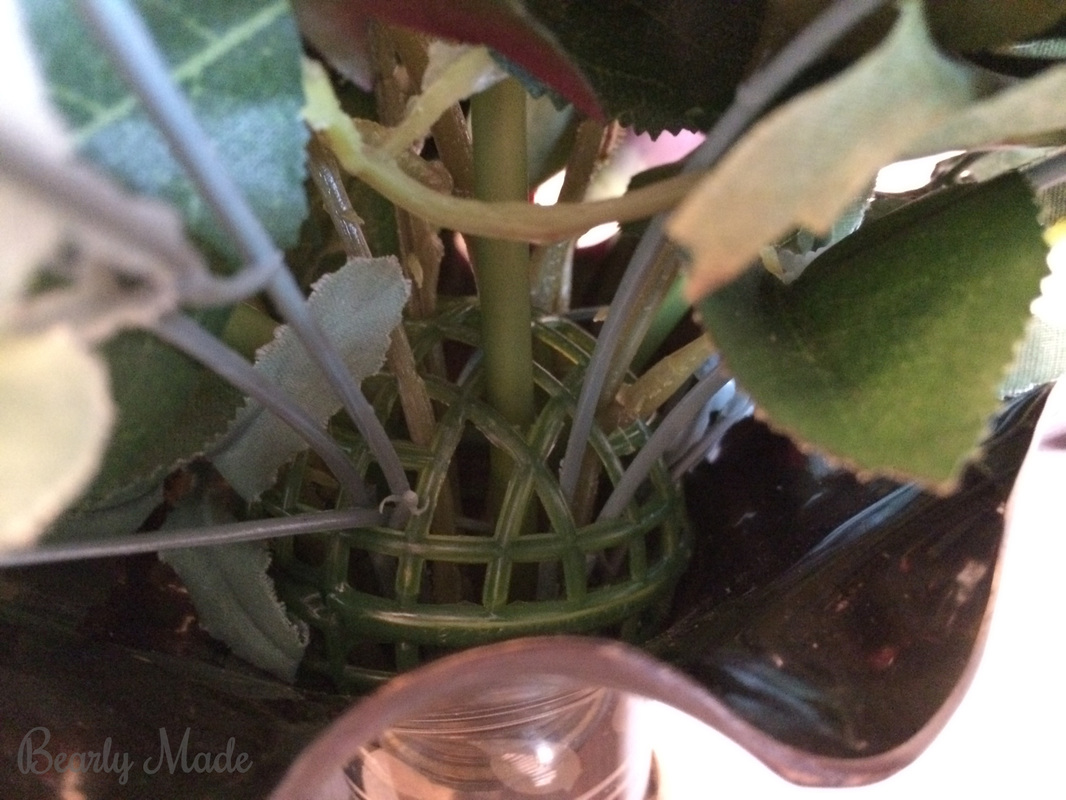
3. I used a 2-inch EZ Bouquet Floral Arranger to help me arrange the flowers.  You can use a full sphere or a half sphere. I used a whole sphere, because when you have to stick the stem through the top and the bottom of the sphere, it makes it a lot more stable. My bouquet is very full and the opening of the vase is narrow, so I had to bend the lavender to reach around the back of the bouquet and also point upward.
Eye bouquet #eye #eyes #eyeball #bouquet #flowers #Halloween #crafts #DIY

Eyes

CREATING VEINS

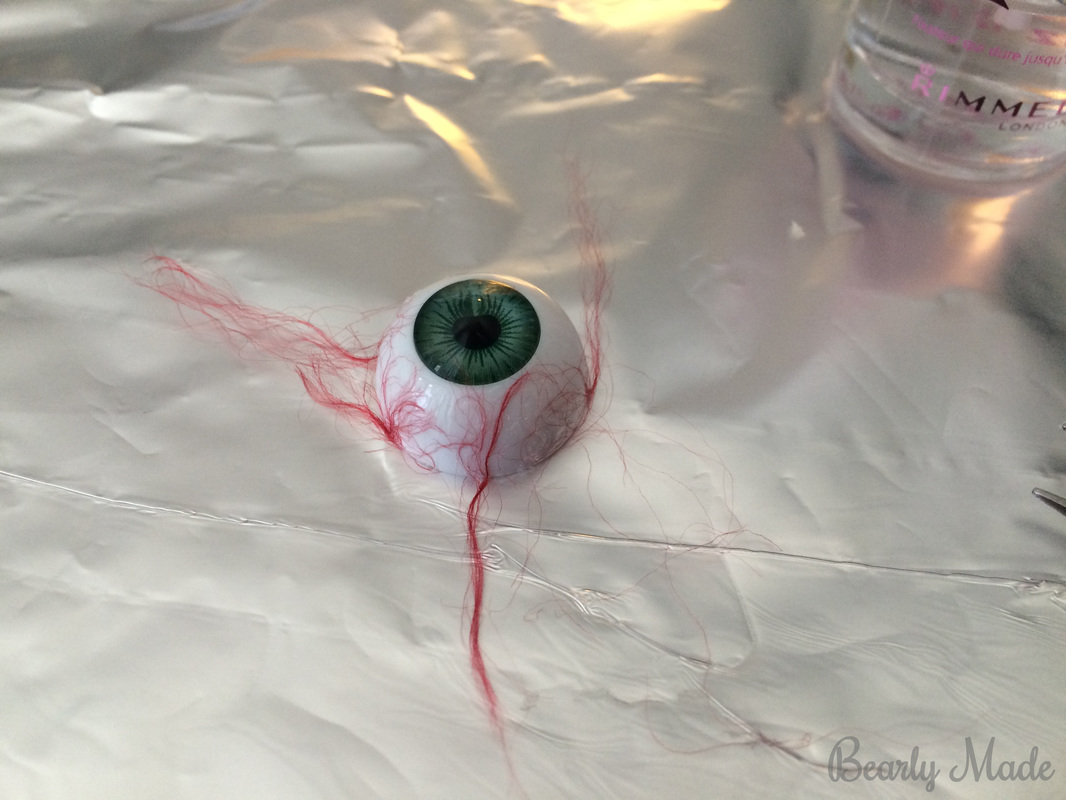
1. Cut a few inches of red yarn. Then unravel some of the string by pulling at the individual threads. The paint will dry quickly so it is important to do this in advance. You can plan out how you want your next vein to look. It could be just a couple single threads. It could be a bunch of single threads splayed out. It could be a thick group of threads twisted together that split into two smaller-but-still-thick veins.

2. Paint a section of the sclera (white part) by brushing from the outside edge of the iris (colored part) down to the flat edge. Your section should be about two strokes wide. Be careful not to get paint on your irises. It will make your eyes seem less realistic. For some reason, using nail polish remover to clean polish off the irises makes the clear plastic turn cloudy and scratched-looking.

3. Pick up your thread and place it on the wet paint. Don’t be afraid to push the threads around while the paint is drying using your tweezers, a toothpick, or your fingernails.

4. Repeat these steps.

5. After a few sections, use your scissors to trim off the excess thread. It doesn’t have to be perfect, because you’ll be sticking the eyes into the flowers.

6. After you’ve applied veins all around the eye, let it dry for a good while. Then, apply a topcoat of clear nail polish uniformly over the sclera. Let it dry.
Eye bouquet #eye #eyes #eyeball #bouquet #flowers #Halloween #crafts #DIY
INSERTING YOUR EYES

1. Before applying glue to your eyes, prepare the flowers. Try to insert the eye to gauge how much of the petals you’ll need to cut. Use scissors to cut out some of the center petals. The hole doesn’t have to be too deep. Just take off half an inch or so. Make sure to cut off some large scraps of petal (about .5 inch deep by 1.5 inch wide), not just thin shreds, so you can use the scraps later.

2. Apply Elmer’s glue to the inside of the eye. Insert it in the flower. Wait for the glue to dry a little and stabilize. Waiting overnight might be a good idea. Elmer’s glue can take a while to dry, but if you make a mistake with Elmer’s glue, it’s easy to correct.

3. Position some of your scraps around the eye like an eyelid or just to create a fuller flower with more petals. Test the placement without glue. Then glue them on. I only added scraps to my center green eye. The others looked fine without additional petals.

Inspiration

I was inspired by a picture I saw on Pinterest. You can see it here.

I learned how to make these eye veins from a great video tutorial. You can see it here. 

There is also a great tutorial on how to alter the pupils and irises to be more realistic. You can see it here. There is a free download for different irises you can print.

You can also visit my Pinterest board, Halloween Eyes, where I have a lot of creepy craft ideas pinned.

Gallery

Eye bouquet #eye #eyes #eyeball #bouquet #flowers #Halloween #crafts #DIY

Thanks for reading!

Try making your own eye bouquet and share your results in the comments below!

Warm wishes,

Alex

4 Comments

Bottlebrush Animal Christmas Mantel

12/11/2014

0 Comments


Hi folks!

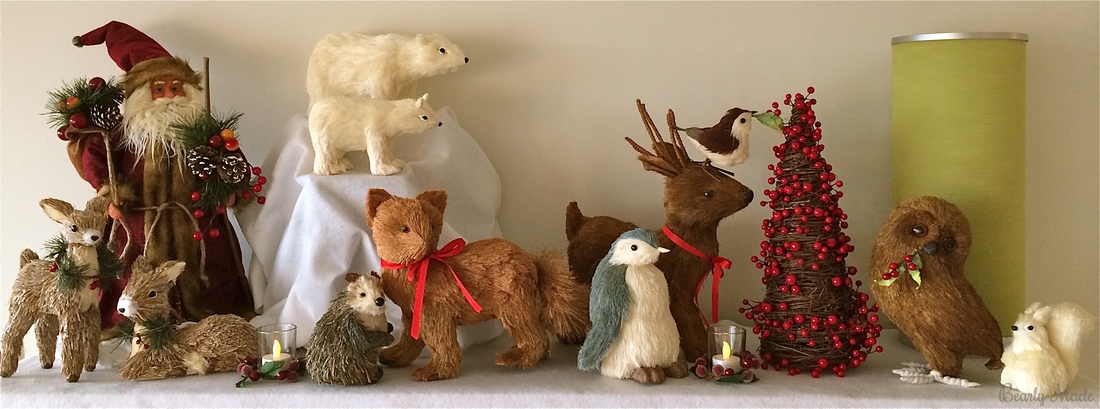
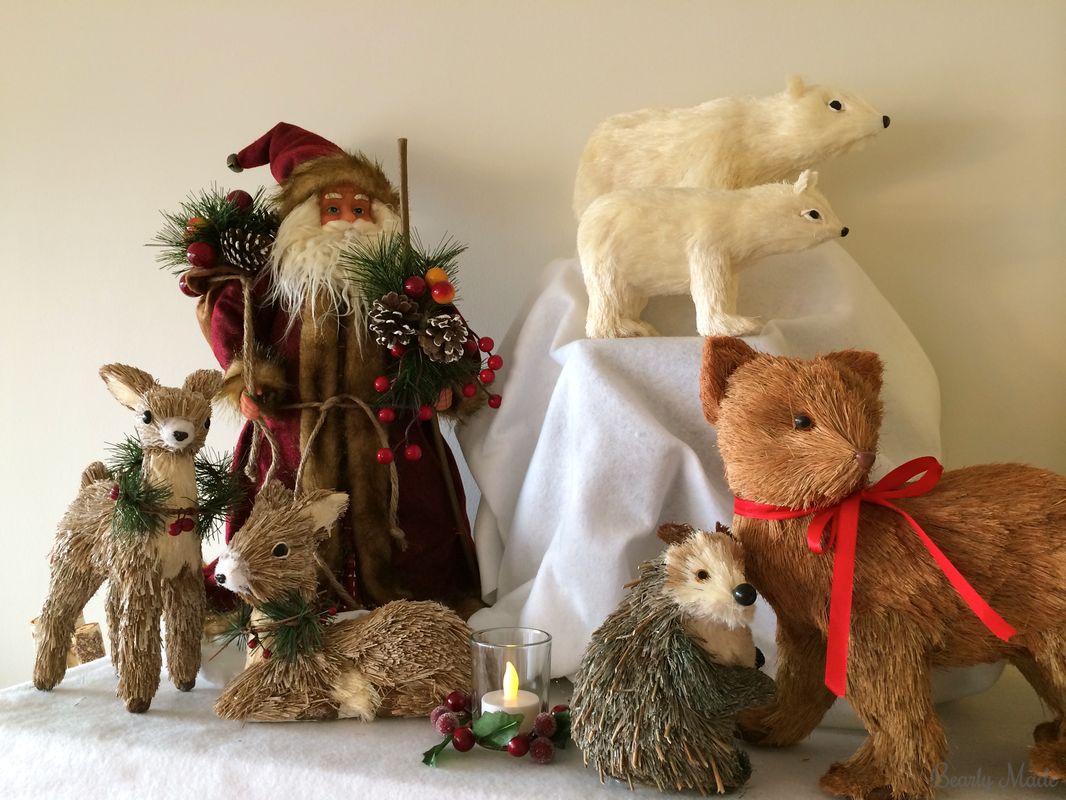
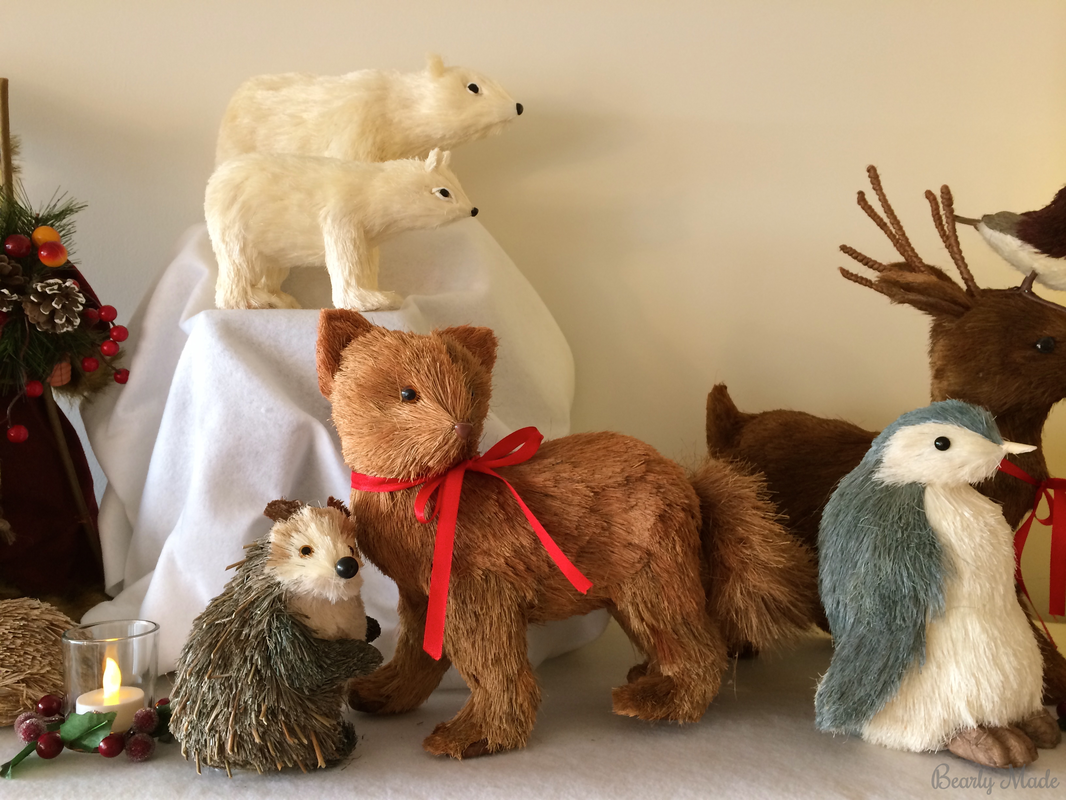
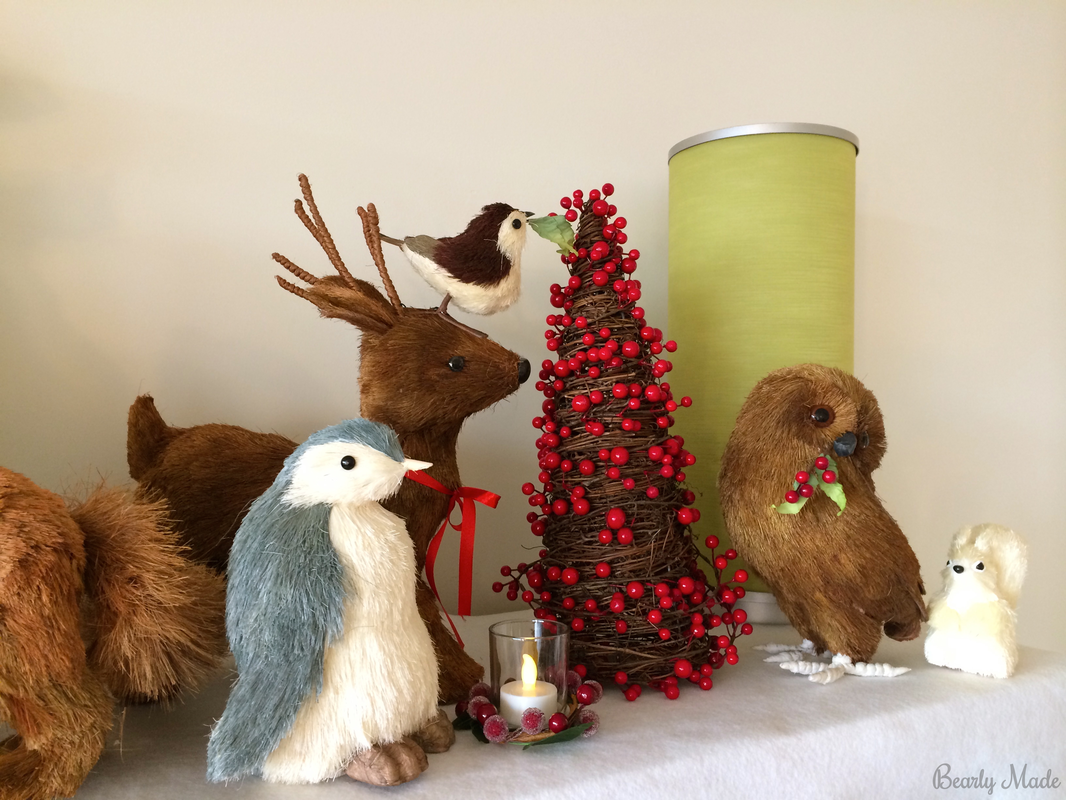
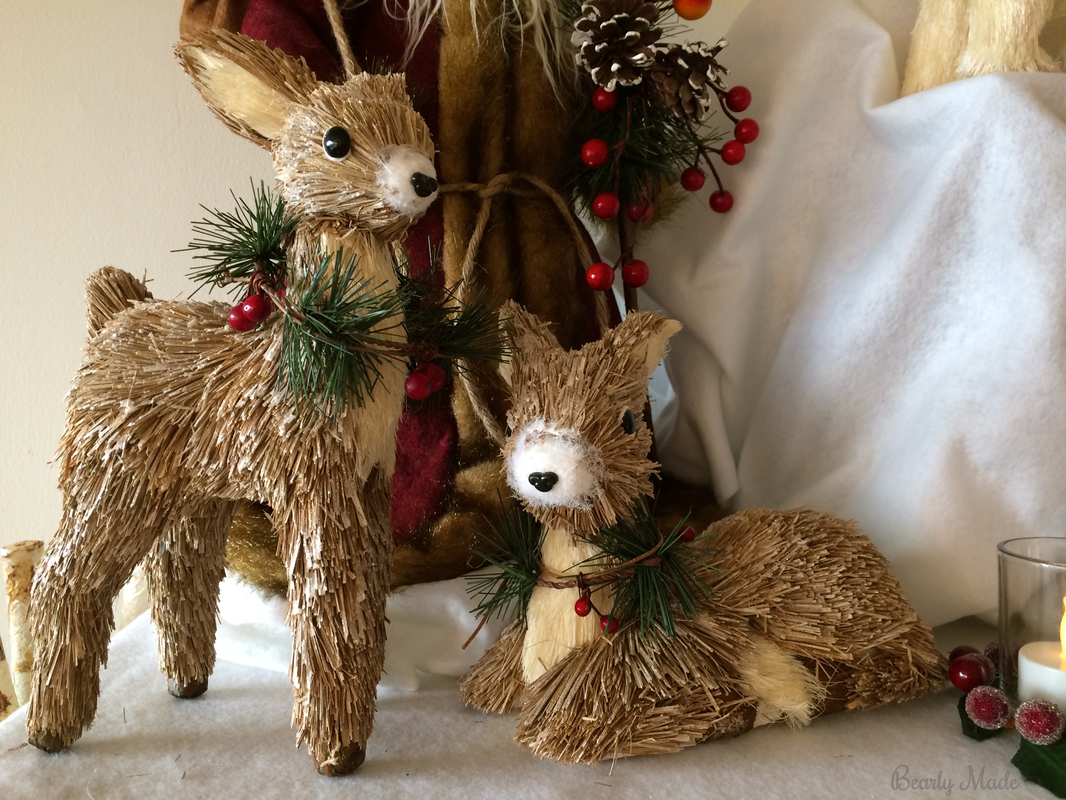
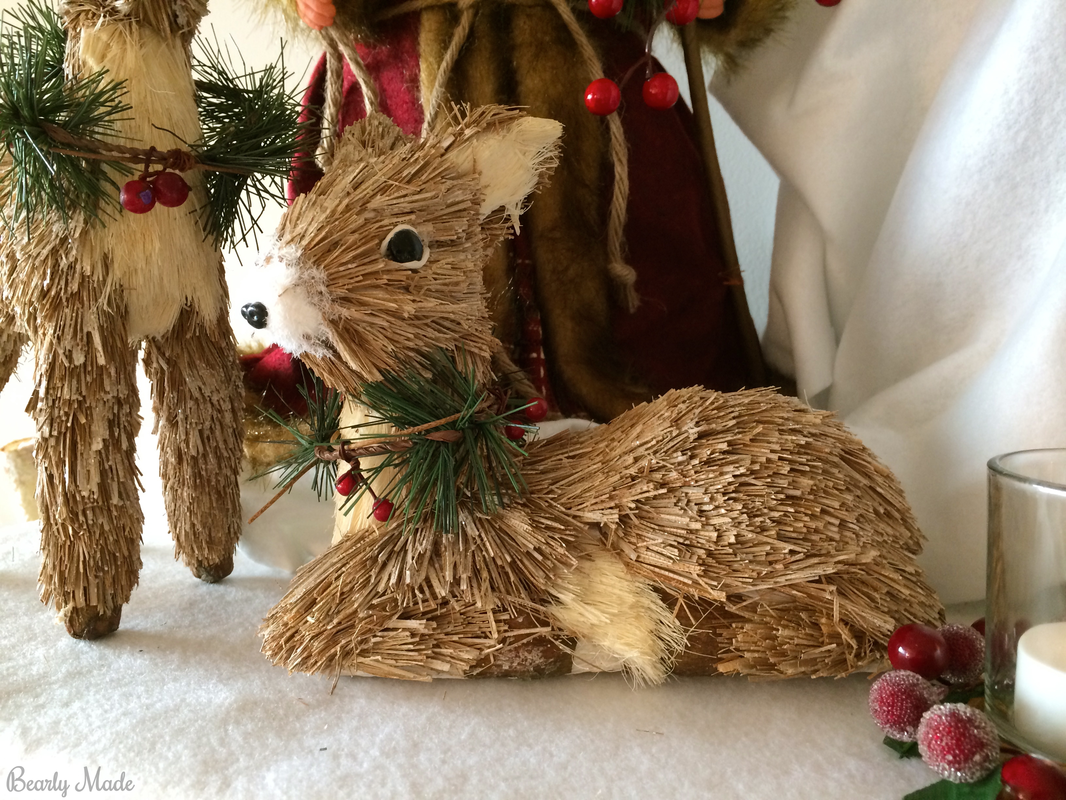
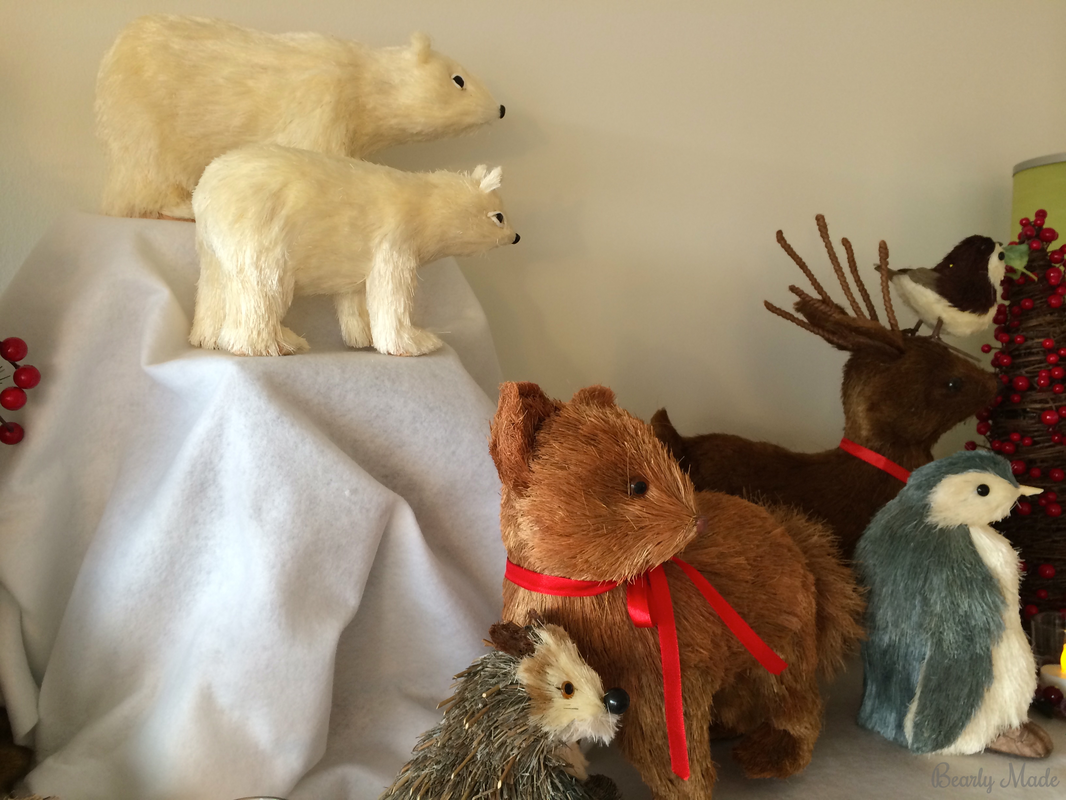
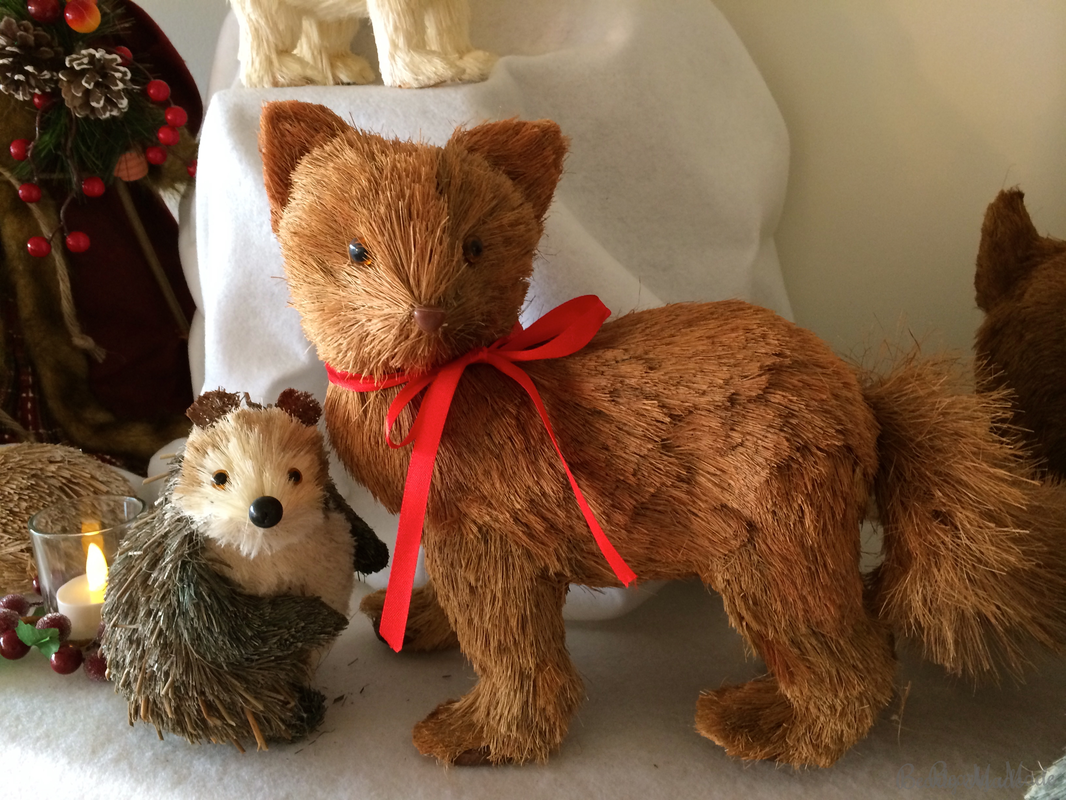
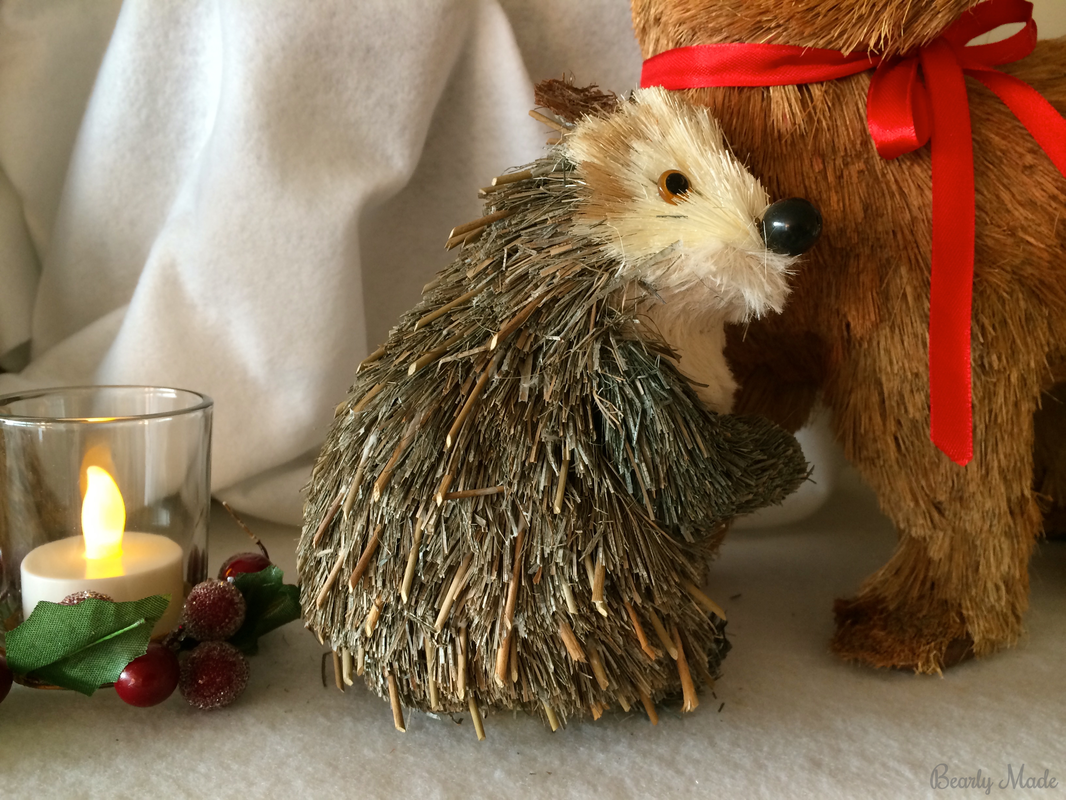
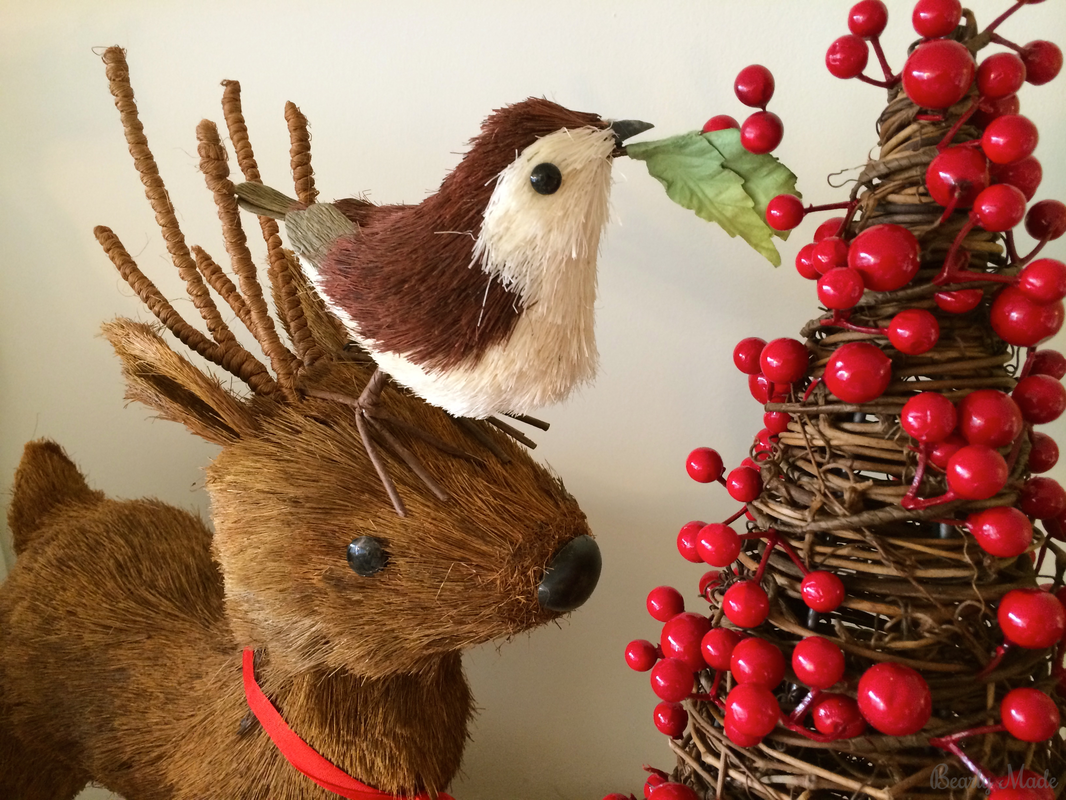
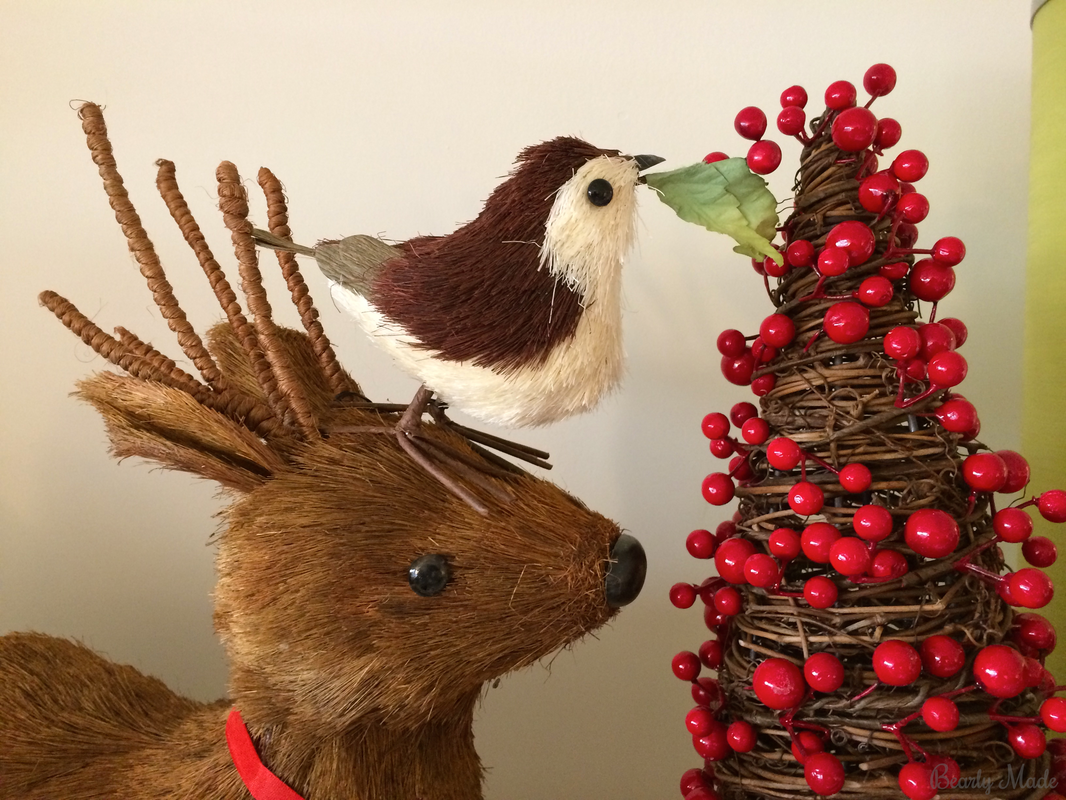
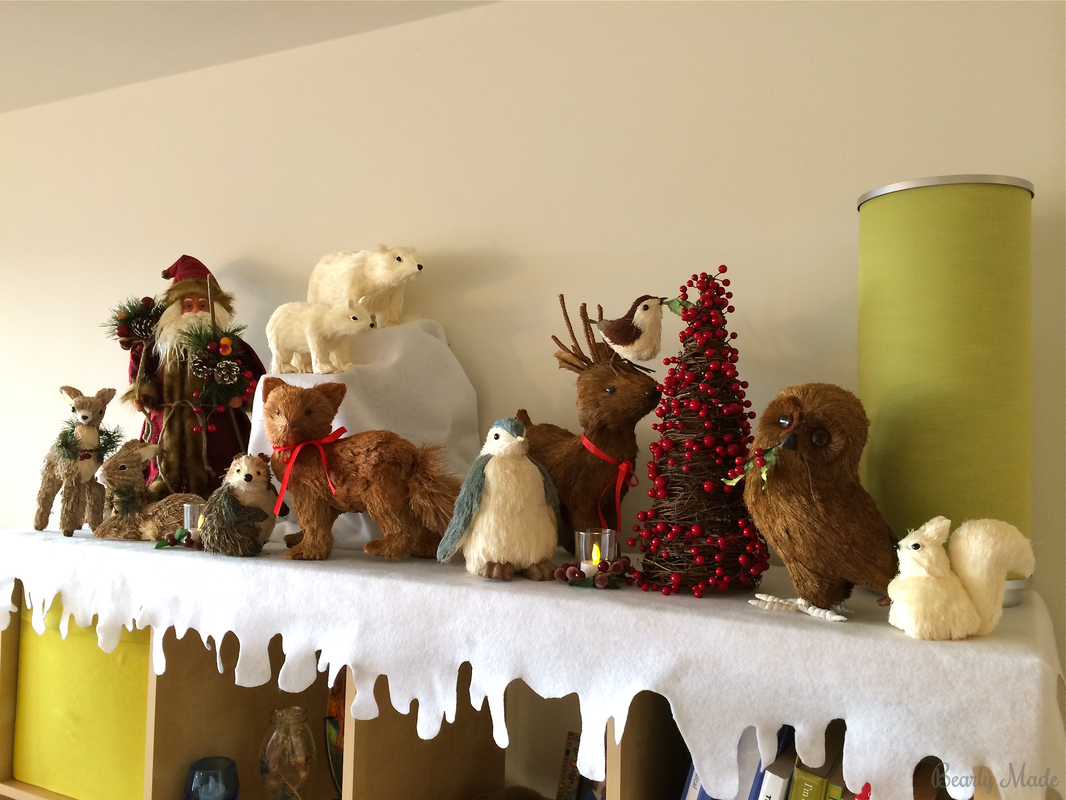
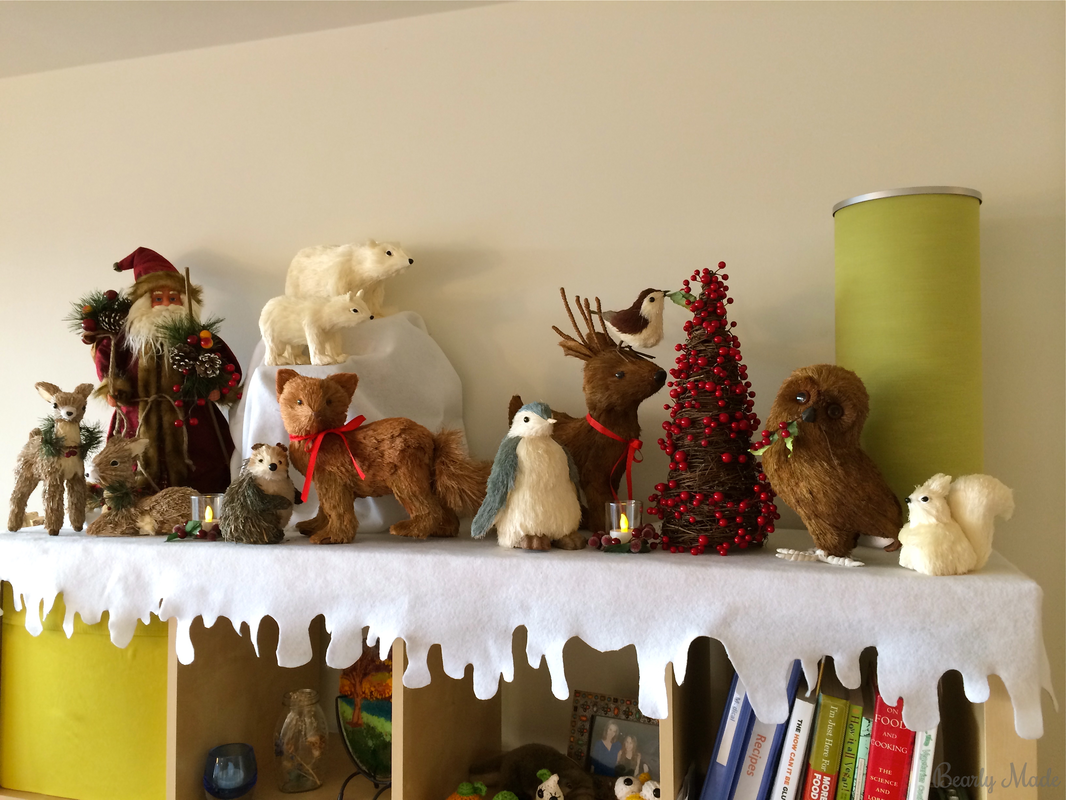
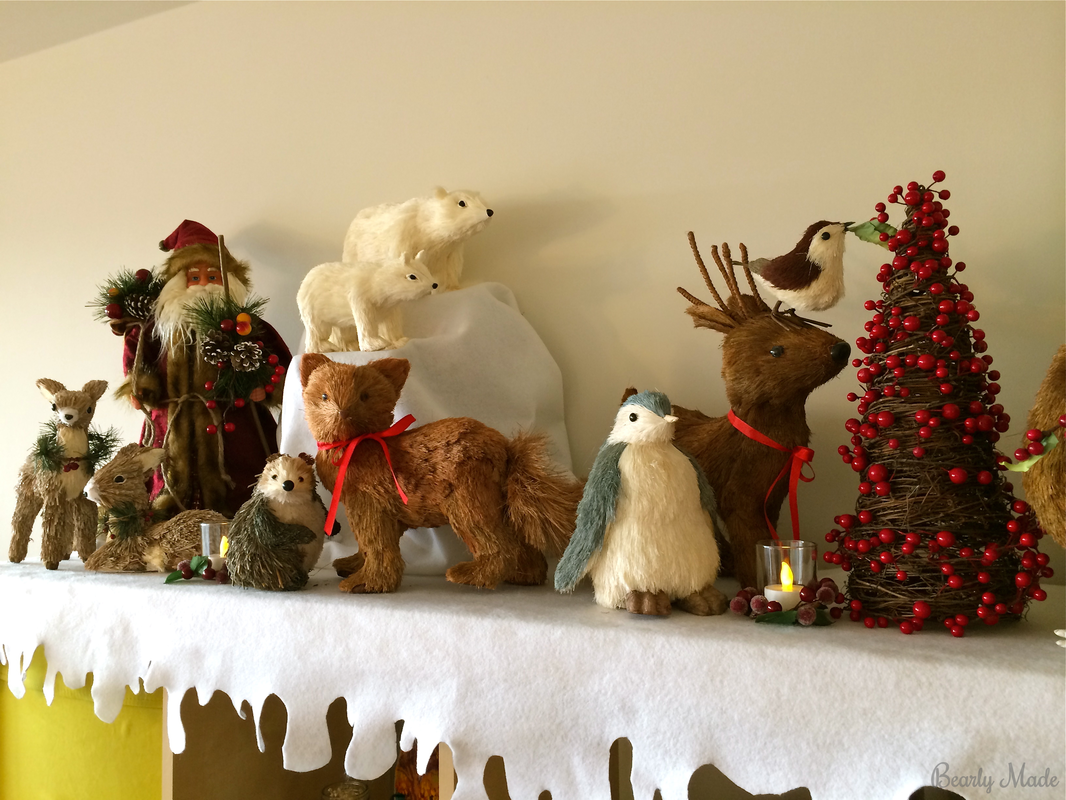
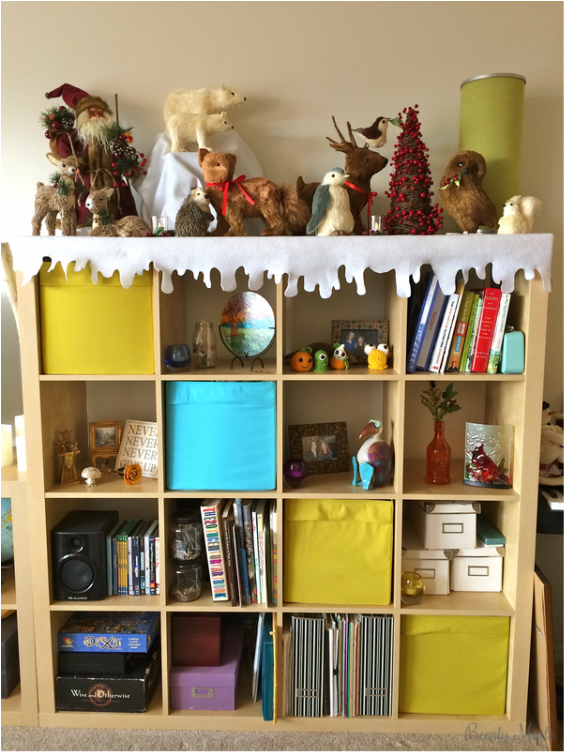
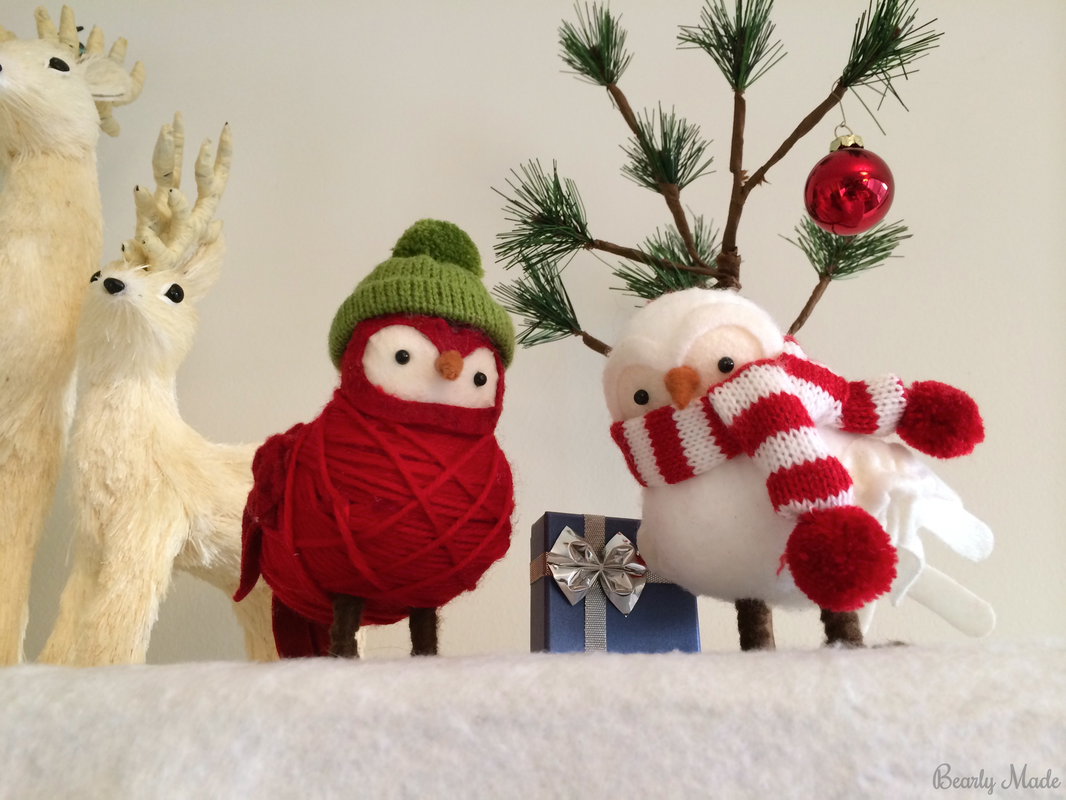
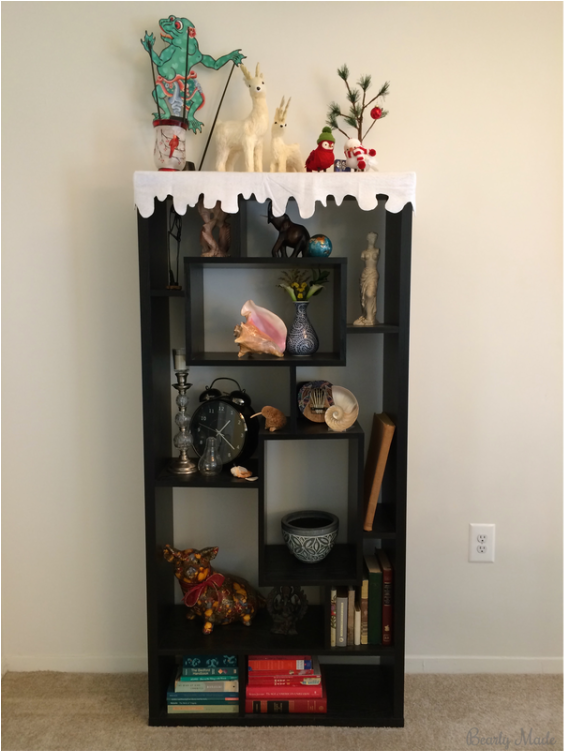
So, I don't technically have a mantel... or a credenza... yet. So this post is about my Christmas Shelf! I've been waiting all year to put my bottlebrush menagerie together!
Bottlebrush Animal Christmas Mantel

Where I Got It...

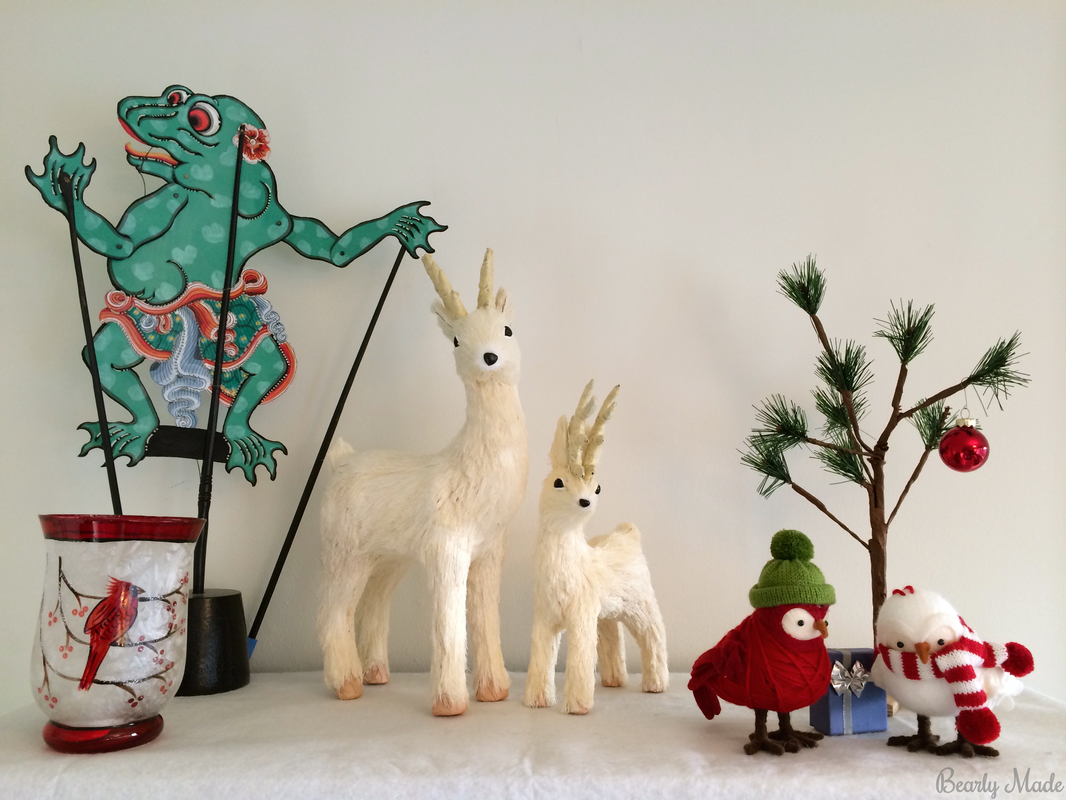
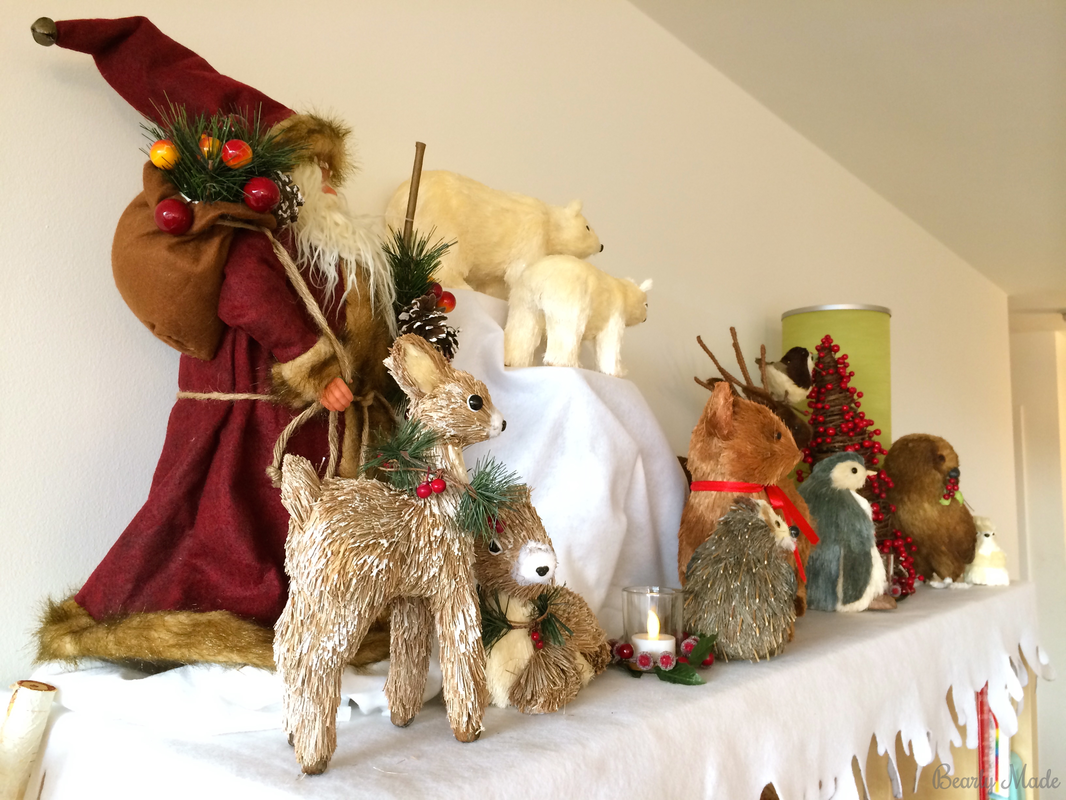
Here's where I got all of my little friends.
Bottlebrush Animal Christmas Mantel
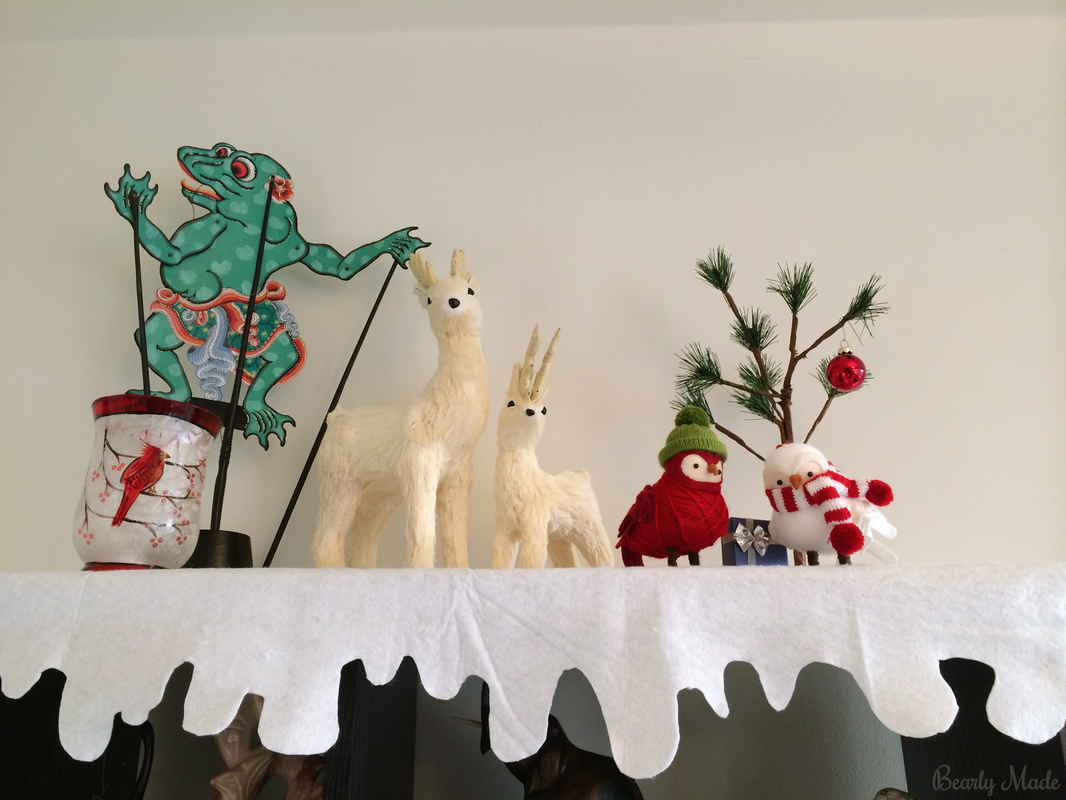
  1. Cardinal candle hurricane:  I got it at Rite Aid in January 2014 in Virginia.
  2. White deer:  I got it at Target in January 2014. Find more information on my Pinterest.
  3. White fawn:  I got it at Target in January 2014. Find more information on my Pinterest. 
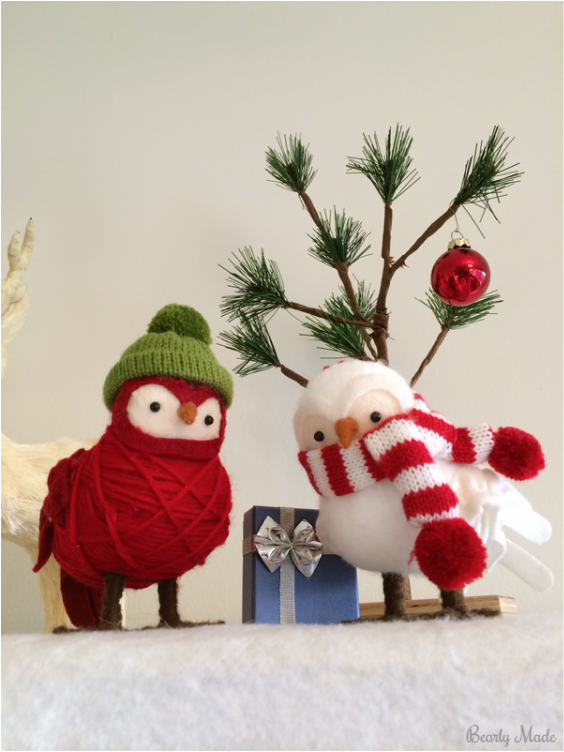
  4. Red and white birds:  I got them at Target in January 2014. Find similar here and here.
  5. Charlie Brown Christmas Tree:  These are everywhere. My mom gave us ours as a gift. I think she got it at Kohl's.
Bottlebrush Animal Christmas Mantel
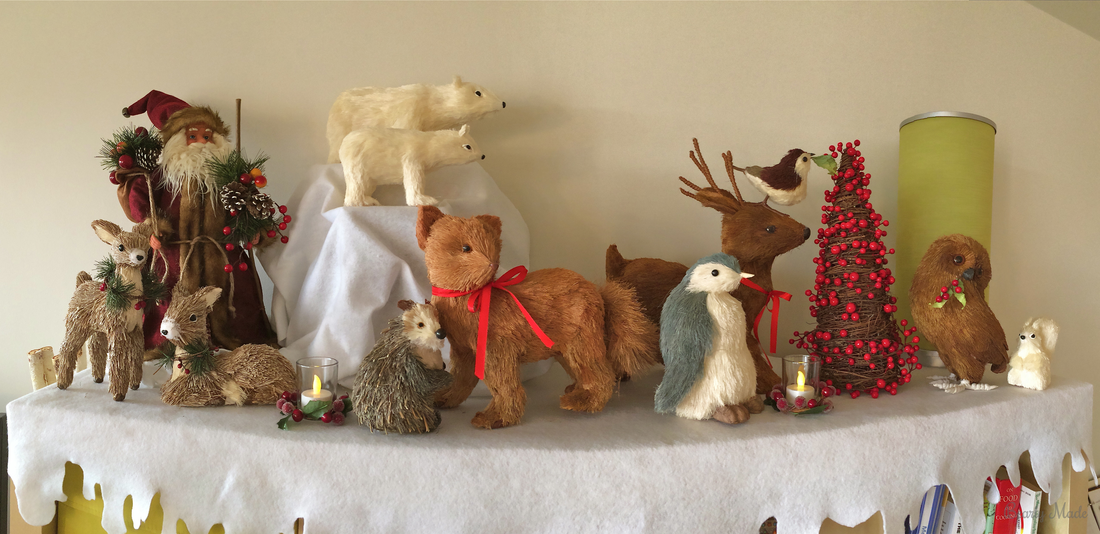
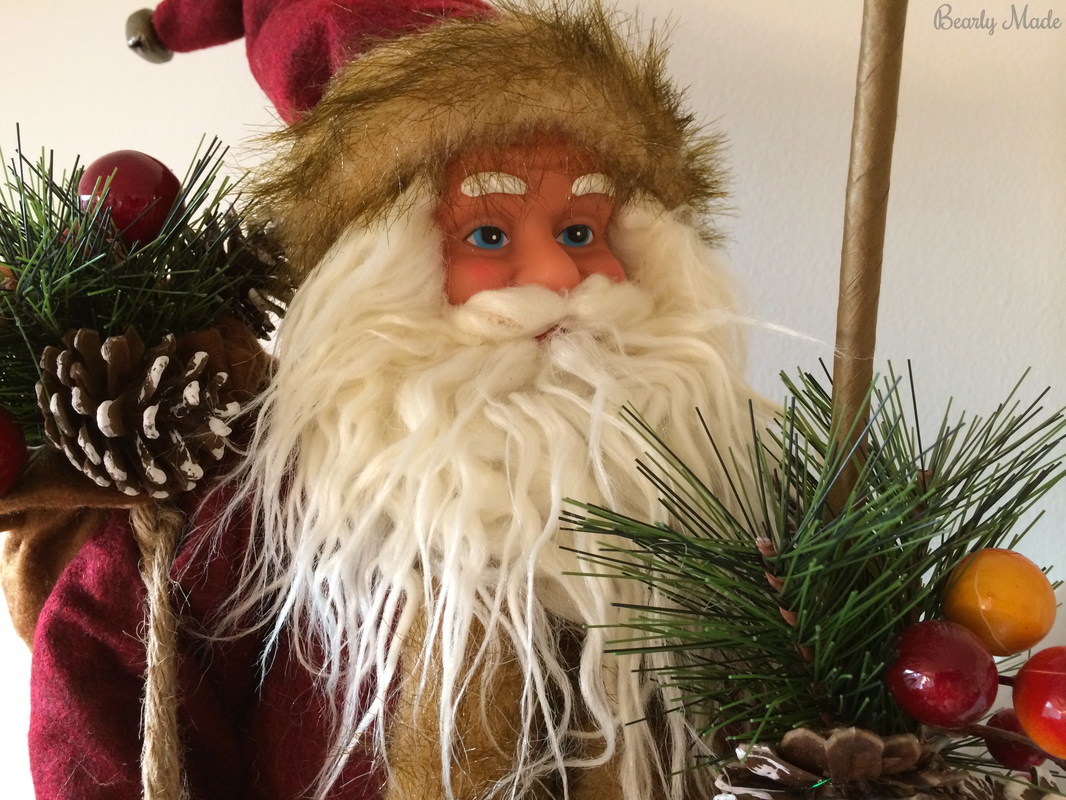
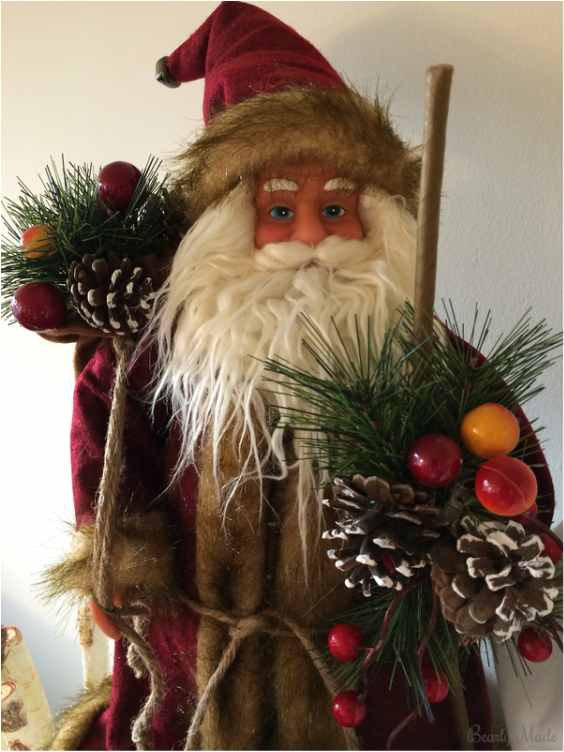
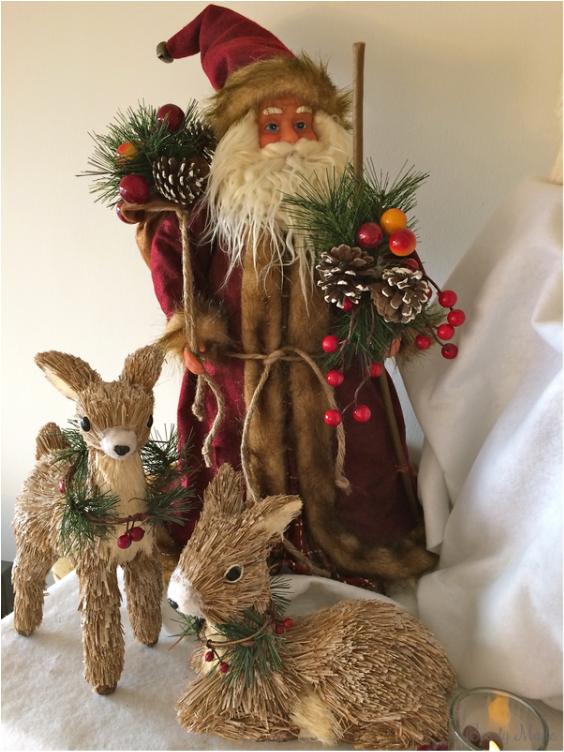
  1. Santa / Belsnickel:  I got him at Rite Aid in December 2013 in Virginia. They start selling all of their Christmas decorations at 75% off in November. They have a variety of rustic Santas.
  2. Two fawns:  I got them at Rite Aid in December 2013 in Virginia.
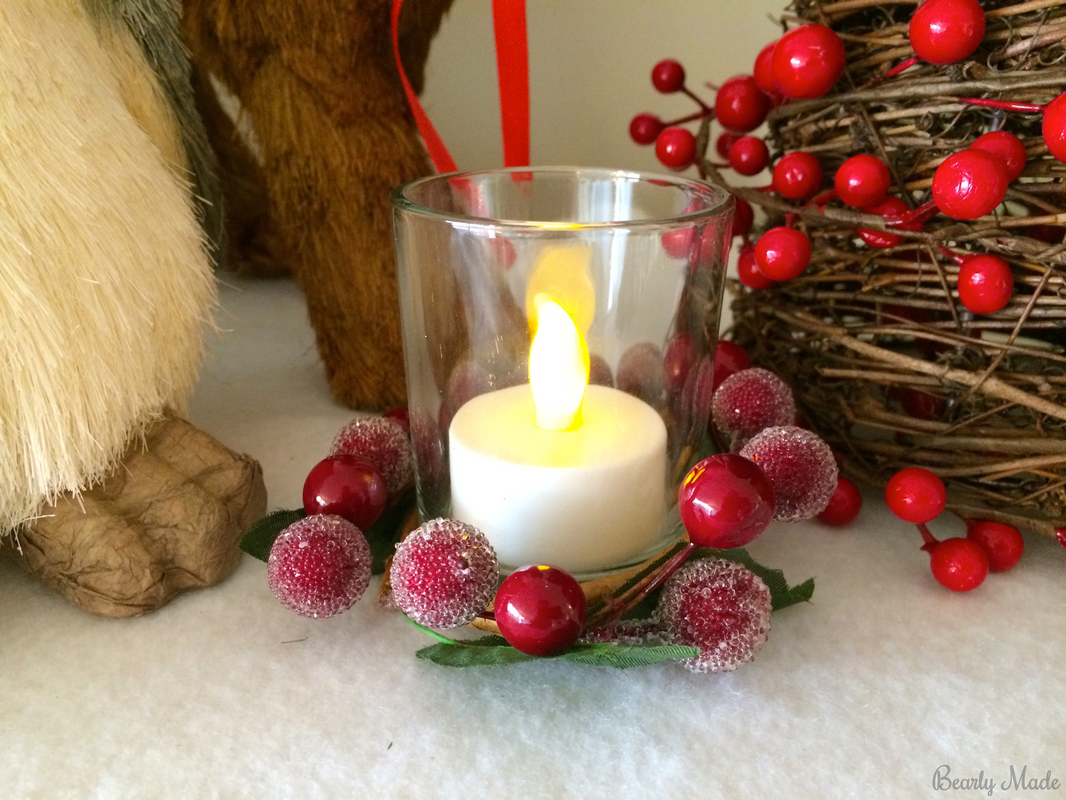
  3. Cranberry candleholders:  I got them at Rite Aid in November 2014 in Virginia.
  4. White parent polar bear:  I got it at Target in January 2014. You can find more information on my Pinterest.
  5. White baby polar bear:  I got it at Target in January 2014. You can find more information on my Pinterest.
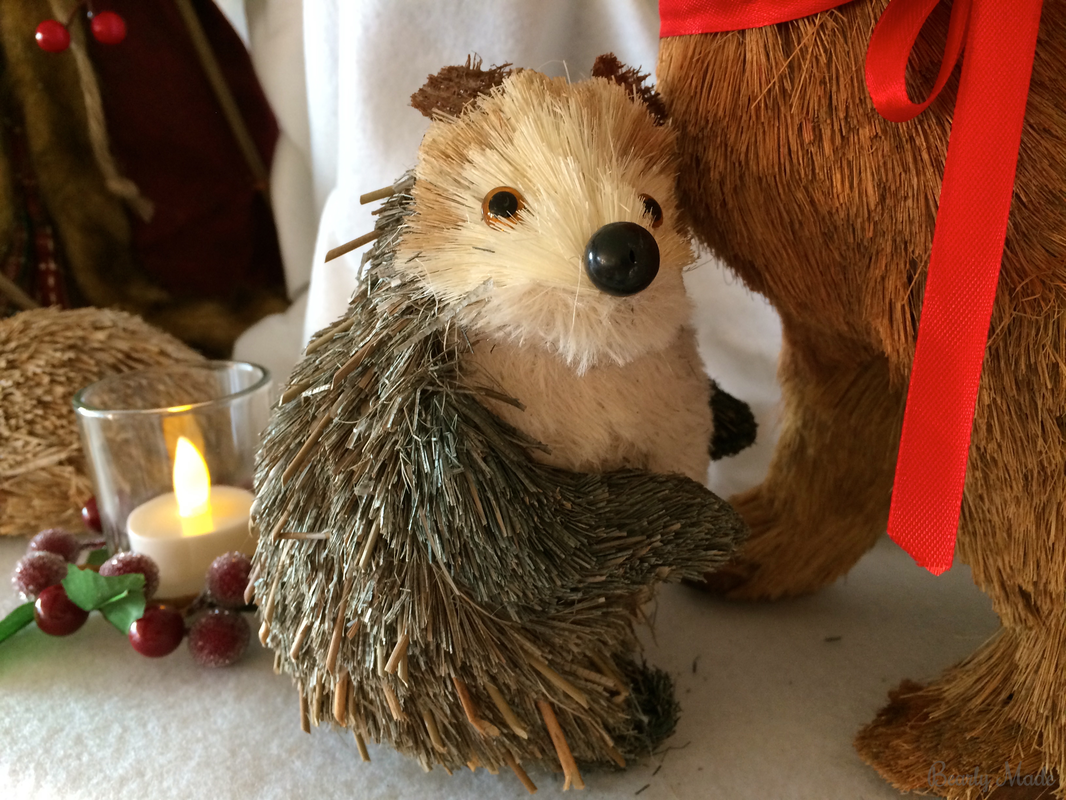
  6. Hedgehog:  I got it from Nordstrom in January 2014. You can find more information on my Pinterest.
  7. Fox:  I got it at JCPenney in January 2014. You can find more information on my Pinterest.
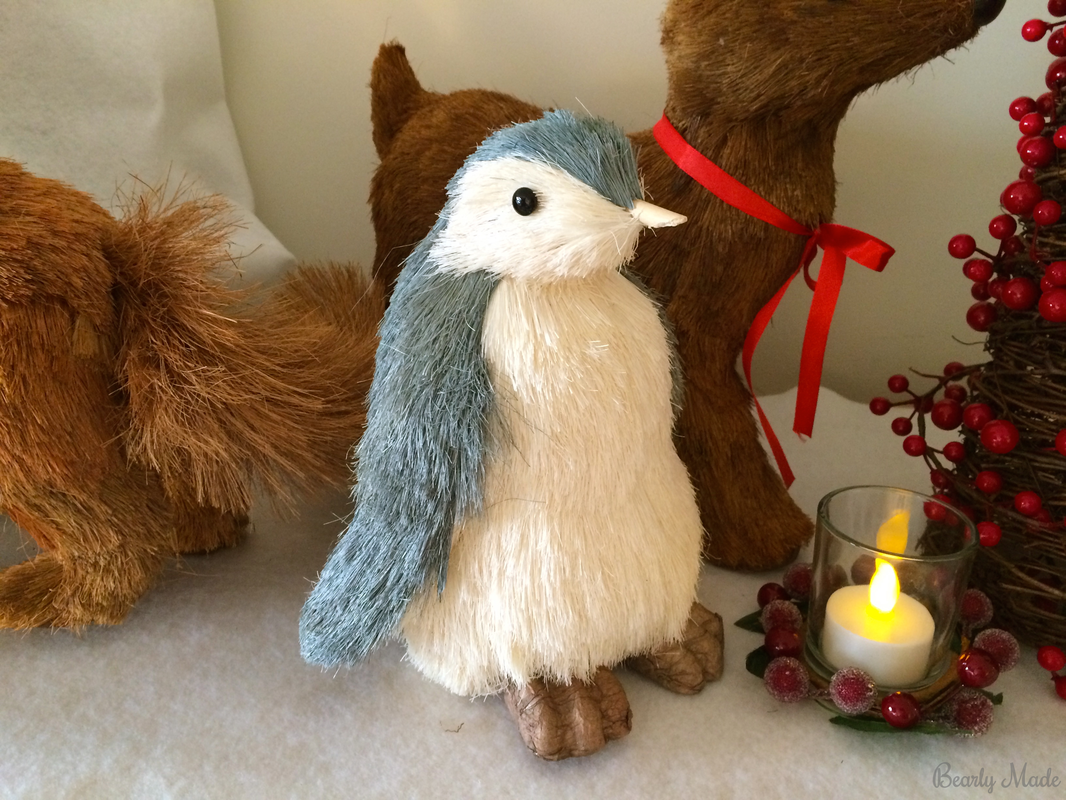
  8. Penguin:  I got it at JCPenney in January 2014. You can find more information on my Pinterest.
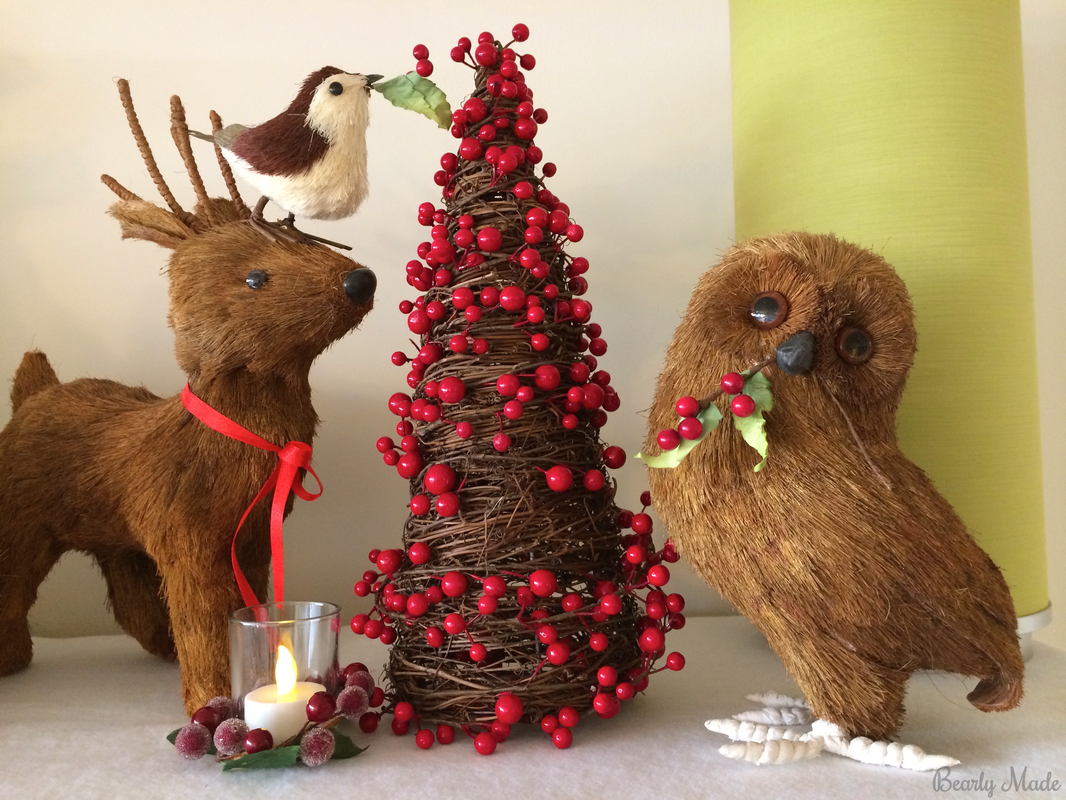
  9. Fawn:  I got it at JCPenney in January 2014. You can find more information on my Pinterest.
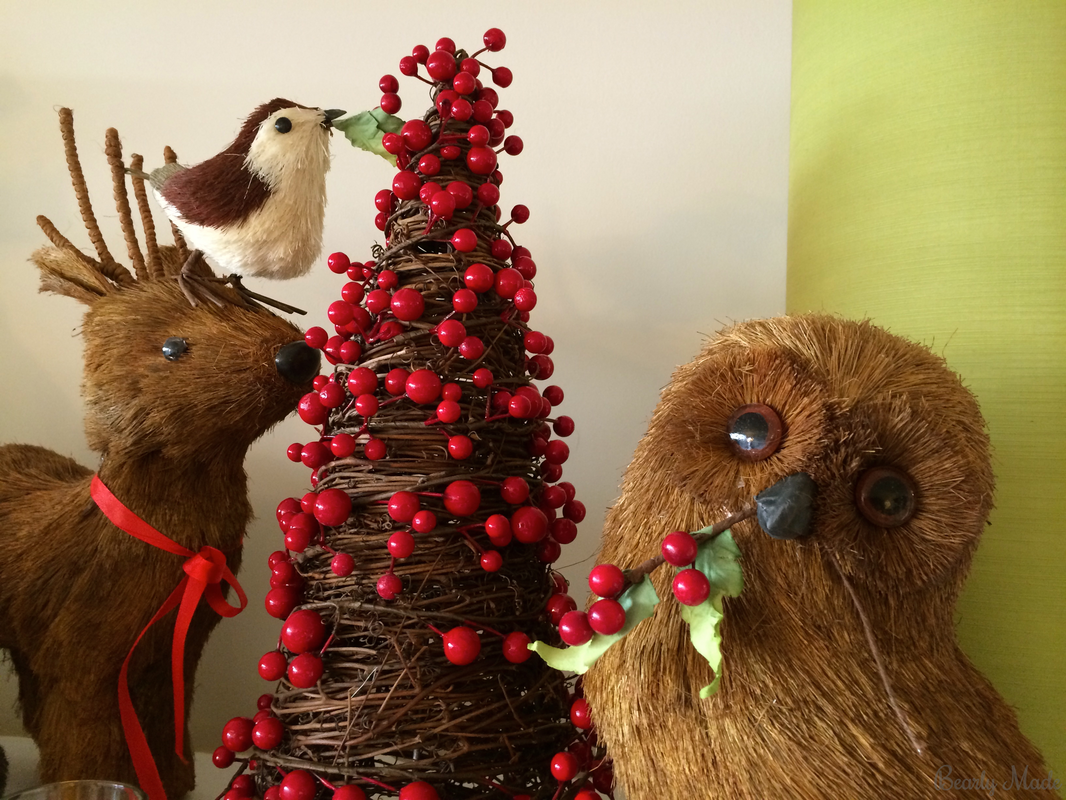
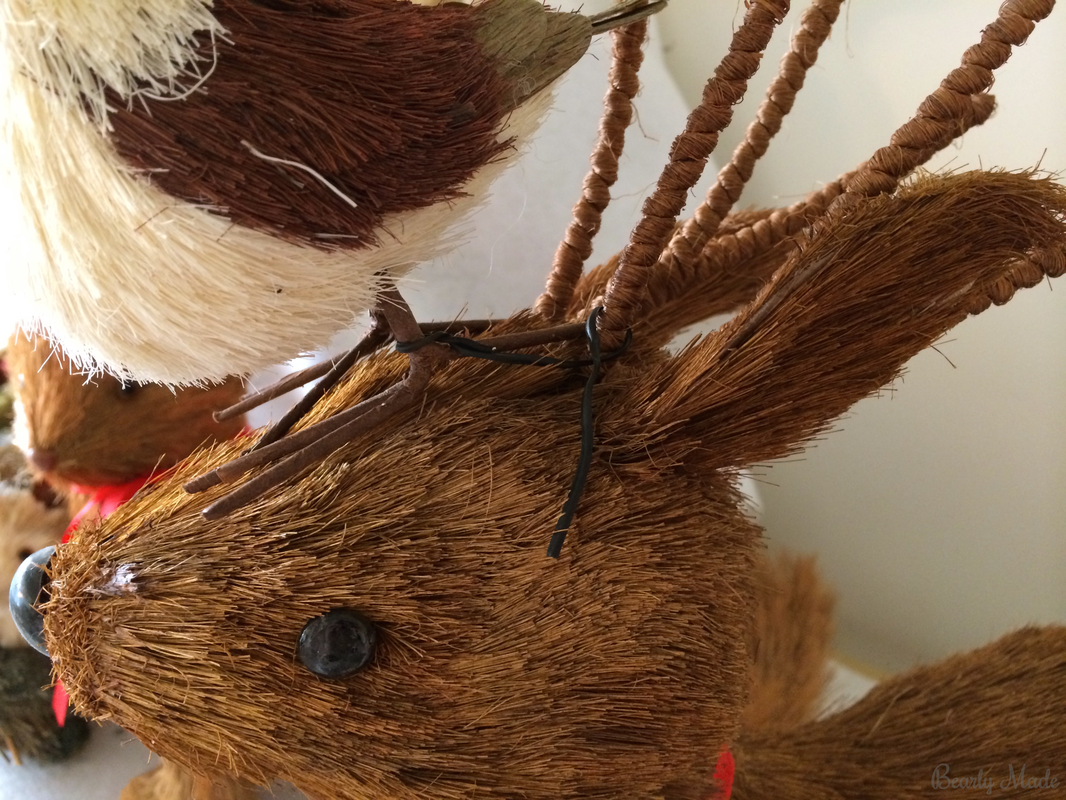
  10. Bird:  I got it at JCPenney. You can find more information on my Pinterest.
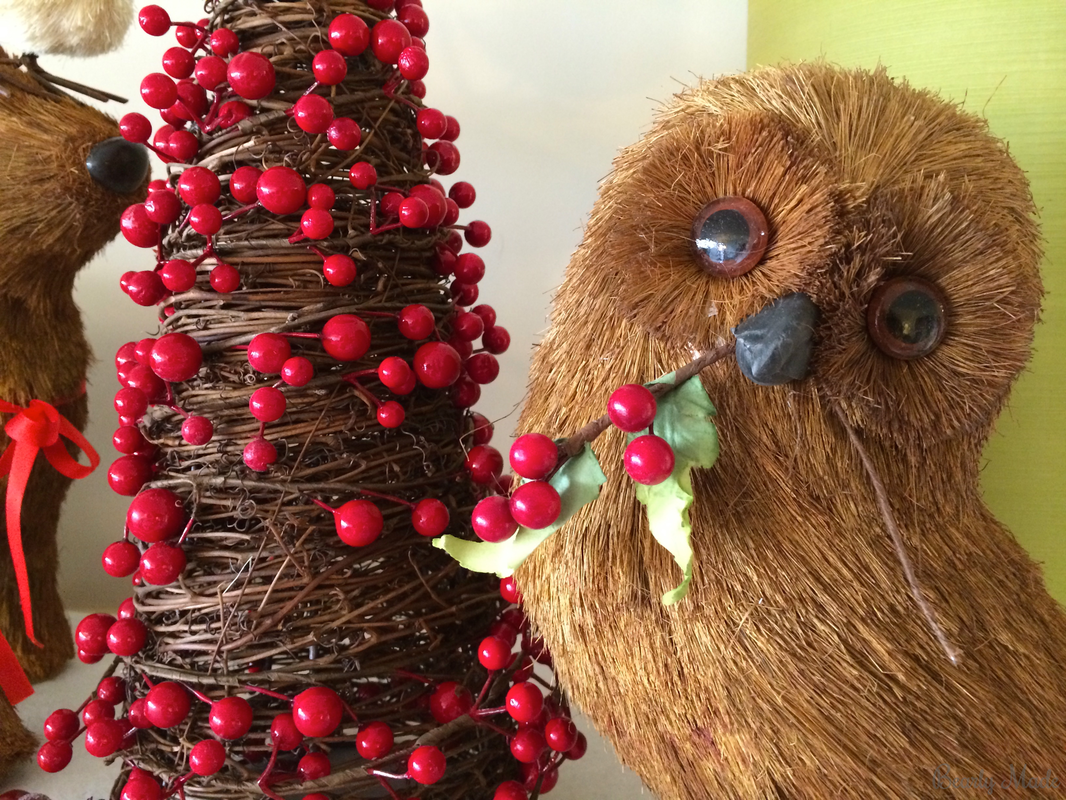
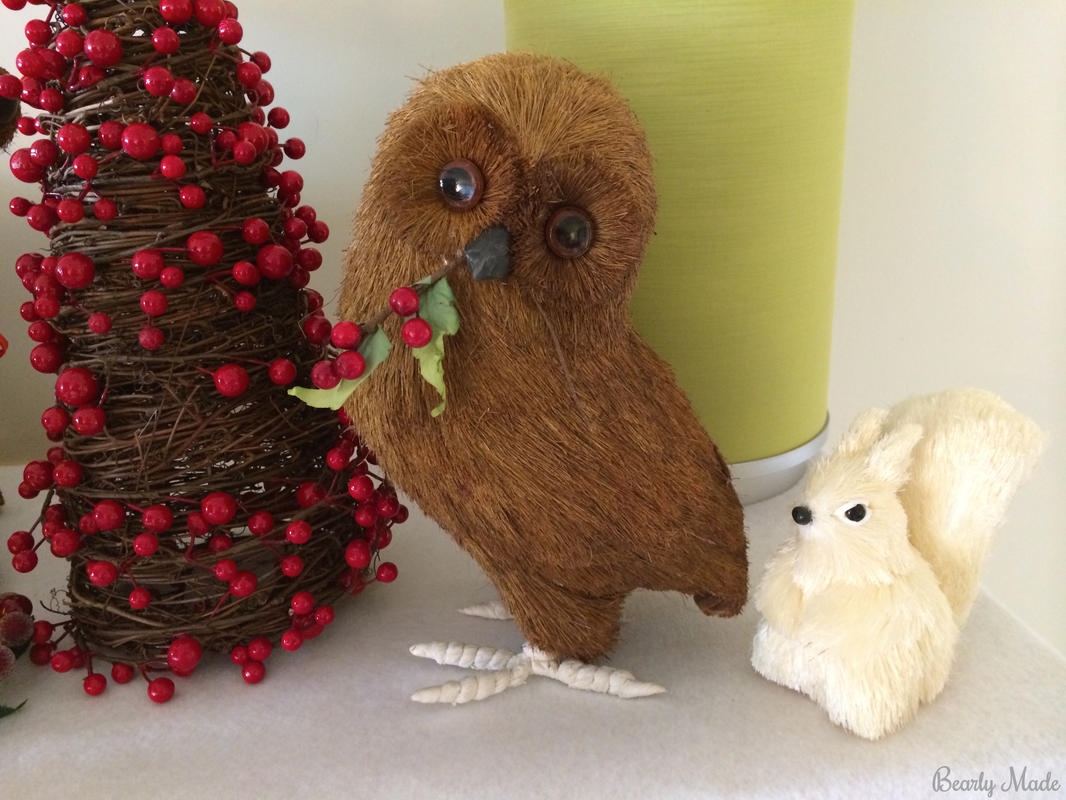
  11. Cranberry cone tree:  I got it at Target in December 2013. You can find more information on my Pinterest and something similar here.
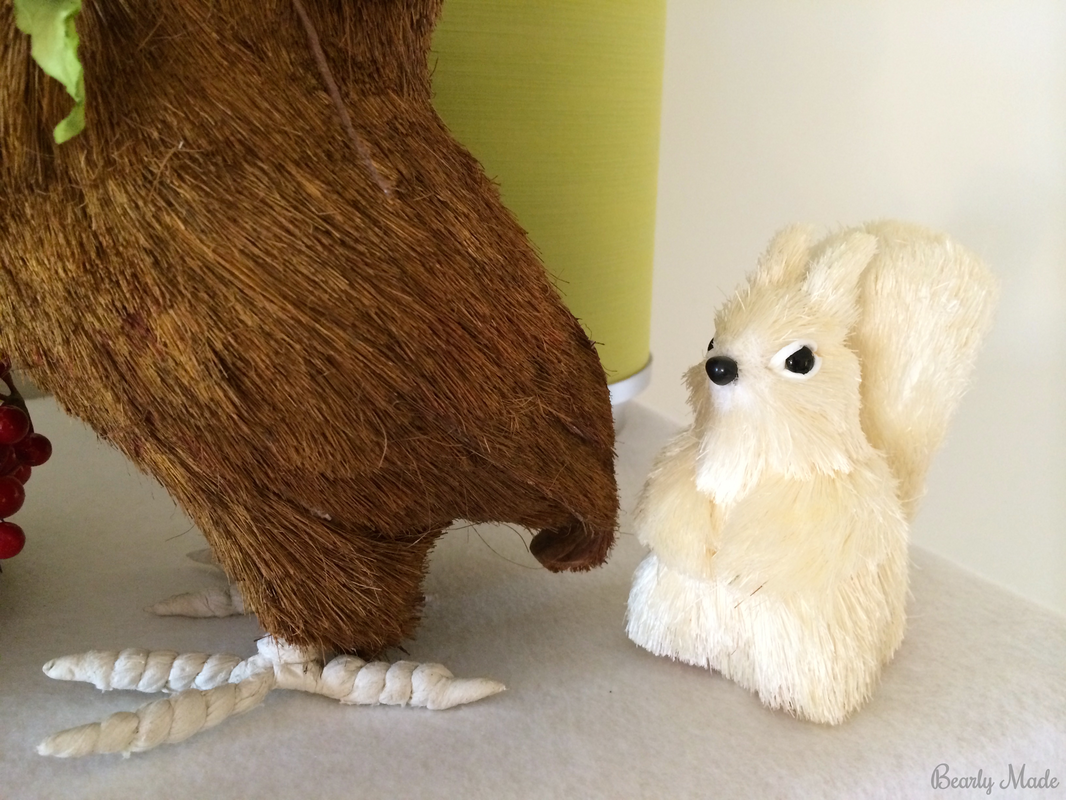
  12. Owl:  I got it at JCPenney in January 2014. You can find more information on my Pinterest.
  13. Squirrel:  I think I got it at Target in January 2014.
  14. Lamp:  I got it at Ikea in October 2013.

Your Search

Here are some words you can use to Google search for natural-style Christmas decorations:

  • Sisal bear
  • Bottlebrush penguin figurine
  • Buri animal ornament
  • Natural owl ornament
  • Natural fiber bird
  • Pepperberry rattan cone tree
  • Tabletop wicker Christmas tree
  • Berry pinecone topiary
  • Birch tabletop Christmas tree
  • Burlap hedgehog
  • Glitter twig Christmas decoration
  • Twiggy Christmas ornament
  • Woodland squirrel ornament
  • Indoor twine snowman
  • Holiday white fox figural

Here are some places you can find natural-style Christmas decorations:

  • Pottery Barn
  • West Elm
  • Pier 1 Imports
  • World Market
  • Target
  • Nordstrom
  • JCPenney
  • Macy’s (Martha Stewart Collection)
  • Anthropologie
  • Etsy
  • Craft stores
  • Christmas stores

You can also visit my Christmas Pinterest board, where I have a lot of natural Christmas decorations pinned.

Gallery

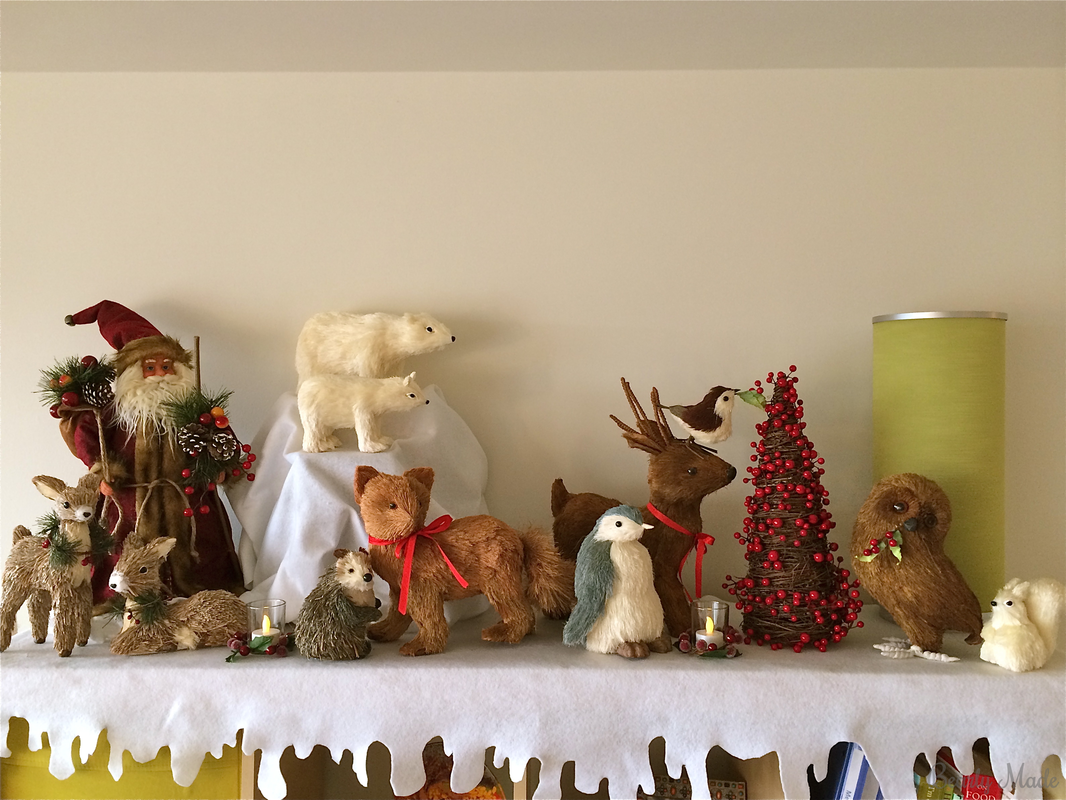
Bottlebrush Animal Christmas Mantel

Thanks for reading!

I hope you create your own wonderful menagerie! Merry Christmas and Happy New Year!

Warm wishes,

Alex
0 Comments

Halloween Window Silhouettes

11/24/2014

0 Comments


Hi folks!

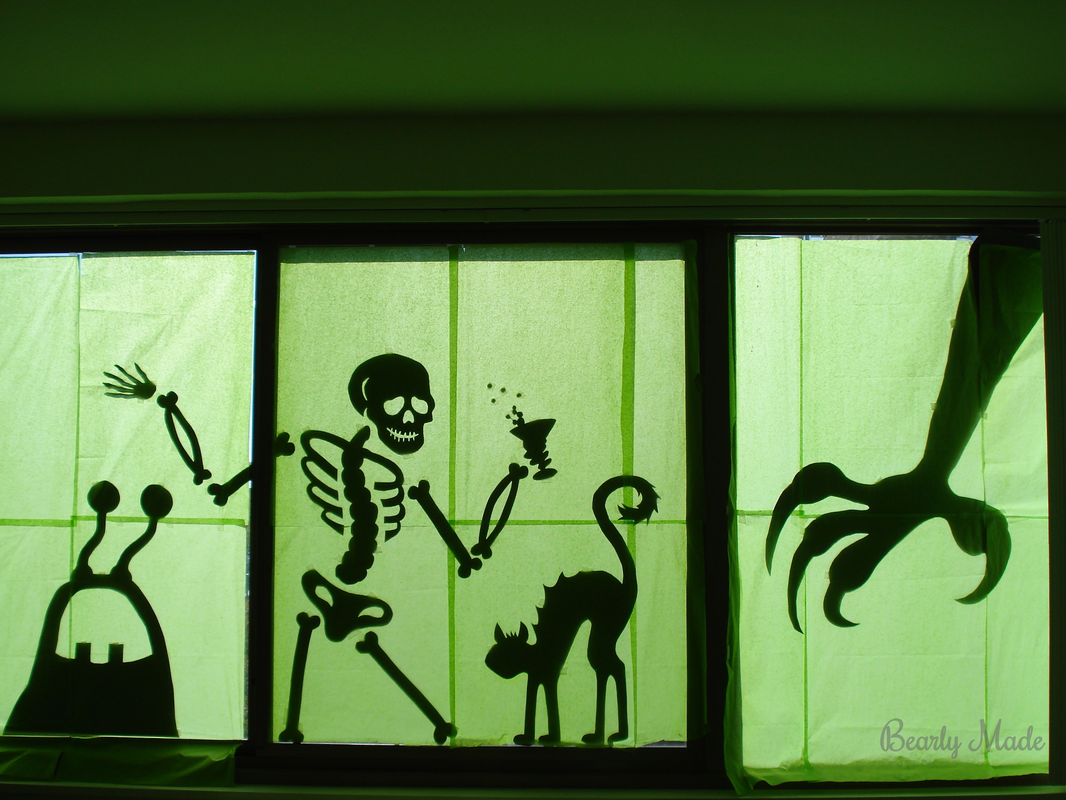
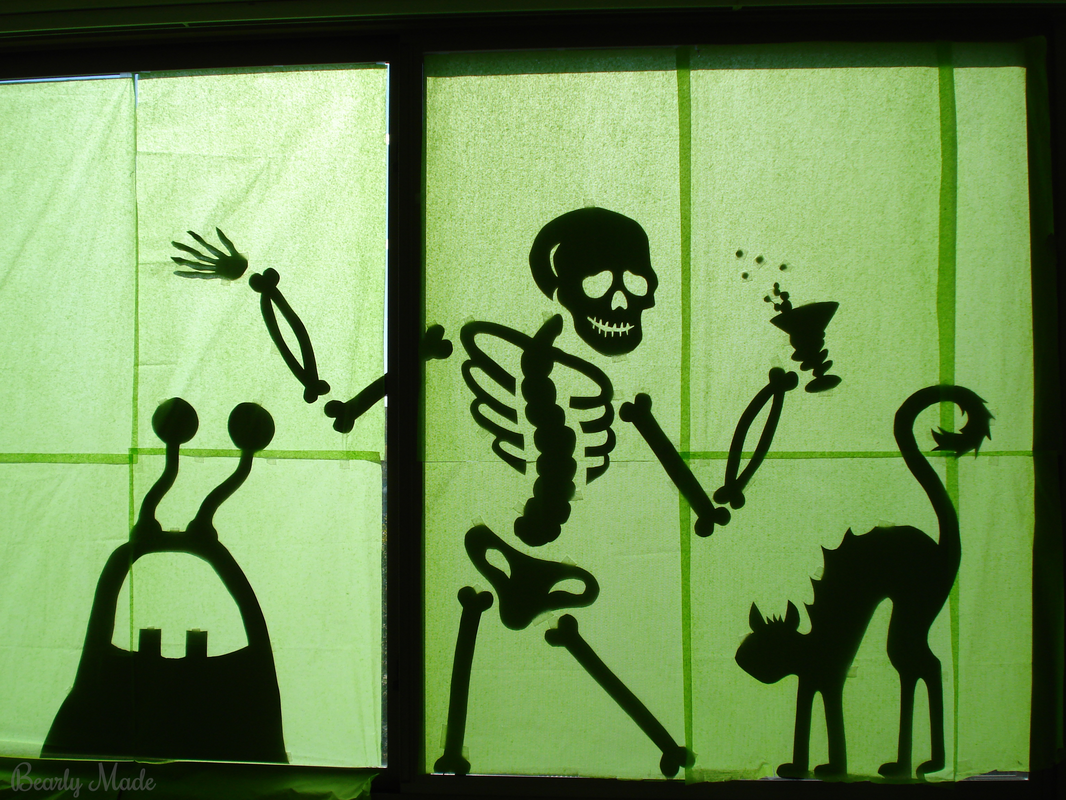
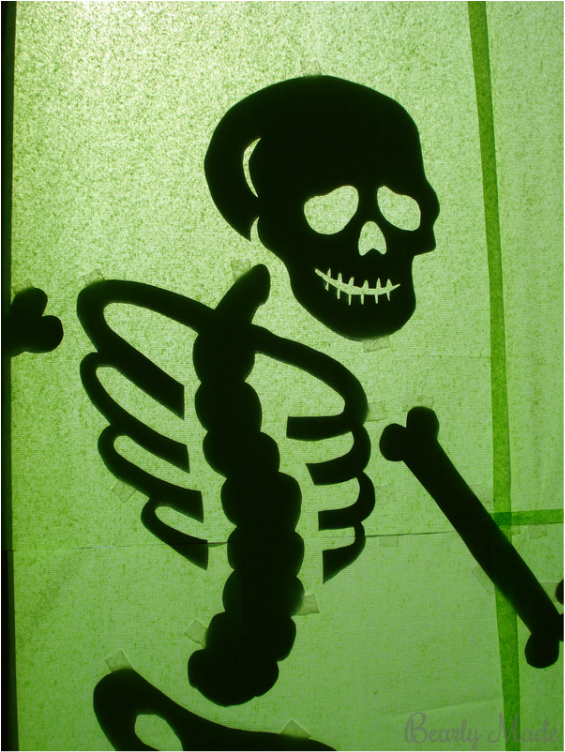
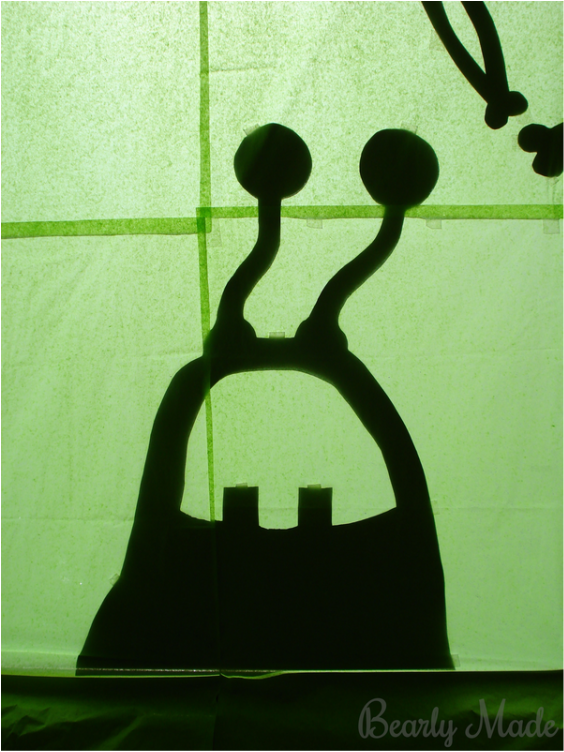
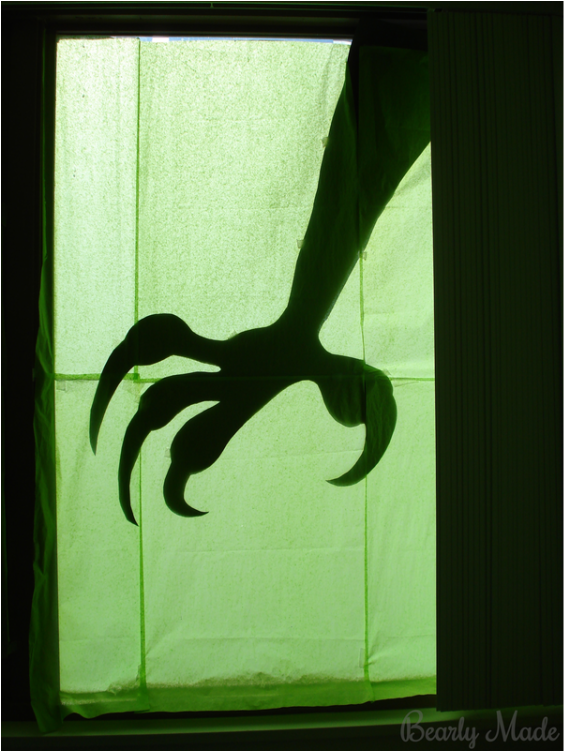
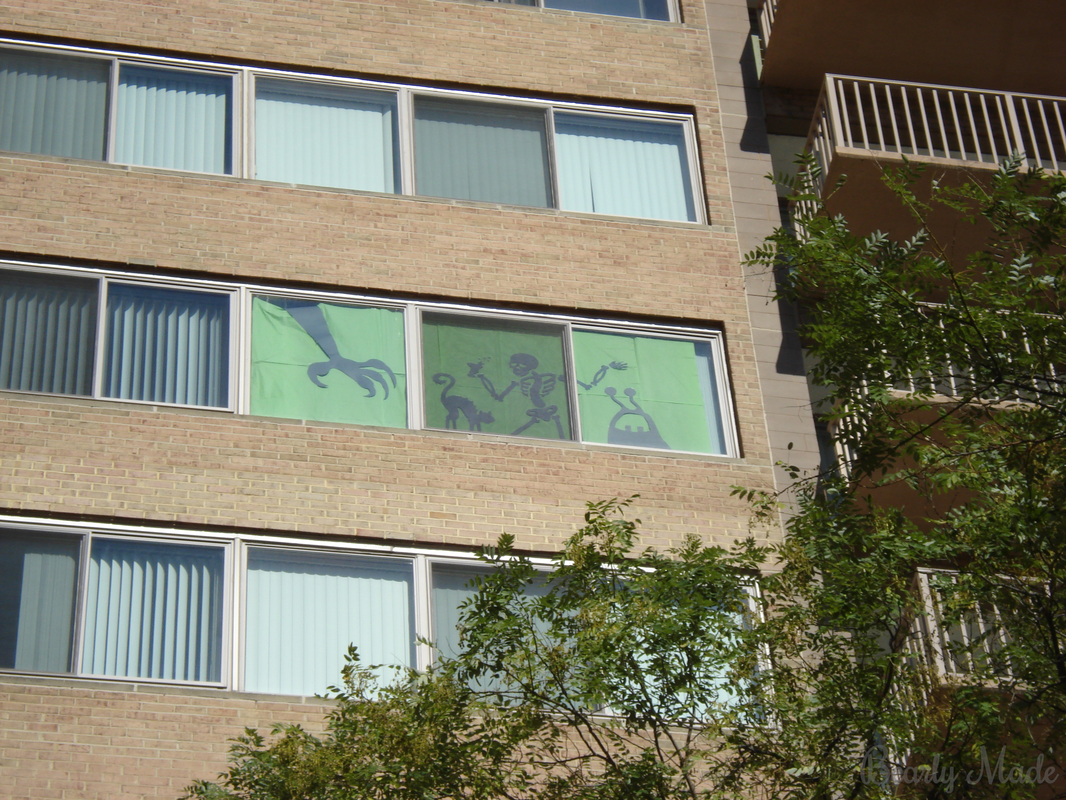
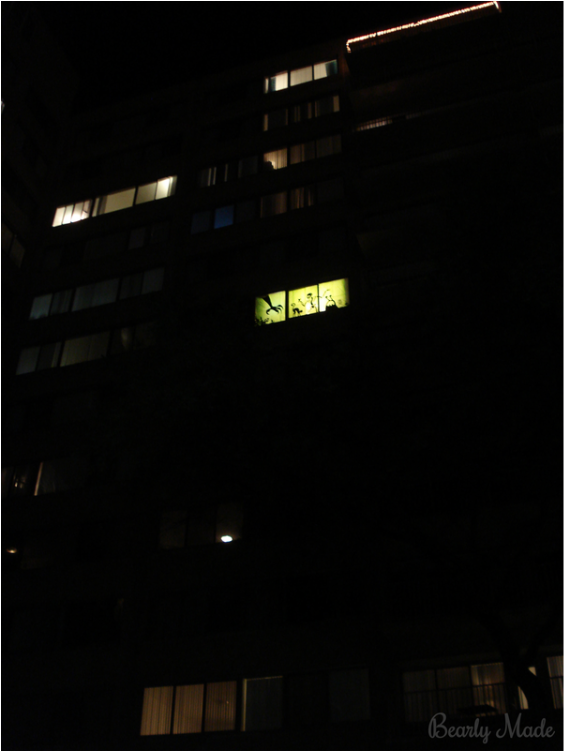
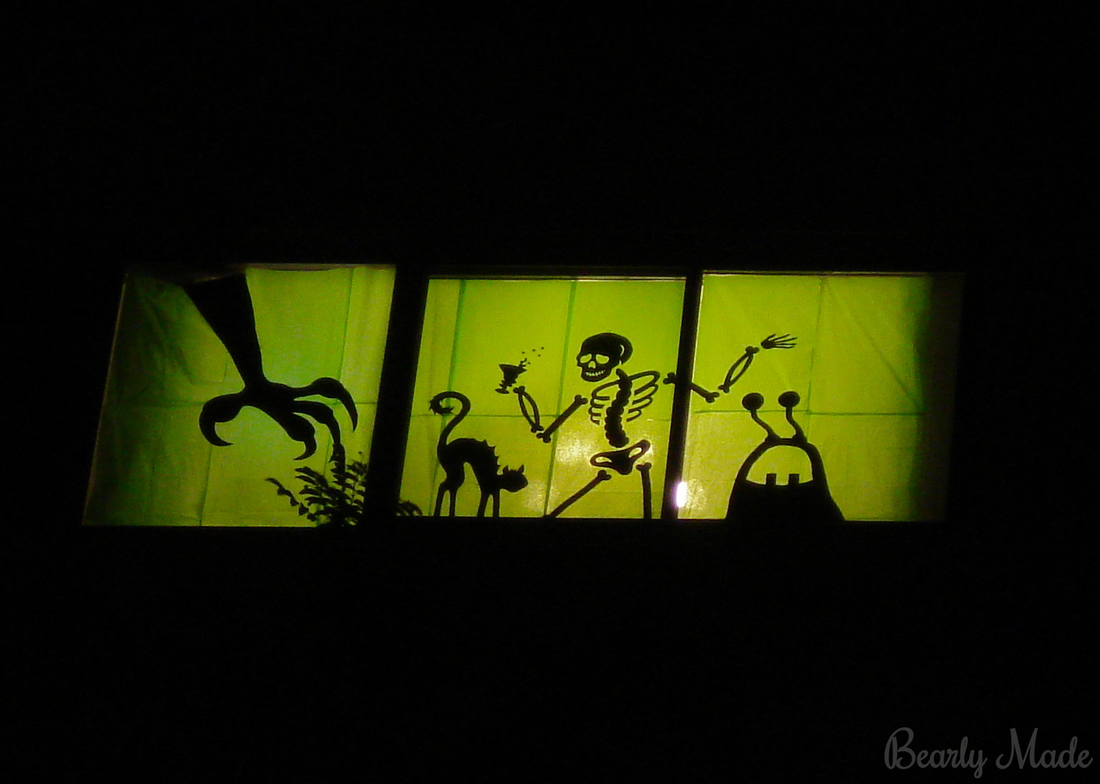
This post is about some awesome window silhouettes my partner and I made for Halloween in 2013! They are really eye-catching outside! 

The Project

First, here is what the finished product looks like.
Halloween Window Silhouettes

Materials

Black poster board  (I got mine at Staples.)   
Green tissue paper  (I used bright lime green tissue paper 20” x 30”, which I got here.)
Paper
Pencil
Eraser
Ruler
Scissors
Scotch tape

For the poster board, I believe I got size 20” x 28”. I used the poster board that is similar to very thick cardstock, not the poster board that is super-duper thick and made of foam. 

Note that a lot of poster board at Staples is one color on the front and a different color on the back. Be sure to get poster board that is black on both sides so you can enjoy the silhouette effect both inside and outside your home.

Drawing Your Characters

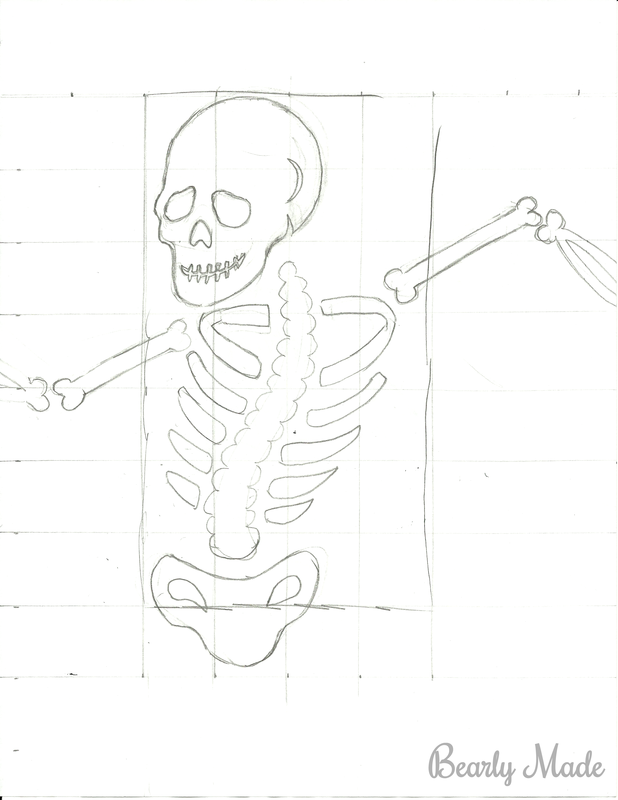
1. First, you should figure out what characters you want to make. I thought of cute characters and how I wanted them to interact. I loosely sketched out the features I wanted them to have. My partner has a knack for sketching, so he redrew the characters and cleaned them up. 

2. We looked at our poster board and our windows to figure out how big we wanted to make our silhouettes.

3. We drew grids on the sketches and our poster board, and then we drew the characters onto the poster board. If you aren’t familiar with scale drawing using a grid, you can find a how-to article here and an example here.

Scale drawing is a process that can take a couple of minutes. When I was working on this project, I ended up using a different scale for each character. 

I didn't know I would be writing a post when I did this project, so I am trying to remember some details. I am going to give you an example, but my numbers are only approximations. For example, I looked at my window (about 58 inches tall) and decided I wanted my skeleton to be about 38 inches tall (about 25 inches from the top of the head to the bottom of the spine). I decided that based on the size of my sketch (a little more than 7 inches tall) and the size I wanted the silhouette to be, that 1:4 would be a good ratio. So, I drew a 1-inch grid on my sketch, and a 4-inch grid on my poster board. Then I copied what was in each square of the sketch into each square on the poster board.

Don't worry about getting gridlines on your silhouettes. They don't stand out on the black poster board.

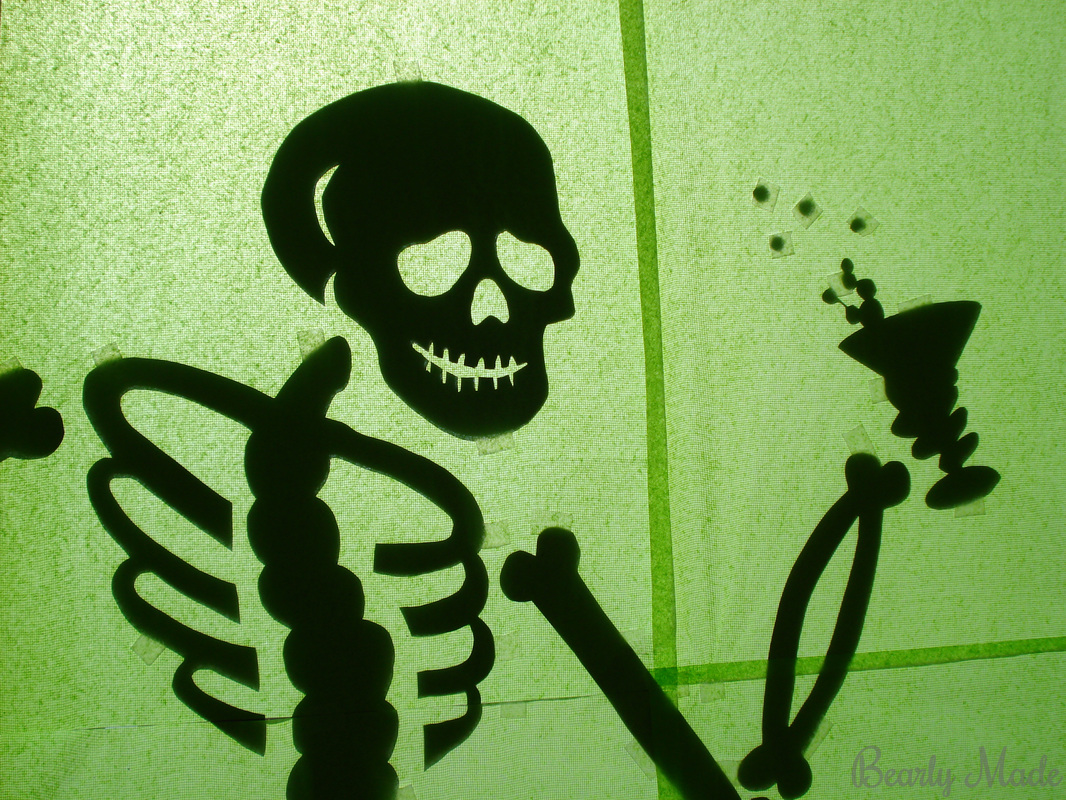
If you compare the sketch of the skeleton to the silhouette of the skeleton, you can probably tell that we made additional edits. My talented partner made some adjustments as he was transferring the sketches to the poster board, and he made some edits to my poster board drawings as well. I will add that my partner is not a trained artist, he just has a little bit more practice than I do, because he used to sketch for fun back in the day. This is totally a project you could do well with no real artistic experience!
Halloween Window Silhouettes

Final Steps

4. We cut out our silhouettes.

5. We used scotch tape to affix the pieces to the inside of the window. (It all came off pretty easily after Halloween, even though the sun often heated the tape. I did go over the windows with Method glass cleaner and a rag to get some of the sticky off.)

6. We neatly taped a layer of green tissue paper over the silhouettes, trying not to overlap too much.

7. On Halloween, we put an extra lamp behind the window to get the silhouettes to stand out. 

That’s it! The tissue paper over the window gave the whole room a creepy green hue leading up to Halloween. It's the kind of thing a kid would probably love to have in their room!

Storage

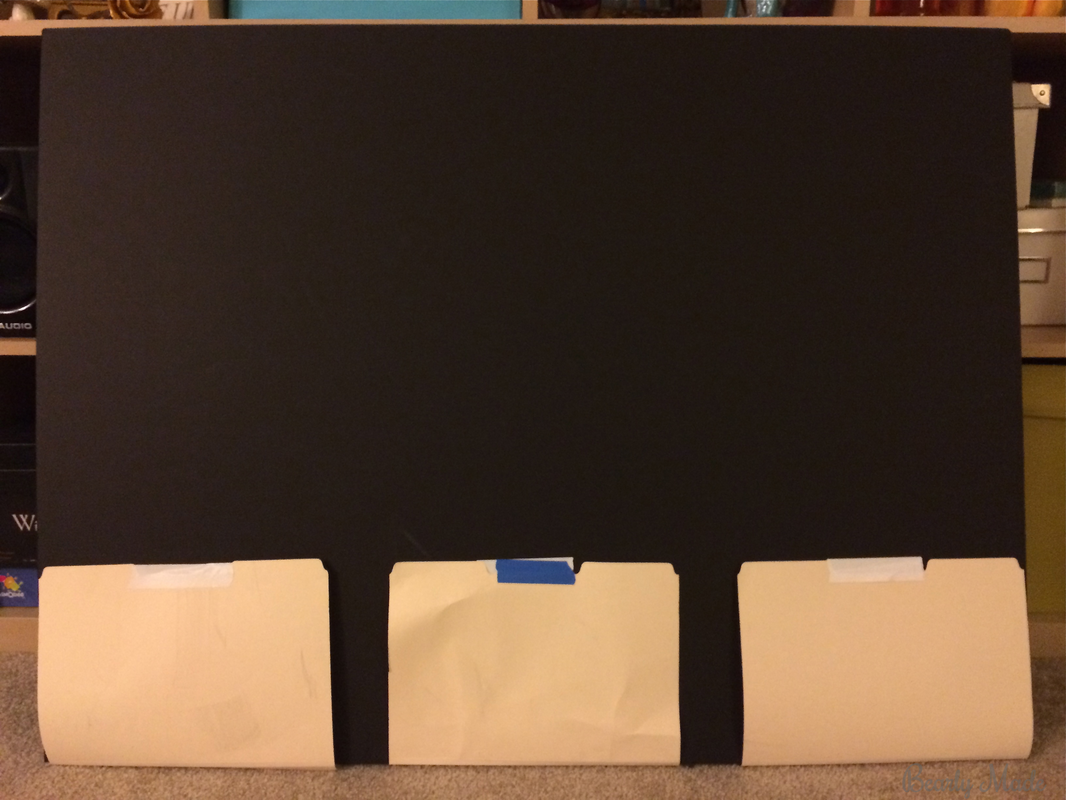
This is a decoration I want to use for years to come! I stored some of the pieces in a manilla file folder, but some of the pieces are too large for that. I made a makeshift portfolio using three manilla file folders, two thick foam poster boards, and tape.  
Halloween Window Silhouettes

Inspiration and Resources

Martha Stewart has made some great silhouettes. It's out of stock now, but you can see her headless woman silhouette here and spooky bird silhouettes here.
You can find my Pinterest board, Halloween Silhouettes, here.
If you aren’t familiar with scale drawing using a grid, you can find a how-to article here and an example here.

Downloads

You can download some of my partner's sketches for free below.
Halloween Sihouette Sketches.pdf
File Size: 4934 kb
File Type: pdf
Download File

Gallery

Halloween Window Silhouettes

Thanks for reading!

Try making Halloween window silhouettes of your own and share your results in the comments below!

Warm wishes,

Alex
0 Comments
<<Previous

    I'm Alex!

    I'm a lawyer and a feminist in my early 30's. I love dancing, dabbling in amateur graphic design projects, sharing tips, and trying new crafts.

    Sponsors

    Archives

    November 2016
    August 2015
    June 2015
    December 2014
    November 2014

    Categories

    All
    Amigurumi
    Christmas
    Cleaning Tips
    Costumes
    Crafts
    Crochet
    Fashion
    Fashion Tips
    Free Downloads
    Graphic Design
    Halloween
    Home Care
    Home Decor
    Humor
    Year Round

    Follow me on:

    RSS Feed

    Follow
Powered by Create your own unique website with customizable templates.