
Hi folks!
This post is about the cute little pumpkin amigurumi I made for Halloween this year. I am new to amigurumi, and crochet in general, but I truly love it! This pumpkin was my second project. Below I link to the many resources I recently used as a beginner. I used other crafters’ patterns to make this amigurumi.
The Project
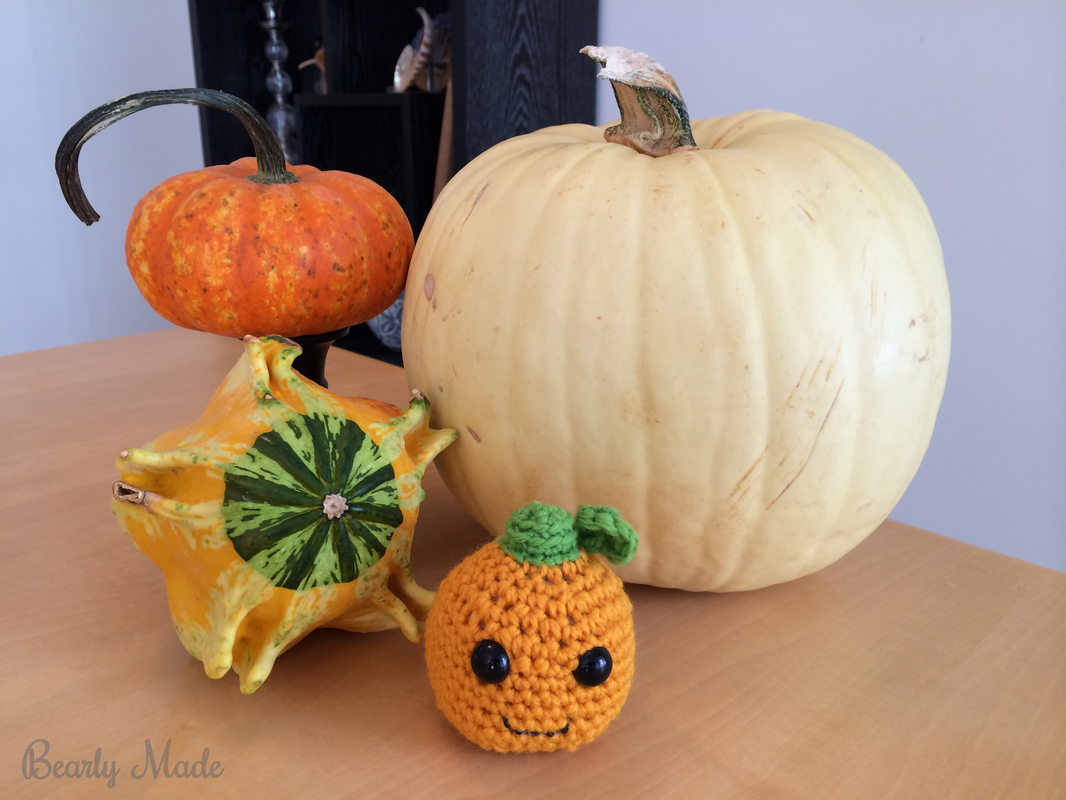
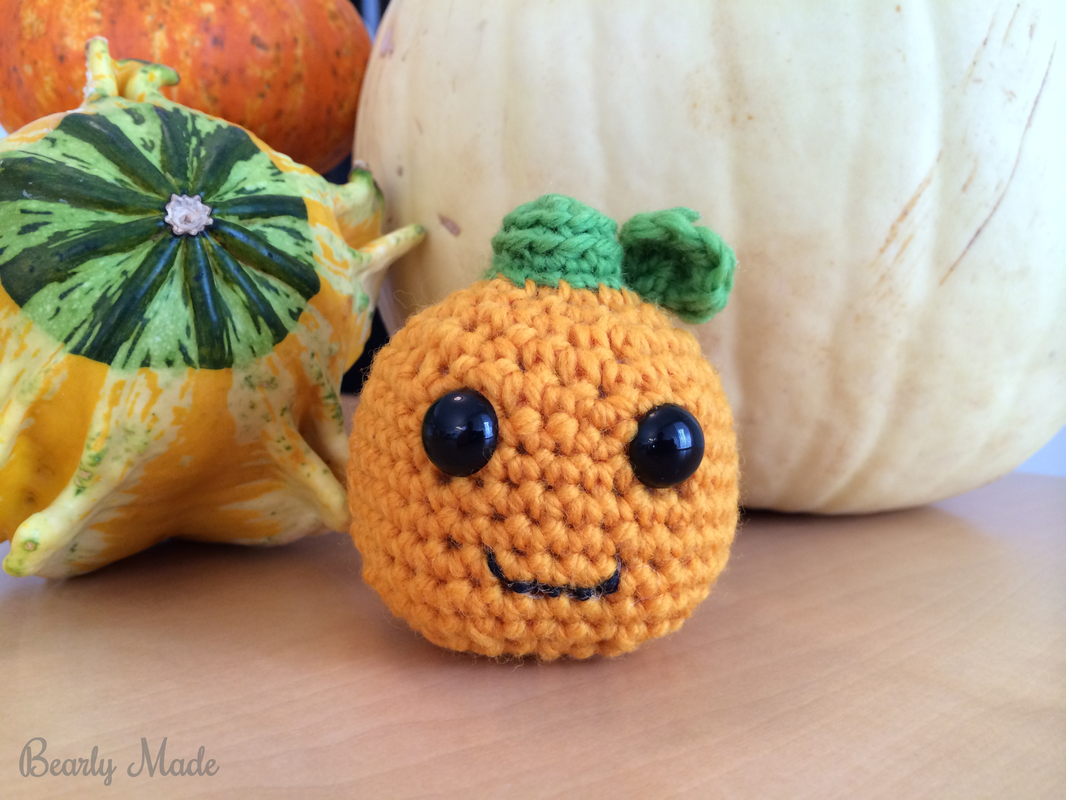
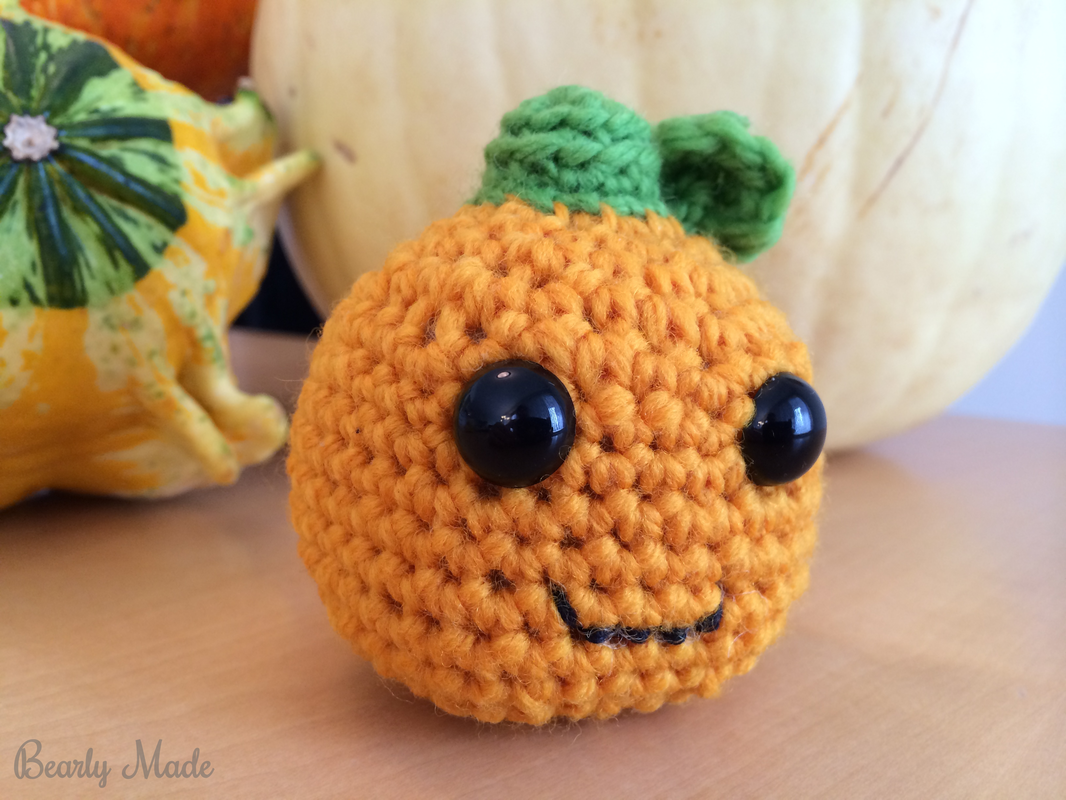
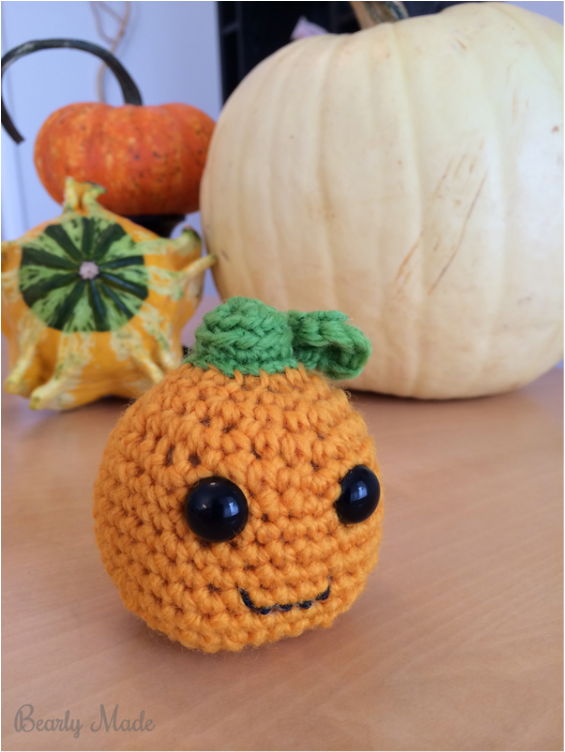
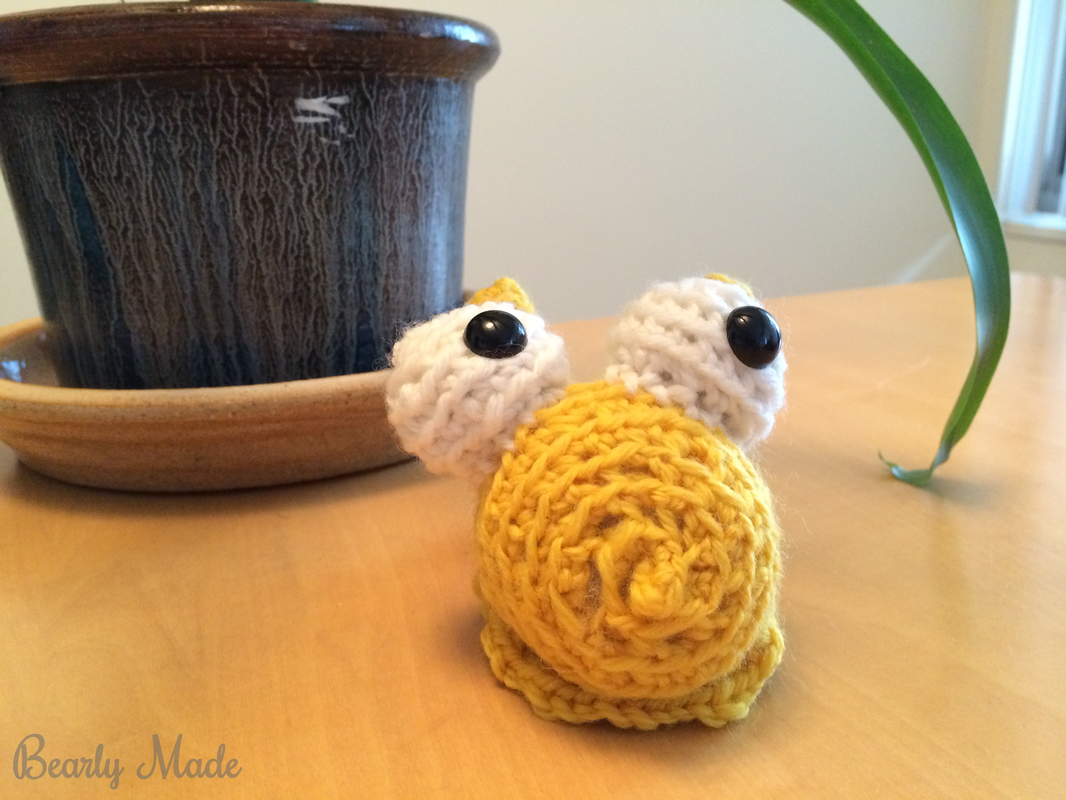
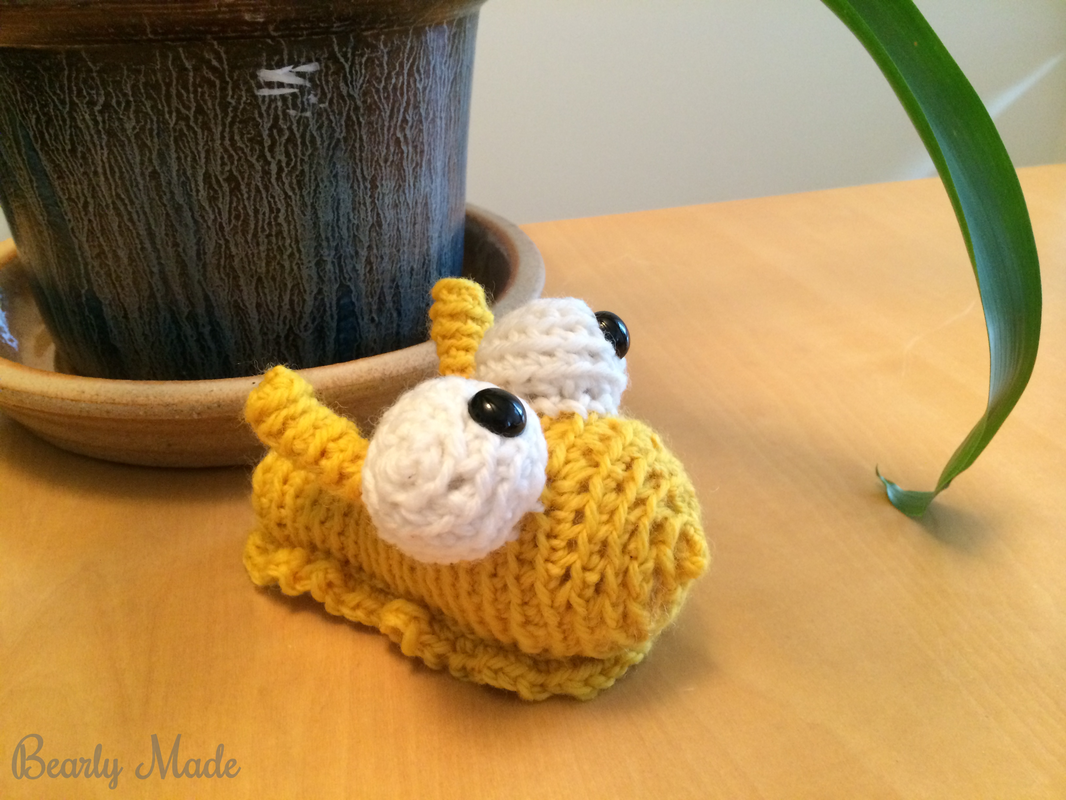
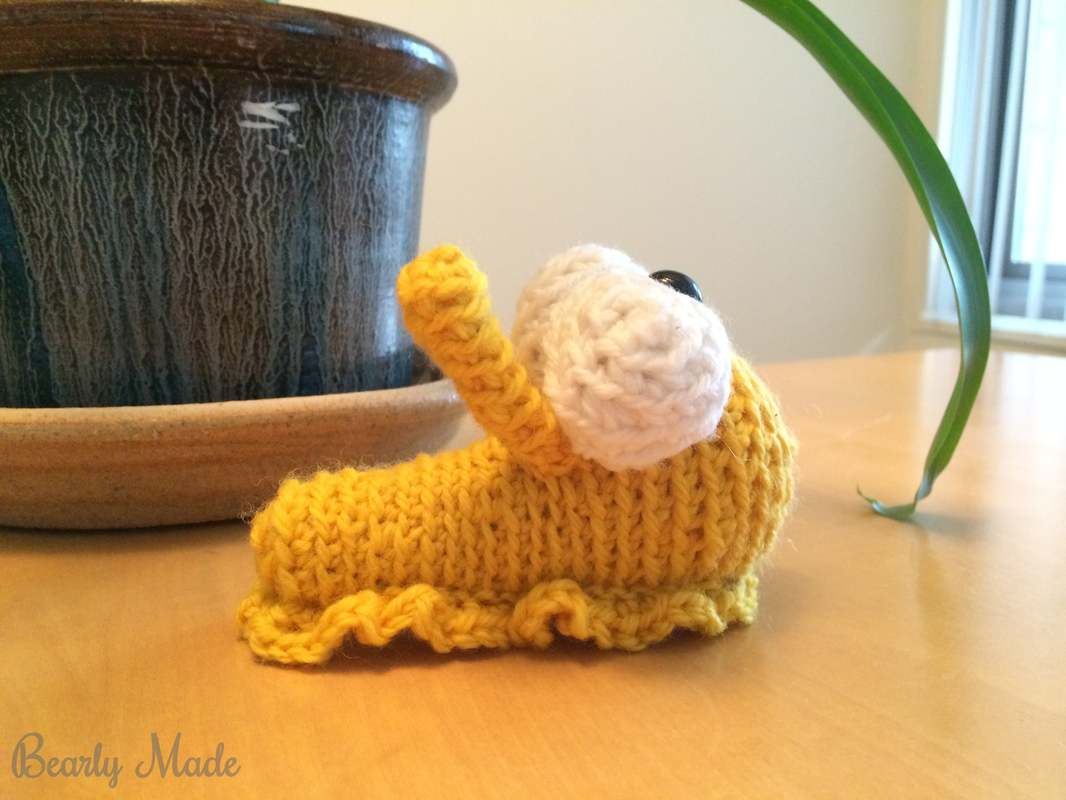
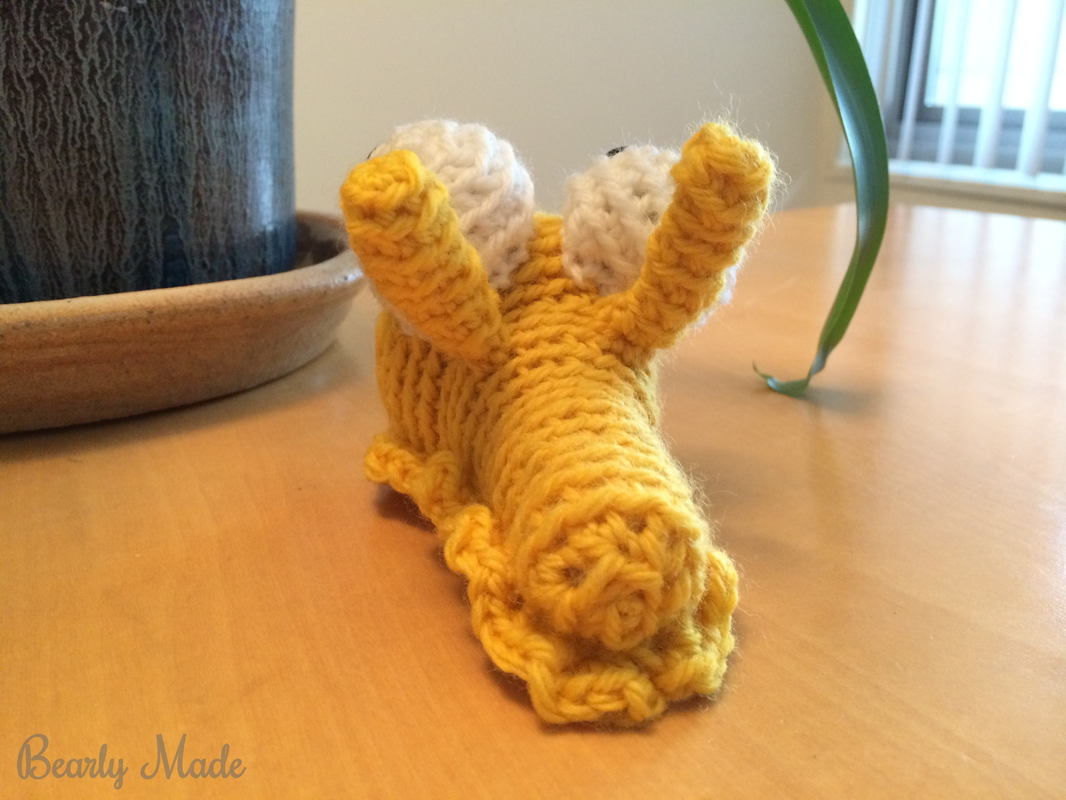
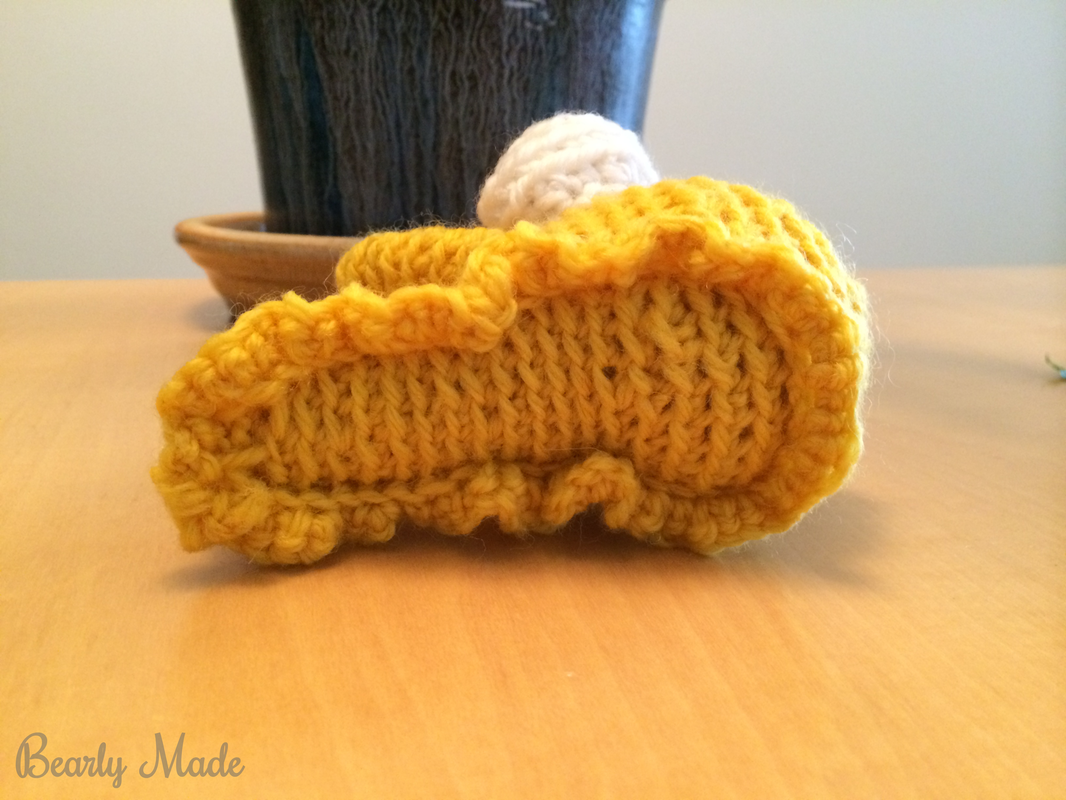
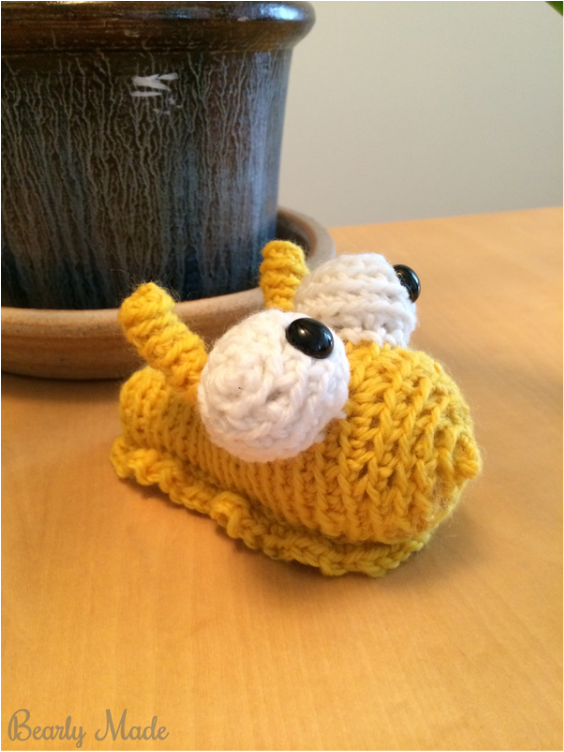
First, here is what the finished product looks like! It measures 2.75 inches high x 2.25 inches wide. I used wool worsted weight yarn and a 4.5 mm (size 7) hook.
Skills
- Reading patterns (find a guide here)
- Mark your rounds (find tutorial here)
- Count your stitches (find tutorial here)
- Slip knot (find tutorial here)
- Magic ring (find tutorial here)
- Crochet under both loops (find tutorial here)
- Single crochet (find tutorial here)
- Single crochet increase (find tutorial here)
- Single crochet decrease (find tutorial here)
- Double crochet (find tutorial here)
- Half double crochet (find tutorials here and here)
- Crochet chain (find tutorial here)
- Crochet into the chain (for example, single crochet into the 2nd chain from the hook) (find tutorial here, a blog post here, and another tutorial with helpful explanations here)
- Crochet into the opposite side of the chain (find tutorial here)
- Attaching pieces (find tutorial here)
- Fastening off (find tutorial here)
A great resource is “A Beginner’s Guide to Amigurumi” by Stacey Trock at freshstitches.com, which you can download for free here. It helps to know when you're watching the tutorials that the "working yarn" is the string that is attached to the yarn ball and the "tail" is the string that dangles loosely.
Also, beginners should note that most amigurumi pieces are made by crocheting in the round, as opposed to crocheting in rows. Your work will naturally turn as you crochet; however, you will not be "turning the work." You turn a work when you reach the end of a straight row, chain one to four stitches, flip the work over, and start to crochet a new row in the opposite direction. There's nothing special you need to know about crocheting in the round except how to start, and that is why I recommend the magic ring tutorial above.
Materials
- 4.5 mm (size 7) crochet hook (I got mine here.)
- Tapestry needle (I got mine here.)
- Stitch marker (I got mine here.)
- Orange yarn (I got mine here, from a kit)
- Green yarn (I got mine here, from a kit)
- 12 mm black plastic eyes (I got mine here, and here are others I have also used.)
- Stuffing (I used Crafter's Choice Polyester Fiberfill, which I got here.)
- Black thread, yarn, or embroidery floss (I used black thread, because I had it around.)
Crochet Pattern
THE BODY:
The video tutorial for the body can be found here. I found it easy to write out the instructions as I followed the video, so I can just use a written pattern next time.
THE STEM AND LEAF:
The pattern for the stem and the leaf can be downloaded for free here. The thing I love about the leaf is that I get a chance to practice different skills. The leaf involves crocheting into the chain (which I hadn’t used before, because I used the magic ring method), single crochet, double crochet, half double crochet, and crocheting in the opposite side of the chain. I’ve made two leaves now, and I love how perfect they turn out with that cute little dimple in the middle.
Here is a tip for beginners about using the magic ring. Many patterns will read:
With Main Color, chain 2.
Round 1: Single crochet 6 times in 2nd chain from hook.
In my experience, if you use the magic ring, you should replace these steps with the following:
Round 1: Single crochet 6 times in the magic ring, pull on the tail (the piece of yarn that is not attached to the yarn ball) until the ring is closed tightly.
You don’t want to make a chain, because you are making the magic ring instead.
Inspiration and Resources
The video tutorial for the body can be found here.
The pattern for the stem and the leaf can be downloaded for free here.
Many amigurumi tips can be found on freshstitches.com here.
A great resource is “A Beginner’s Guide to Amigurumi” by Stacey Trock at freshstitches.com, which you can download for free here.
The pattern for the stem and the leaf can be downloaded for free here.
Many amigurumi tips can be found on freshstitches.com here.
A great resource is “A Beginner’s Guide to Amigurumi” by Stacey Trock at freshstitches.com, which you can download for free here.
Gallery
Thanks for reading!
Try making a little pumpkin of your own and share your results in the comments below!
Warm wishes,
Alex
Warm wishes,
Alex

 RSS Feed
