
Hi folks!
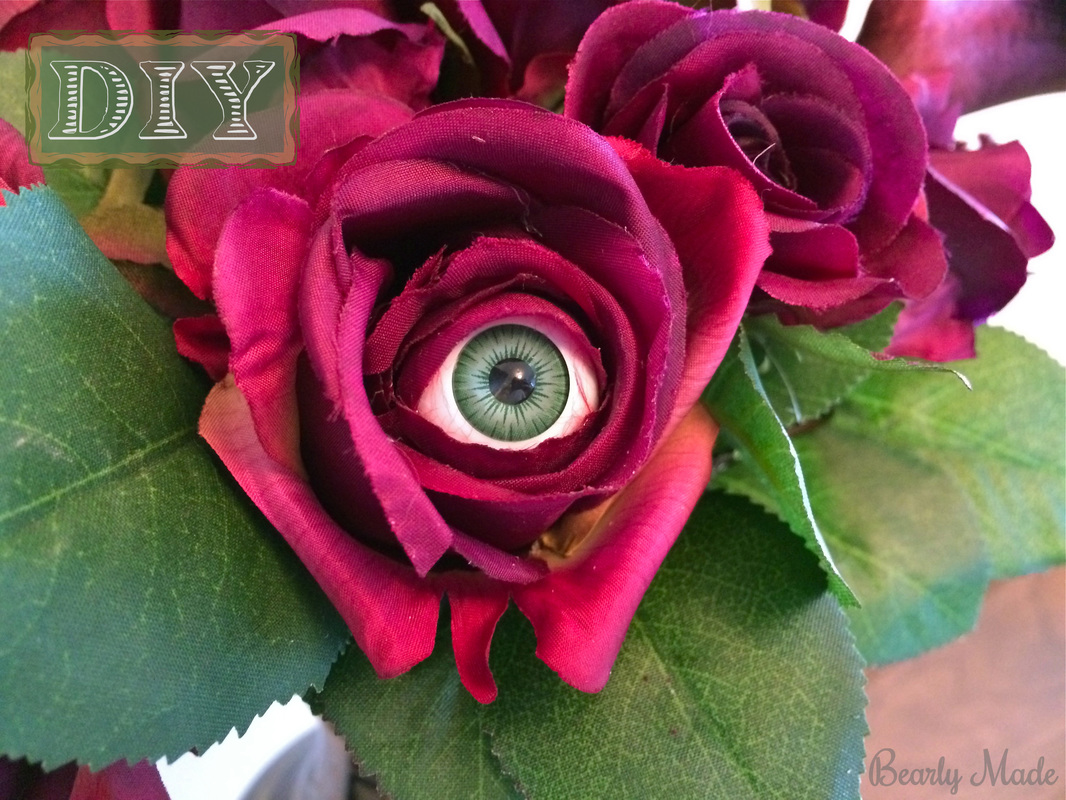
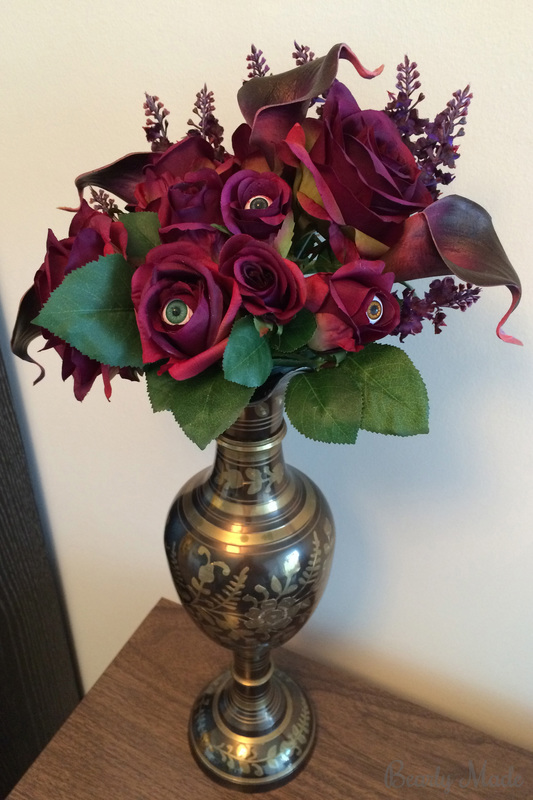
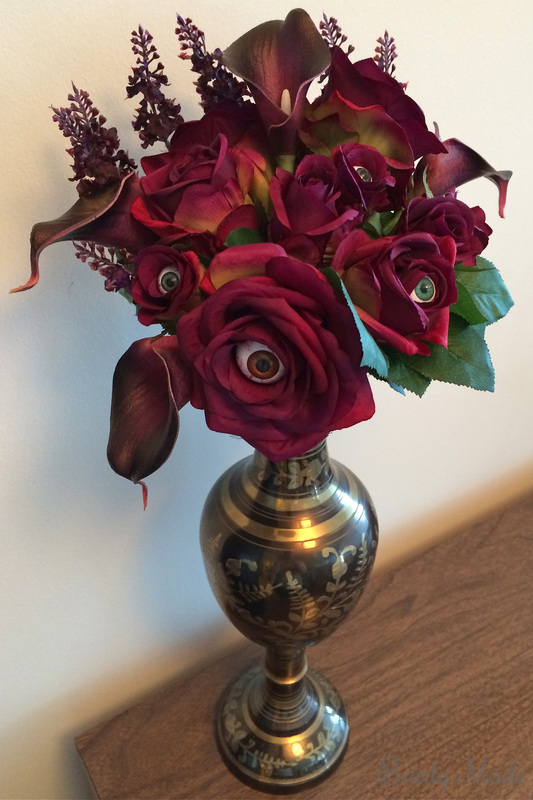
This post is about an awesome eye bouquet I made for Halloween!
The Project
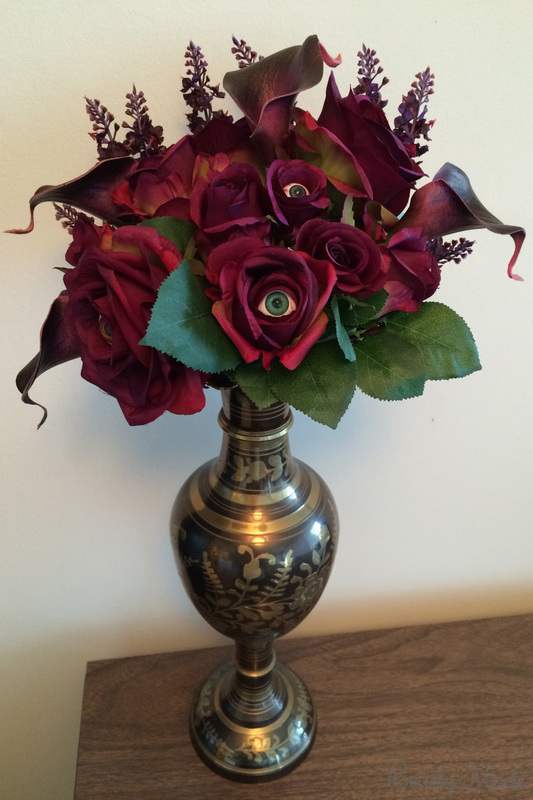
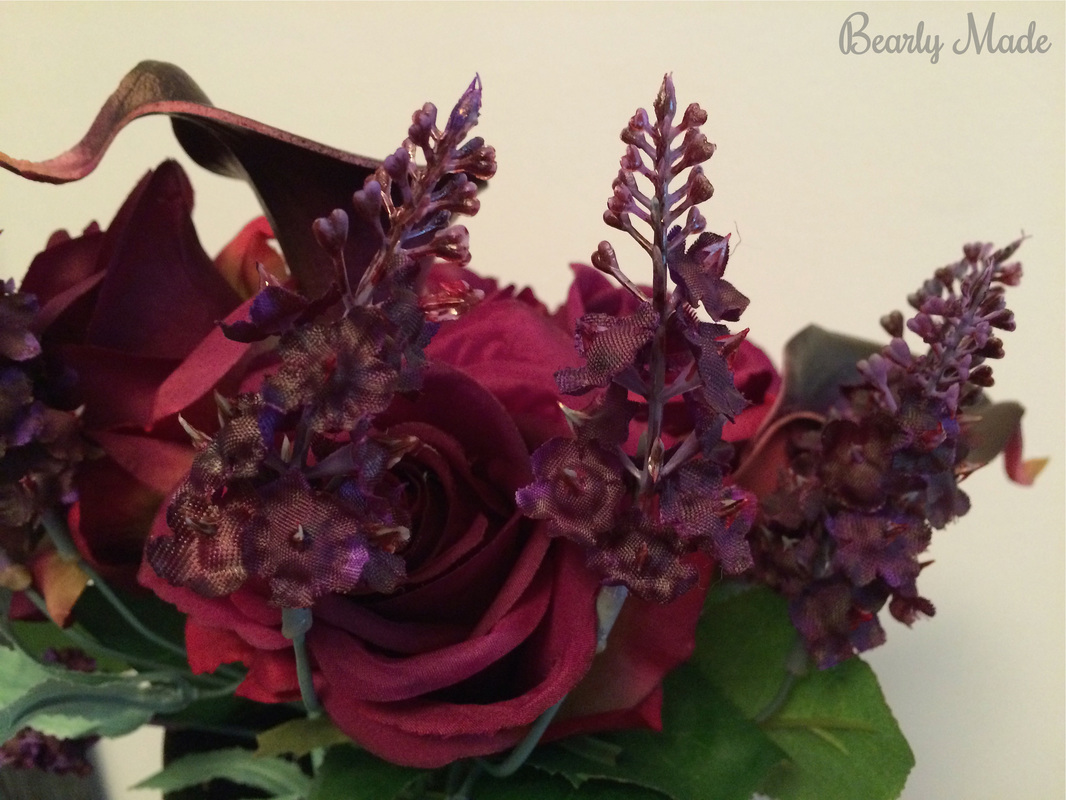
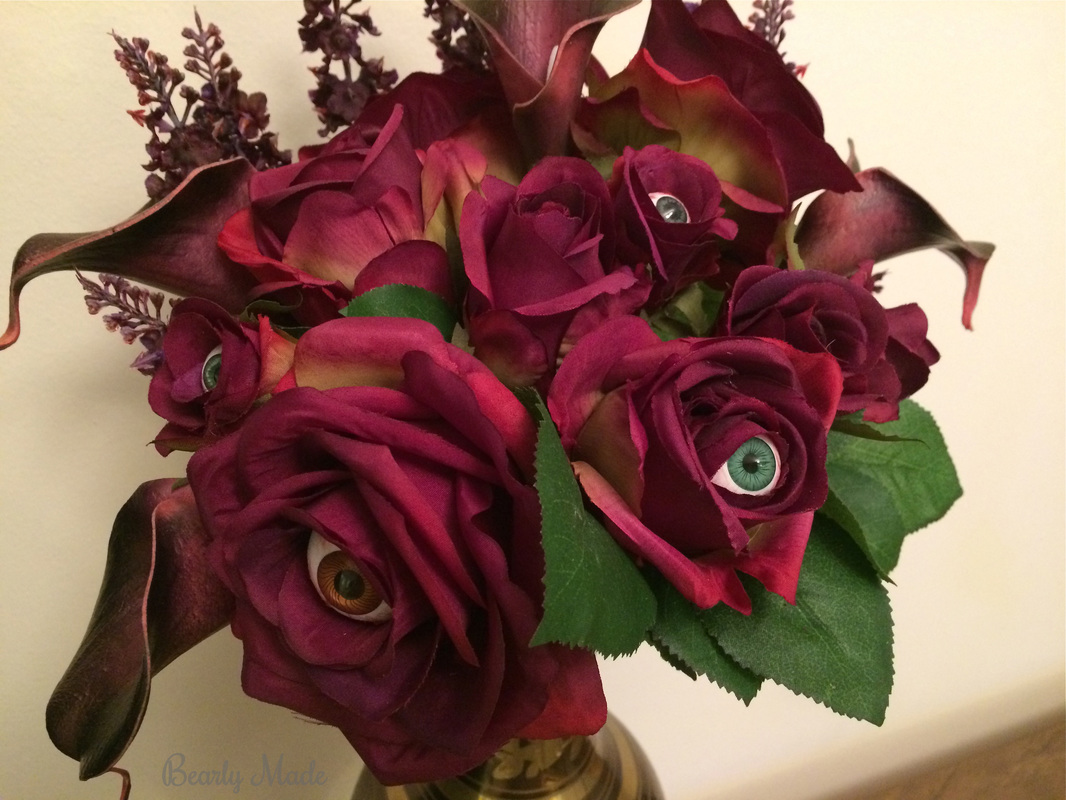
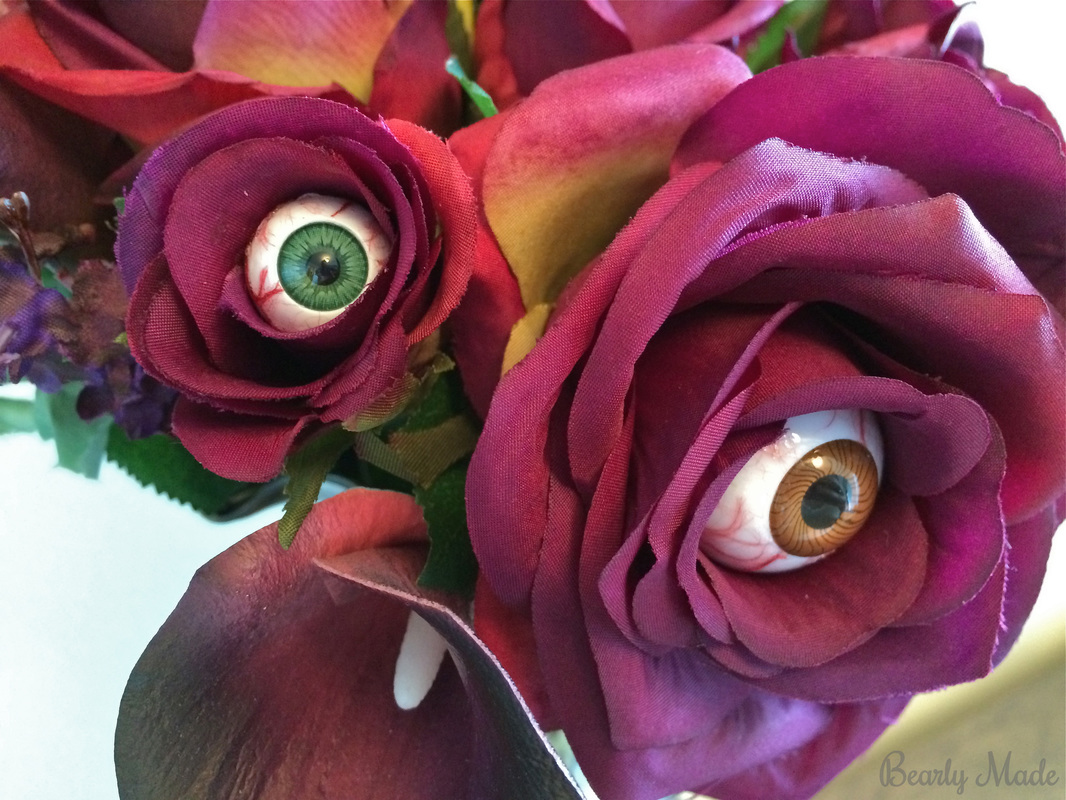
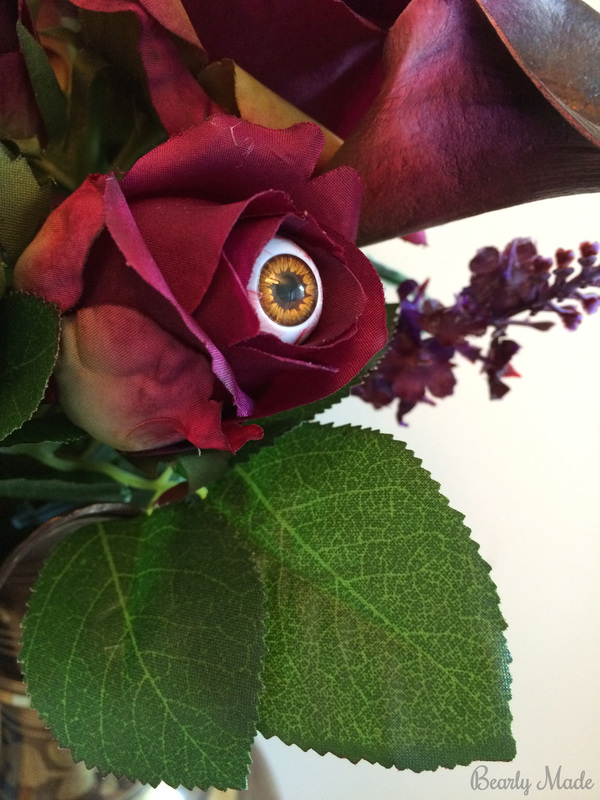
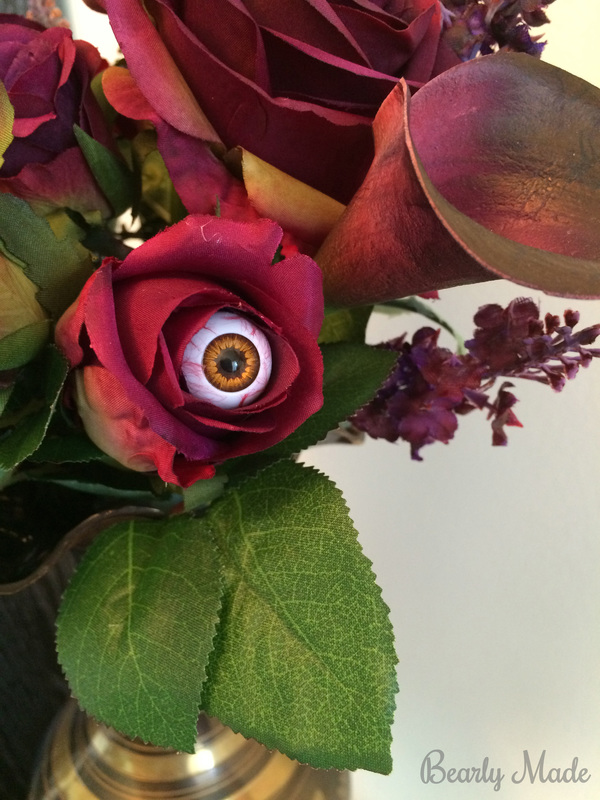
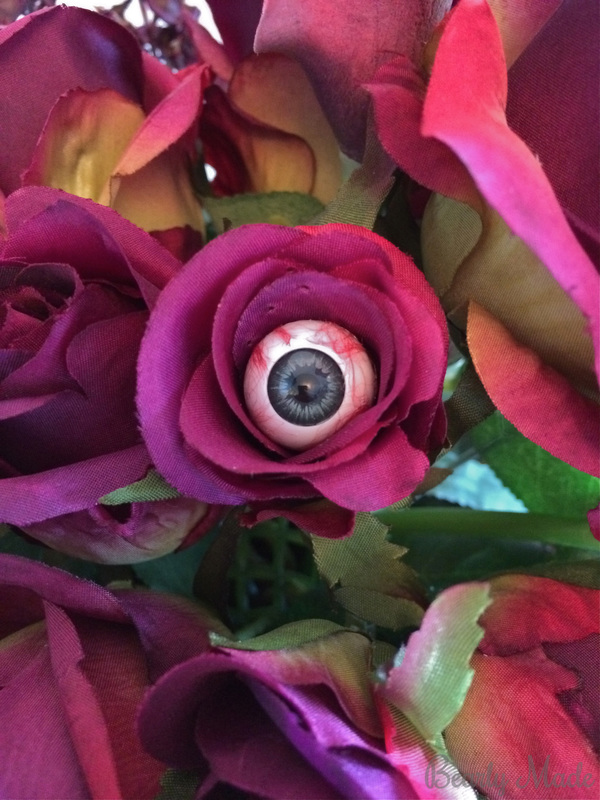
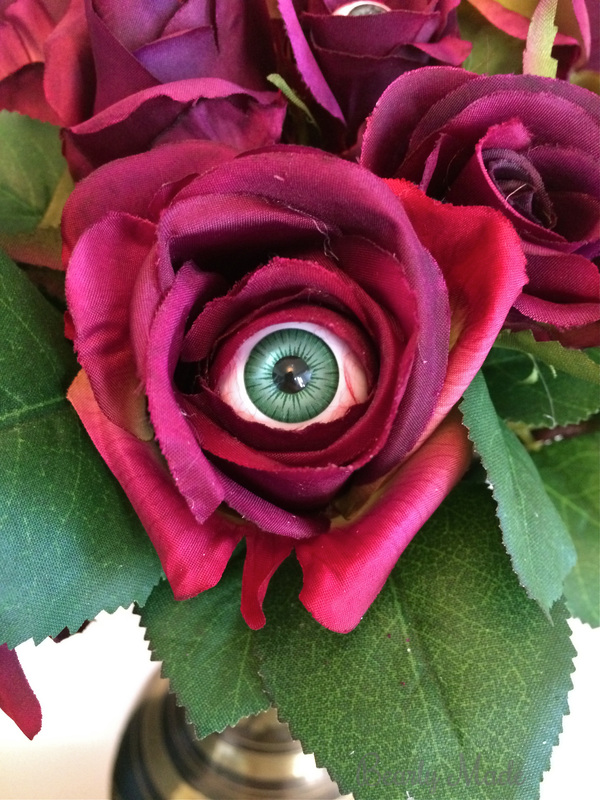
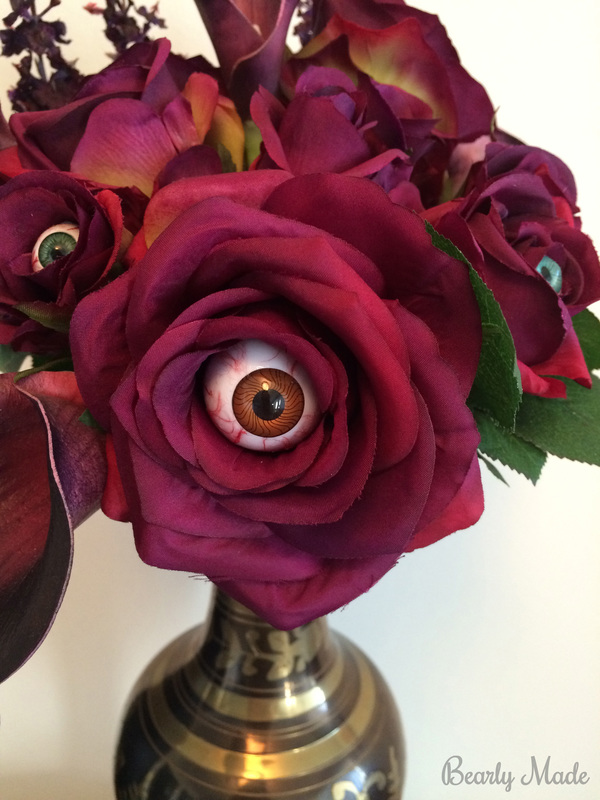
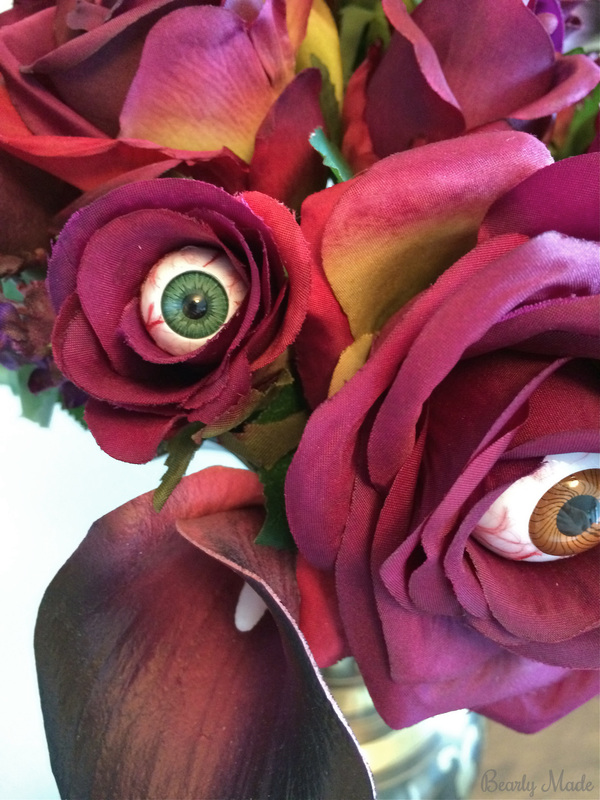
First, here is what the finished product looks like.
Materials
- Artificial roses (I got mine here.)
- Artificial calla lilies (I got mine here, find similar here.)
- Artificial lavender (I got mine on Amazon, find similar here.)
- Red permanent marker
- Brown permanent marker
- EZ Bouquet Floral Arranger (I got mine here.)
- Vase (I got mine at a little convenience-type store in a Metro station.)
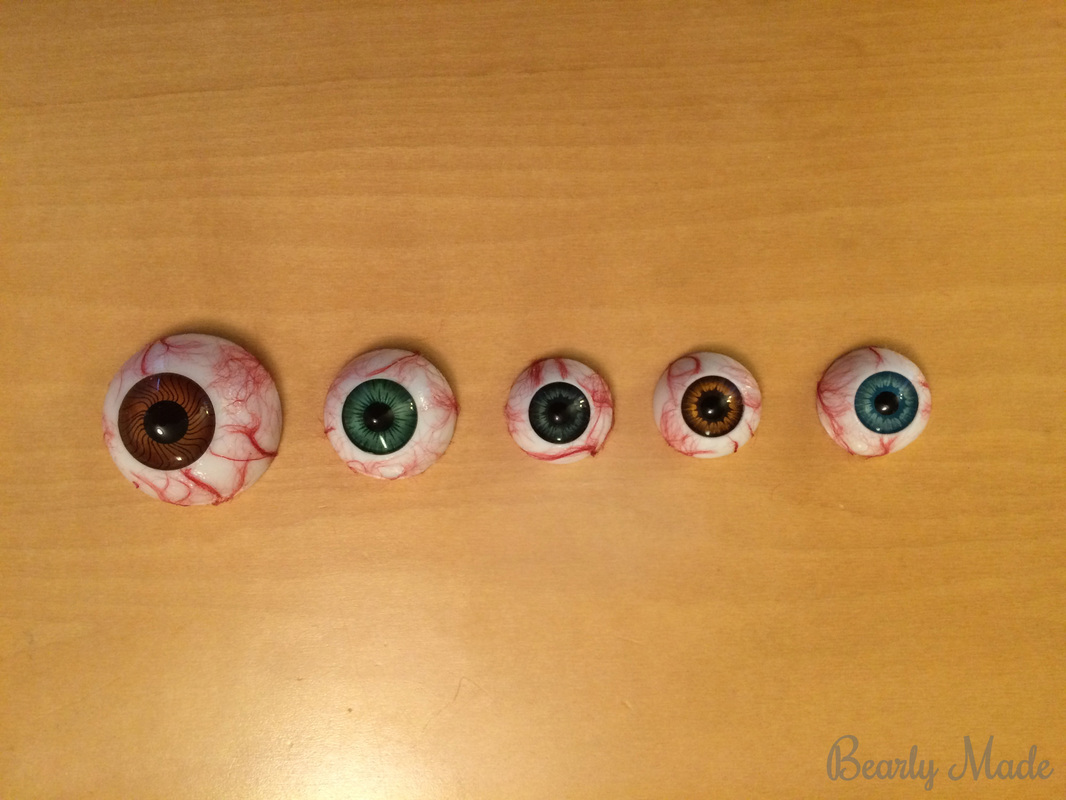
- Plastic eyes (26 mm) (I got mine here.)
- Plastic eyes (20 mm) (I got mine here.)
- Plastic eyes (16 mm) (I got mine here.)
- Red yarn
- Clear nail polish
- Elmer’s glue
- Scissors
- Craft tweezers (You probably don’t want to use the same tweezers you use for grooming, because they will get nail polish on them.)
- Plastic (to protect your table)
Flowers
1. Obviously one of my first steps was purchasing my artificial flowers. I used search terms like purple, burgundy, and eggplant to find the colors I wanted.
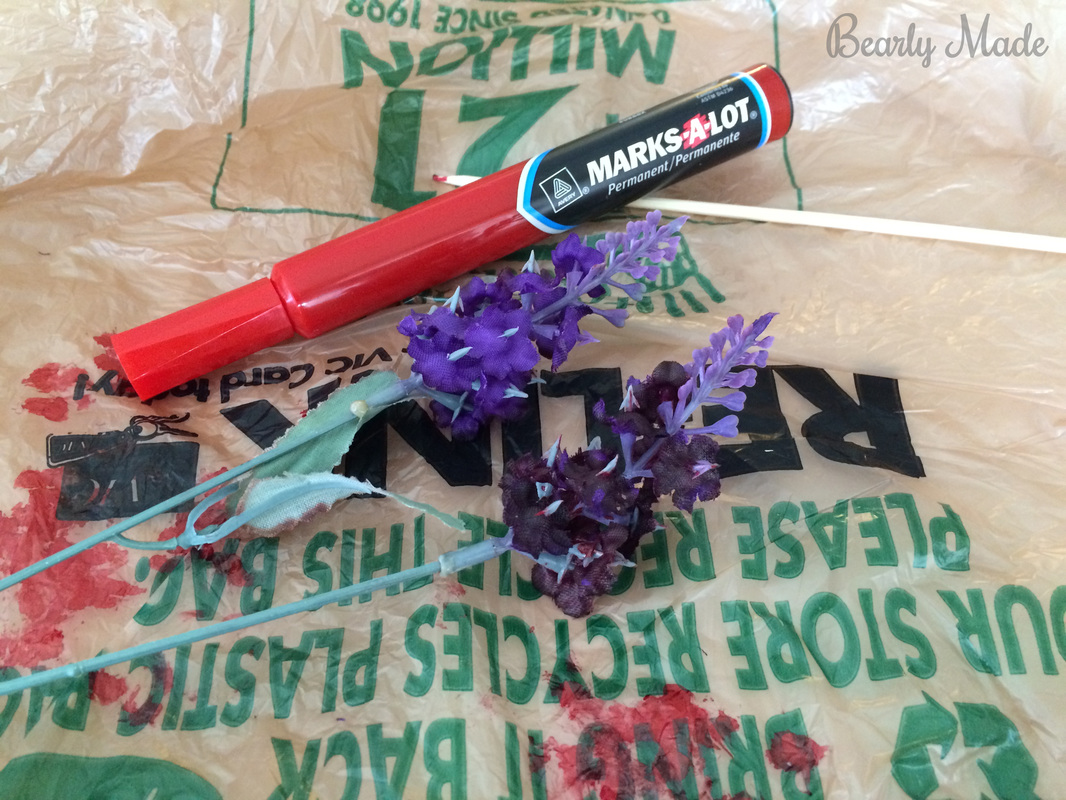
2. The next step was coloring the lavender. It just wasn’t spooky enough for me! I spread out a plastic grocery bag to protect my table. Using a red permanent marker, I firmly pressed the dark purple petal between the felt tip and the table. I pressed the felt tip into the petal for a few seconds until the ink stopped spreading through the fabric. Next, I used a brown permanent marker to color the light purple plastic tips of the lavender.
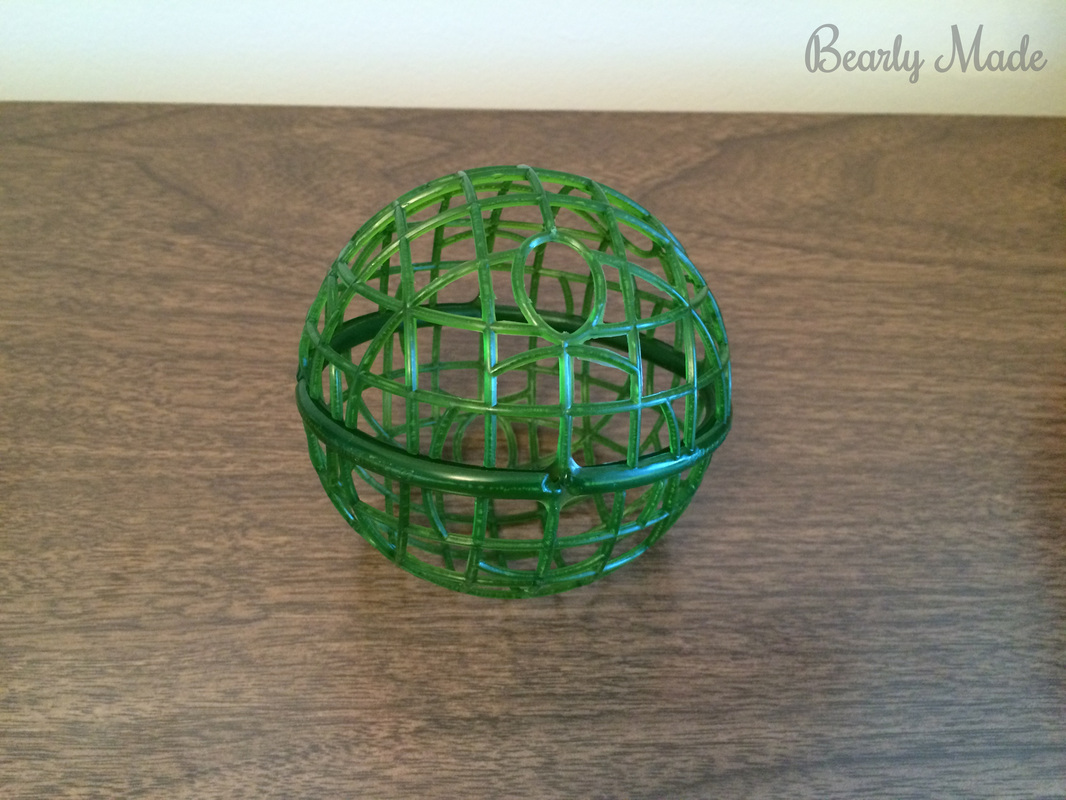
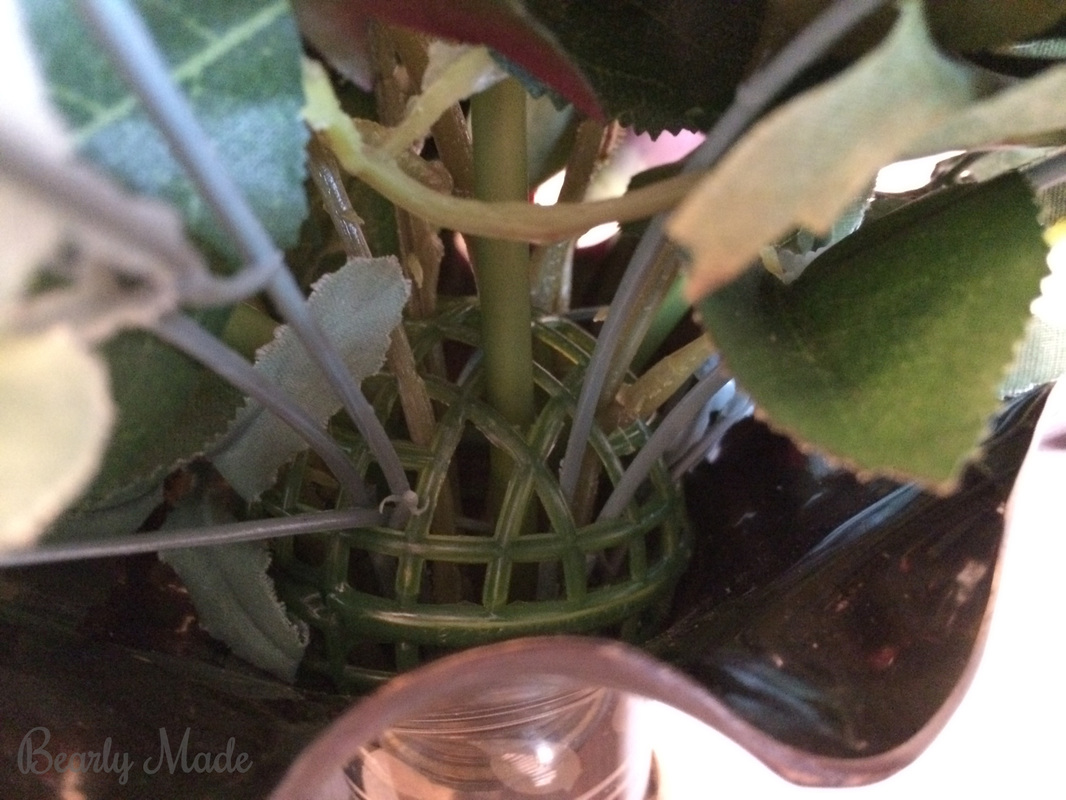
3. I used a 2-inch EZ Bouquet Floral Arranger to help me arrange the flowers. You can use a full sphere or a half sphere. I used a whole sphere, because when you have to stick the stem through the top and the bottom of the sphere, it makes it a lot more stable. My bouquet is very full and the opening of the vase is narrow, so I had to bend the lavender to reach around the back of the bouquet and also point upward.
2. The next step was coloring the lavender. It just wasn’t spooky enough for me! I spread out a plastic grocery bag to protect my table. Using a red permanent marker, I firmly pressed the dark purple petal between the felt tip and the table. I pressed the felt tip into the petal for a few seconds until the ink stopped spreading through the fabric. Next, I used a brown permanent marker to color the light purple plastic tips of the lavender.
3. I used a 2-inch EZ Bouquet Floral Arranger to help me arrange the flowers. You can use a full sphere or a half sphere. I used a whole sphere, because when you have to stick the stem through the top and the bottom of the sphere, it makes it a lot more stable. My bouquet is very full and the opening of the vase is narrow, so I had to bend the lavender to reach around the back of the bouquet and also point upward.

Eyes
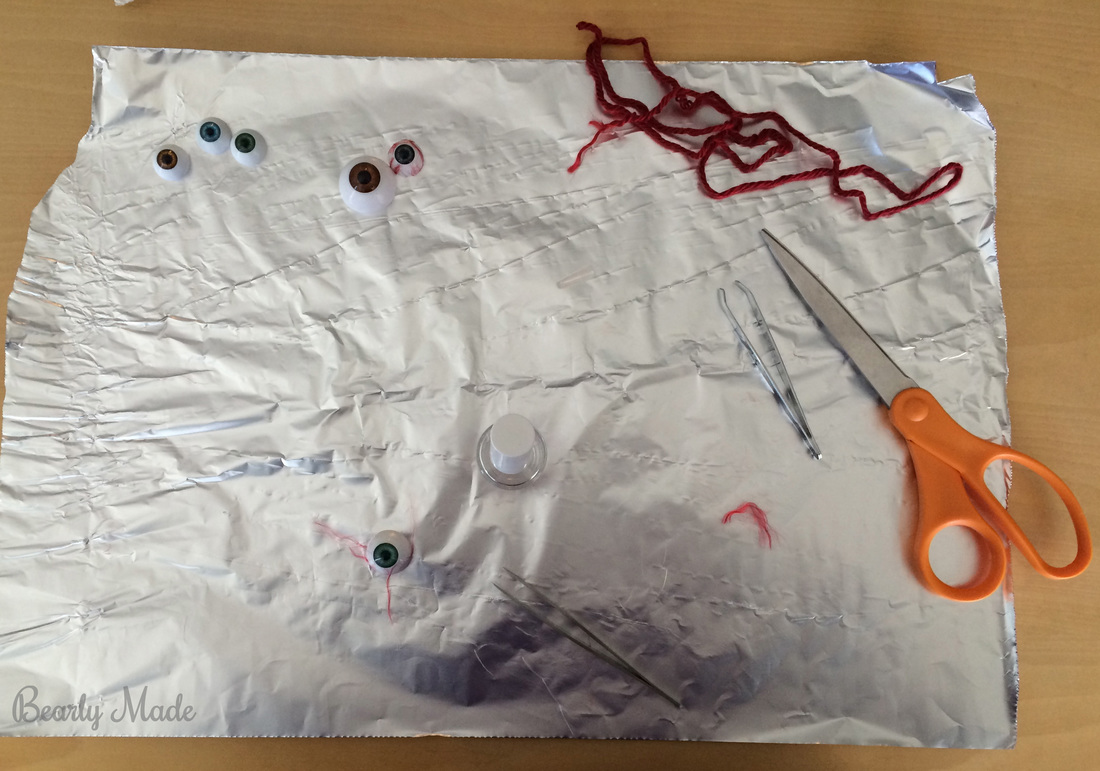
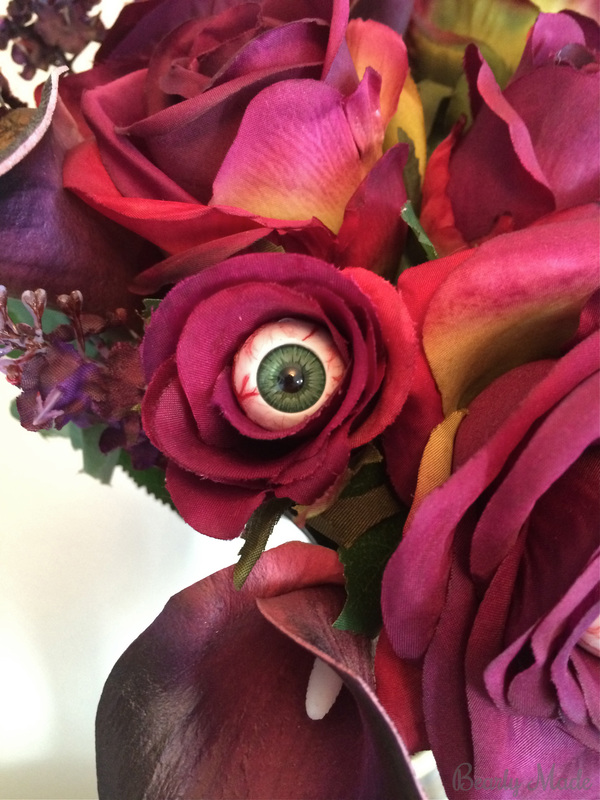
CREATING VEINS
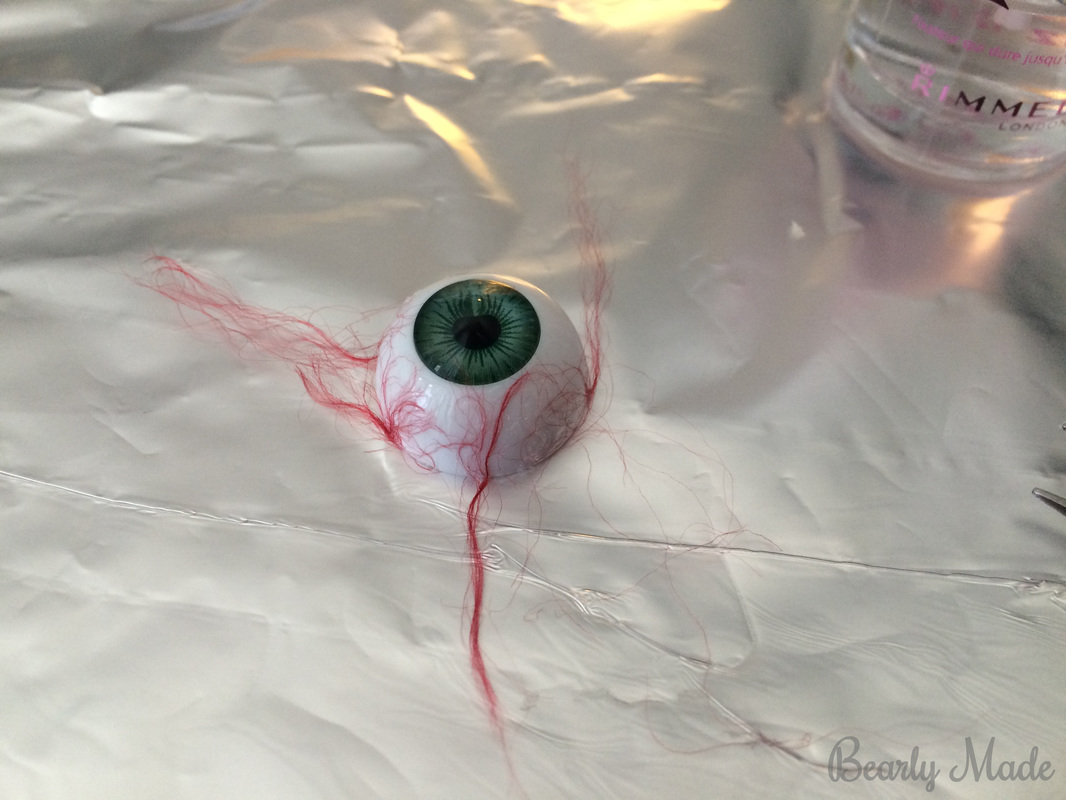
1. Cut a few inches of red yarn. Then unravel some of the string by pulling at the individual threads. The paint will dry quickly so it is important to do this in advance. You can plan out how you want your next vein to look. It could be just a couple single threads. It could be a bunch of single threads splayed out. It could be a thick group of threads twisted together that split into two smaller-but-still-thick veins.
2. Paint a section of the sclera (white part) by brushing from the outside edge of the iris (colored part) down to the flat edge. Your section should be about two strokes wide. Be careful not to get paint on your irises. It will make your eyes seem less realistic. For some reason, using nail polish remover to clean polish off the irises makes the clear plastic turn cloudy and scratched-looking.
3. Pick up your thread and place it on the wet paint. Don’t be afraid to push the threads around while the paint is drying using your tweezers, a toothpick, or your fingernails.
4. Repeat these steps.
5. After a few sections, use your scissors to trim off the excess thread. It doesn’t have to be perfect, because you’ll be sticking the eyes into the flowers.
6. After you’ve applied veins all around the eye, let it dry for a good while. Then, apply a topcoat of clear nail polish uniformly over the sclera. Let it dry.
INSERTING YOUR EYES
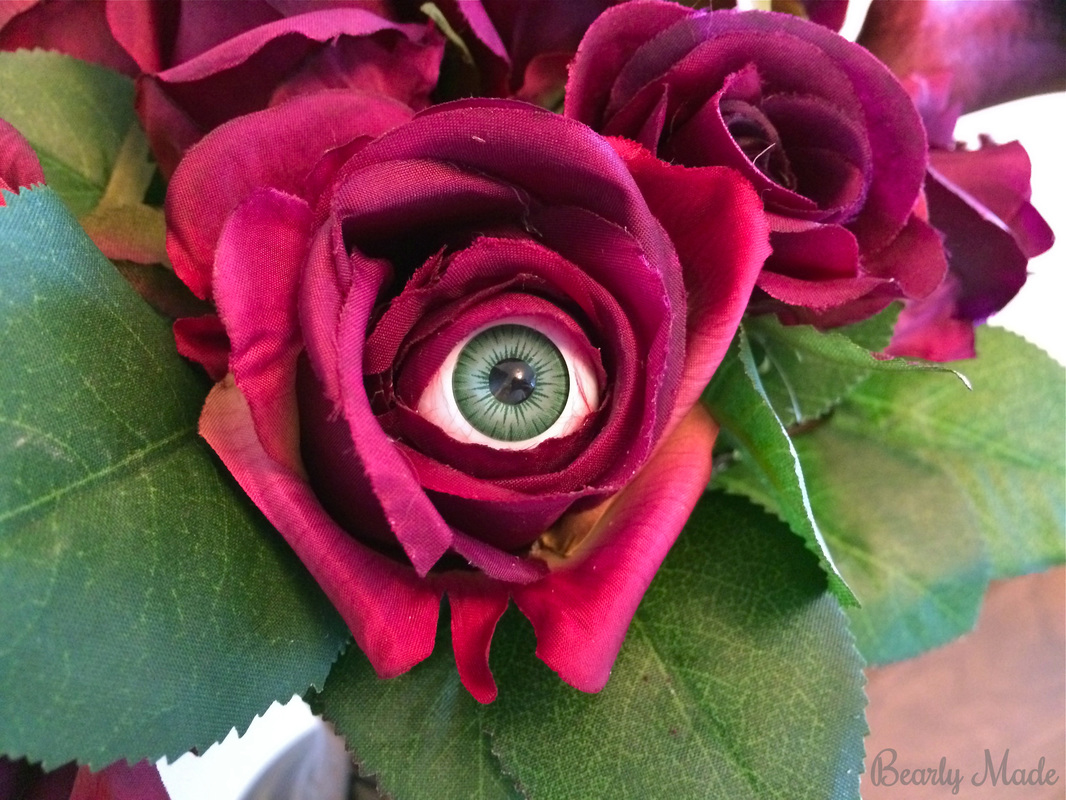
1. Before applying glue to your eyes, prepare the flowers. Try to insert the eye to gauge how much of the petals you’ll need to cut. Use scissors to cut out some of the center petals. The hole doesn’t have to be too deep. Just take off half an inch or so. Make sure to cut off some large scraps of petal (about .5 inch deep by 1.5 inch wide), not just thin shreds, so you can use the scraps later.
2. Apply Elmer’s glue to the inside of the eye. Insert it in the flower. Wait for the glue to dry a little and stabilize. Waiting overnight might be a good idea. Elmer’s glue can take a while to dry, but if you make a mistake with Elmer’s glue, it’s easy to correct.
3. Position some of your scraps around the eye like an eyelid or just to create a fuller flower with more petals. Test the placement without glue. Then glue them on. I only added scraps to my center green eye. The others looked fine without additional petals.
Inspiration
I was inspired by a picture I saw on Pinterest. You can see it here.
I learned how to make these eye veins from a great video tutorial. You can see it here.
There is also a great tutorial on how to alter the pupils and irises to be more realistic. You can see it here. There is a free download for different irises you can print.
You can also visit my Pinterest board, Halloween Eyes, where I have a lot of creepy craft ideas pinned.
Gallery
Thanks for reading!
Try making your own eye bouquet and share your results in the comments below!
Warm wishes,
Alex
Warm wishes,
Alex


 RSS Feed
